Download
1 / 11
140 likes | 446 Views
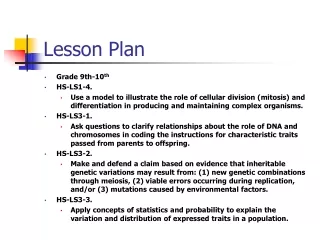
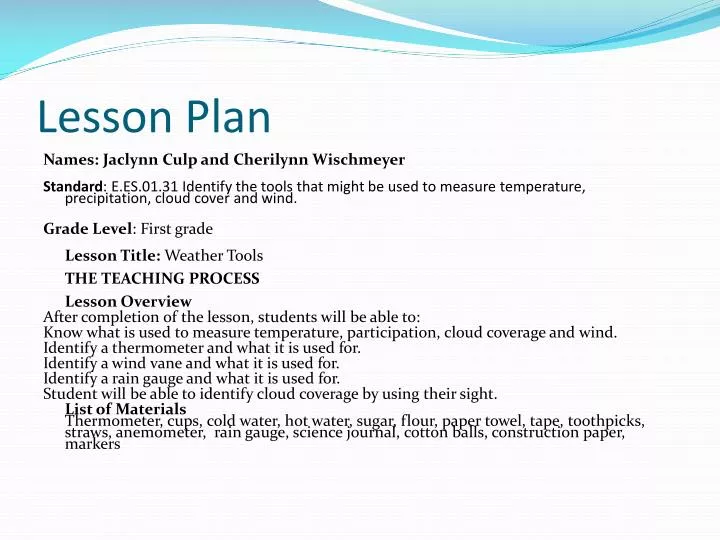
Lesson Plan . Names: Jaclynn C ulp and Cherilynn Wischmeyer Standard : E.ES.01.31 Identify the tools that might be used to measure temperature, precipitation, cloud cover and wind. Grade Level : First grade Lesson Title: Weather Tools THE TEACHING PROCESS Lesson Overview

E N D
Lesson Plan Names: JaclynnCulp and Cherilynn Wischmeyer Standard: E.ES.01.31 Identify the tools that might be used to measure temperature, precipitation, cloud cover and wind. Grade Level: First grade Lesson Title: Weather ToolsTHE TEACHING PROCESSLesson Overview After completion of the lesson, students will be able to: Know what is used to measure temperature, participation, cloud coverage and wind. Identify a thermometer and what it is used for. Identify a wind vane and what it is used for. Identify a rain gauge and what it is used for. Student will be able to identify cloud coverage by using their sight. List of MaterialsThermometer, cups, cold water, hot water, sugar, flour, paper towel, tape, toothpicks, straws, anemometer, rain gauge, science journal, cotton balls, construction paper, markers
Phase One: Engage the Learner We would have a class discussion and ask questions like.. • How do you know what to wear when you wake up in the morning? • Who do you watch on the news that informs you of the weather? • For the next week we will be using tools like a meteorologist to study weather.
Phase Two: Explore the Concept • Temperature- The students will be divided into groups of four or five. Each group will be given the following to measure the temperature; hot water, cold water, flour, and sugar. Then they will write down the temperatures for each of the four substances in their science journal. • Precipitation- As a class we would talk about ways to measure how much water fell in one week. Next we would make a rain gage and set it outside. Then each day for a week we would go outside and see how much water was in the cup and write down our observations in their science journal. • Wind- The students would be shown an anemometer. They would get to look at it, play with it, and talk to one another on how they think it works. And what it is used for. Students will be making their own wind vane to measure wind direction. As a class we will go outside and use our wind vanes. Then the students will write down their observations in their science journal. • Cloud cover- Students will go outside and observe the sky to see the cloud coverage. They will then go inside and draw their observations in their science journal.
Phase Three: Explain the Concept and Define the Terms • We would have a poster board for each of the four measuring tools. On each poster we would have a picture of a tool. Then have a definition of what it is used for. And explanation for how to use it.
Poster OneHow to measure temperature Thermometer • We use a thermometer to measure temperature. • To read the temperature on a thermometer look at the top of the liquid in the tube and matching it to the marks on the scale that runs alongside the tube. The fluid in the thermometer alcohol or mercury rises higher in the tube as heat increases. • Common scales used for weather reporting are Fahrenheit and Celsius. • We will be using Fahrenheit
Poster TwoHow to measure Precipitation Rain gauge • We use a rain gauge to measure precipitation. • A standard rain gauge consists of a funnel shaped collector attached to a long measuring tube. The amount of water in the tube represents the amount of precipitation that fell.
Poster ThreeHow to measure wind • Wind Vane • Wind direction is measured by a wind vane. • The arrow on the wind vane points in the direction the wind is blowing. • Anemometer • Wind speed is measured my an anemometer. • An anemometer has three or more hemispherical cups mounted on a vertical shaft. The cups spin and rotate at the rate of the speed of the wind.
Poster FourCloud Cover • Cloud coverage is the amount of clouds visible in the sky. • It can be broken down into sunny, mostly sunny, partly cloudy, mostly cloudy, overcast. • Sunny is when there are no clouds in the sky. Mostly sunny means there are few clouds in the sky. Partly cloudy is when there is a little less than half the sky covered in clouds. Mostly cloudy is when the sky is filled mostly with clouds and the sky is barely visible. Overcast is when the whole sky is covered in clouds. • Picture of a partly cloudy sky.
Phase Four: Elaborate • The students will receive two worksheets with various questions pertaining to the new information learned in class about the various measuring tools.
Phase Five: Evaluate • Students will turn in their worksheets for assessment. • The responses will determine whether or not students will need further explanation on the material.
References • Hot or Cold? http://www.education.com/files/61301_61400/61380/file_61380.pdf • Wind vane directions • http://www.case.uga.edu/academics/focus/firstgrade/earthsci/BuildingAWindVane.pdf • Ahrens, Donald C. Essentials of Meteorology. 5th ed. Belmont, CA: Thomson Learning, 2008.