Download
1 / 24
290 likes | 582 Views
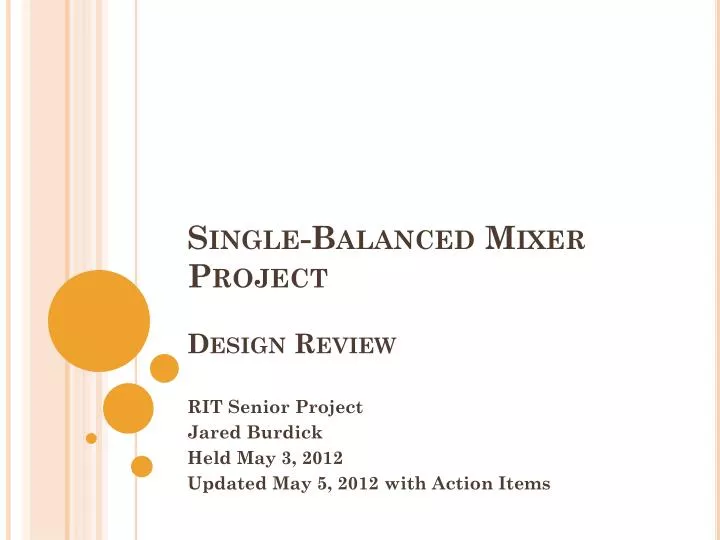
Single-Balanced Mixer Project Design Review. RIT Senior Project Jared Burdick Held May 3, 2012 Updated May 5, 2012 with Action Items. Agenda. Schedule Specifications Block diagram Components used Design decisions / trade-offs AWR model Simulation results Circuit layout

E N D
Single-Balanced Mixer ProjectDesign Review RIT Senior Project Jared Burdick Held May 3, 2012 Updated May 5, 2012 with Action Items
Agenda • Schedule • Specifications • Block diagram • Components used • Design decisions / trade-offs • AWR model • Simulation results • Circuit layout • Fabrication / assembly • Testing • Action Items & Notes from Review
Schedule Key Milestones • Concept • Design selections • Model build / simulation • Design review • Fabricate circuit & mixer assembly • Test assembly • Evaluate results • Write report • Demonstration at RIT Completion Date • March 23 • April 13 • April 26 • May 3 • May 11 • May14 • May 16 • May 21 • TBD
Component List • RF splitting (1) • Anaren SMD Hybrid Coupler • Diodes (2) • Avago RF Schottky-barrier series pair (1) • LPF (1) • Lumped element maximally flat – 5th order • RF connectors (3) • SMA female jack end-launch printed circuit board mount • Printed circuit functions (on RO4003, 32-mil thick, 1oz. copper) • RF chokes – shorted λ/4 stub (2) • Impedance transformer - λ/4 (1) • 50Ω lines (5)
Printed Line Considerations • RF chokes • Maximized line width vs. performance to gain production margin (narrow line-widths more difficult to produce). • Need to stub is well grounded – brought it close to the edge where a strap can be installed. • Quarter-wave impedance transformer • Meandered to minimize the size of the circuit substrate. • Tapered the line where it met component pads. • Mitered corners. • 50Ω interconnects • Mitered corners. • Grounding • Added ground to the top of the circuit board wherever possible to reduce impedance. • Will connect top & and bottom planes with wires and straps. This would normally be accomplished with plated via’s. • Component pads • Used manufacturers’ recommendations.
Design Decisions Made / Trade-Offs • RF Splitting • Looked at 90, 180 degree couplers. • 90-degree easier to implement. • Surface mount standard product readily available from Anaren (distribution) & inexpensive. • Greatly simplifies the circuit board. • Filtering • Removed BPF’s in the RF and LO paths • Not readily available or too expensive. • Not enough time to design lumped-element realizations. • Not critical to performance or meeting specification. • LPF (IF path) • Maximally flat – desire good pass-band flatness and suppress the 1.0 GHz LO leakage. • Lumped-element – distributed too large, components are inexpensive. • 5th order (see design and simulation later). • Purchase coils, use DLI capacitors.
Decisions / Trade-Offs • RF Chokes • Started with radial transformers (λ/2 open stubs). • Did not simulate very well – higher conversion loss & poor flatness. • Moved to λ/4 shorted stubs (high impedance). • Diodes • AvagoSchottky series pair diodes selected. • Using a pair improve diode match (to each other). • Also purchased Infineon pair as a risk reduction (same package so they can be installed on existing circuit). • Substrate Material • Rogers RO4003 selected. • Low-cost microwave material. • FR-4 could potentially be utilized – risk item (higher loss, more εr variation) • 32-mil thickness selected to provide some rigidity for the soldered components and the connectors. • 1-oz copper used due to soldering, particularly the connectors – fear that 0.5 oz would tear or lift during hand-solder operations.
Simulation Results RF = 0.8 GHz RF = 1.0 GHz RF = 1.15 GHz RF = 0.9 GHz
Circuit Layout Circuit is 2.0” x 2.5” x 0.032” RO4003 – 1oz. Copper both sides Orange areas are circuit traces Green areas are ground Backside is all ground SMA Conn Launch (RF In) λ/4 shorted stub λ/4 transformer Coupler Diode Pair LPF SMA Conn Launch (LO In) Will install edge-wrapped straps from top-bottom surfaces. λ/4 shorted stub SMA Conn Launch (IF Out) Will incorporate drilled holes and ground interconnect wires from top-bottom surfaces.
Fabrication & Assembly • Circuit to be fabricated at Anaren using LPKF prototype circuit router. • Approximately 4 circuits will be produced initially – more if needed. • Will require some hand de-burring of copper. • Inside corners will not be 90-degrees, there will be a small radius base on the diameter of the end-mill used. • The small gap for the LPF shunt capacitors may have to be hand cut with a scalpel. • Circuit assembly will be performed by Anaren Assembly Technician • Basic solderingof components using manufacturer’s recommendations where possible (recommended footprints were incorporated in the design/layout). • Manual soldering of ground connections from top to bottom copper layers using: • Edge-wraps • Wires through drilled holes.
Testing • Testing to be performed at Anaren • Conversion Loss • Isolations (RF-IF, LO-IF) • VSWR’s (RF, LO, IF ports) • 1-dB Compression • Spurious Response • Test Equipment Required • Spectrum Analyzer • RF Signal Generators (2) • Power Meter • SMA Male 50Ω Terminations (2) • Test Cables (3) • Adapters (as required) • Sample Size • One piece initially • Additional (1-3) after