Download
1 / 28
340 likes | 530 Views
Adobe Premiere Elements. Basic Techniques Kerrie Street. How do I get Adobe Suite?. At TAFE – it should be installed on your PC. If not, log a Help Desk Call. Adobe @ Home. At home – Creative Suite http://sigroup.com.au/ Adobe CS4 Collection for Windows or MAC

E N D
Adobe Premiere Elements Basic Techniques Kerrie Street
How do I get Adobe Suite? • At TAFE – it should be installed on your PC. If not, log a Help Desk Call
Adobe @ Home • At home – Creative Suite • http://sigroup.com.au/ • Adobe CS4 Collection for Windows or MAC • $93.50 delivered to TAFE address • CS5 is currently in BETA mode. • MSOffice2007 also at this website
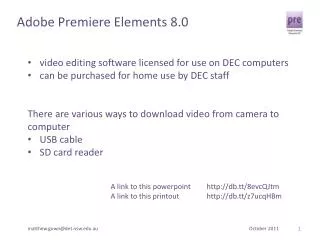
Download Footage from Camera • Canon HD – new in each college • Camera needs Power – must be plugged into socket • Connect to PC using USB cord • From viewfinder, press the camera/PC symbol • Select PC • Follow the prompts
Download Footage Cont’d • The Camera will be identified as a Hard Drive • Open the following folders in order: • AVCHD; BMDV; Stream • Copy the files to your PC Location. • A detailed guide will be available on the eLearning Toolkit
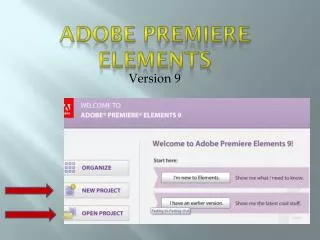
Open Premiere Elements • Media files are now on your PC. • Open Premiere Elements – be patient it takes a few minutes
New Project • New Project • Name and Save it to the C drive for easier manipulation
Get Media • Get Media allows you to drag in multiple files • PC Files and Folders • Browse in the normal manner • Open
Activation Code? • If you are asked for an activation code, follow these steps ... Yes it is tedious • Copy • Click on website link • Authenticate
ID Code • Paste the ID; Add County and Product
Unlock Key • Return to Premiere Elements and paste in the Unlock Key
View media • Your Media is then imported • Save the Project – this needs to be done regularly as this program tends to freeze
Sceneline/Timeline View • Drag and Drop the media to the Timeline • It is easier to work in Timeline View
Delete Content • Determine which section to cut out. • Pause the video, click on the Scissors and it will put a cut in the timeline • Right click and Delete and Close Gap
Empty Tracks • Delete Empty Video/Audio Tracks – 2 and 3 shown here • Right click; delete empty tracks
Adjustments • Adjust Brightness ; Adjust Audio • the yellow line can be moved higher or lower with the mouse
Add Narration • Raw footage Audio is often distorted • Add Narration • Adjust the microphone as per instructions • It takes a bit of practice to get the audio just right.
Delete Audio/Insert Narration • Right Click on Audio File; Delete Audio • Push the Narration File into the Audio Track
Create Soundtrack • Premiere Elements has a number of SmartSound Tracks to choose from • Click to select music • Mozart Night is Chamber music of moderate intensity
Add Soundtrack • Click and drag before or after the Audio. • Note, I have split my soundtrack and sandwiched the Audio in-between.
EDIT – Effects; Transitions; Titles • This section takes a bit of playing to get it right. • As you can see here I have applied an effect called Extract.
EDIT –Transitions • The Curtain transition has been used here • The image appears as if from behind a curtain
EDIT –Titles • Add an opening screen and/or final Credits • Click and Drag into position • Click to edit text boxes
WSI/OTEN Logos • Available on emarketingwikispace • http://emarketing.westernsydneyinstitute.wikispaces.net/Videos+for+YouTube • Video Template • Save to local machine, insert via Get Media • Drop at the beginning or end of the Video
Publish • Share – How? • Many Options • YouTube is popular
YouTube Publishing • Sign In • Add Video information • Allow Public viewing • Upload • Share Complete
Strelitzia’s can be viewed at • http://www.youtube.com/watch?v=HnrX9Hu8Itw • Next session – look at setting up YouTube Channels and some more editing tips.