Download
1 / 32
350 likes | 848 Views
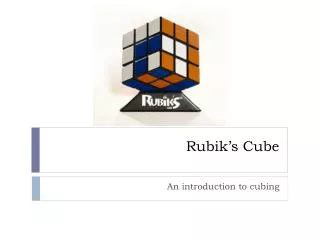
Rubik’s Cube 101. By Andy Camann. How the Cube Works. Taken apart, one can see that the cube consists of 6 centers, 8 corners, and 12 edges: The centers are fixed on a central mechanism, so they don’t move relative to each other

E N D
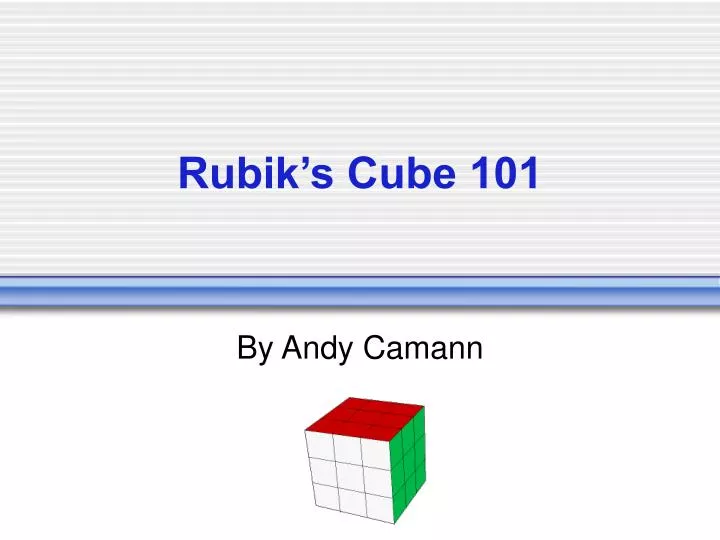
Rubik’s Cube 101 By Andy Camann
How the Cube Works • Taken apart, one can see that the cube consists of 6 centers, 8 corners, and 12 edges: • The centers are fixed on a central mechanism, so they don’t move relative to each other • The color of a center determines what color that face will be when the cube is completed
Number of Configurations • Simply put, there are configurations on the cube • 43,252,003,274,489,856,000 (12! • 212)(8! • 38) 2 • 3 • 3
43,252,003,274,489,856,000 • If one were to make one move every second, it would take 1,370,000,000,000 (1.37 trillion) years to reach every case, assuming no repeats • That amount of time spans the age of the universe ten times • If this person began to twist from the moment the dinos died out (65 MYA), he/she would have reached only 4.7% of all the cases • If a cube existed for every configuration, and all were lined up next to each other, they would circle the earth five times • That is 124,508 miles, or about half the distance from Earth to the moon
What You Will Learn • The method you will learn consists of 6 major steps, and each step is broken down into smaller steps • 1. Top edges • 2. Three Top Layer corners • At this point, we have all but one top layer cubie solved • 3. Three Middle Edges • Now we (almost) have 2 layers done. Flip over the cube so the last layer (LL) is on top. • 4. Solve the remaining corner and edge • Now we have 2 layers (of three) solved. • 5. Orient Last Layer (OLL) • Edges first, then corners • 6. Permute Last Layer (PLL) • Again, edges first, then corners
The Solution, Step by Step • 1. Top Edges 4. Finish 2 Layers • 2. Top Corners 5. Orient LL • 3. Middle Edges 6. Permute LL
Notation • Everyone needs to know the notation used for cubing • For example, what do these mean: F (R U R’ U’) F’ (R2 U)(R U R’ U’)(R’ U’)(R’ U R’) x’((R U’)(R’ U))(D R’ Ds)(R’ U R)z’((l’ R’)U) (M’ U)*4 (M U)*4 E M E’ M’ • These are algorithms. Each letter represents a move to be carried out in sequence, and represents a face of the cube. • There are 6 faces, named (F)ront, (B)ack, (U)p, (B)own, (R)ight, (L)eft. There are also 3 slices, named (M)iddle, (E)quator, (S)ide
More Notation • A lone letter means to turn that face 90º clockwise (CW) as if you were looking down at that face • A letter followed by an apostrophe ( ’ ) means to turn that face 90º counter-clockwise (CCW) as if you were looking down on that face • A letter followed by a 2 means to turn that face 180º
Notation: U and D U U’ U2 D D’ D2
Notation: F and B F F’ F2 B B’ B2
Notation: R and L R R’ R2 L L’ L2
Top Edges • Also called the cross • We will use orange as our top face • This is the first step towards completing the top layer • Complete one edge at a time • Experienced cubers usually solve the cross consistently in 6 moves, < 2 seconds • Reasonable average is 15 moves, 10 seconds with some practice
Cross - Details • Oriented vs. non-oriented edge • Your first goal is to locate an edge that makes up the cross • This means that it has orange as one of its two stickers • Remember that the center of a face determines what color it will be: <-- Bad edge Good edge --> <-- Bad cross Good cross -->
In case of a bad cross… • …do the following: • Rotate the top layer until at least two of the edges are in place (you will always be able to get two) • Match your cube with one of the following cases • Execute the sequence to place the edges that are out of place These two edges need to switch places These two edges need to switch places L R’ U2 L’ R R’ U’ R U R’
Corners • Solving the corners completes the top layer • This step is easier than the cross since there are fewer possibilities
Solving a Corner • The only thing to keep in mind is you can’t mess up the cross • To make progress, you must temporarily disturb what you have already solved, then restore it • Hopefully, when you restore a few solved pieces, progress gets made • To solve a corner, find one that belongs in the top layer • Move it directly beneath where it belongs Corner belongs here Move corner to here
Finding a Corner • Remember that the centers don’t move • So the corner (which has three stickers) depends on the color of three centers: • So, the corner that belongs in this spot must be orange, green, and white • This is the process used to figure out where a piece belongs • Use it to figure out where any piece belongs This must be orange This must be green This must be white
Three Possibilities • Once you have a corner in the right spot in the bottom layer, you must determine it’s orientation. F D F’ R’ D’ R R’ D R F D2 F’
The Other Corners • Follow this step for the other three corners • When 3 corners are done, it should look like this: It’s important to have the “T” on each face
Middle Layer • Flip over the cube so the top layer becomes the bottom layer Hold cube so the edge will end up here, in FR Make sure the empty corner is below the edge you want to solve • Find an edge that belongs in the middle layer
Inserting an Edge • There are two flips of an edge • Thus there are two cases for inserting an edge U F’ U’ F R U’ R’ • Follow these steps until three of the middle edges are solved
The Other 2 Edges • Always hold the cube so the edge that you wish to solve will end up in FR • This means you will have to change the orientation of the cube in your hands • You will also need to rotate the bottom layer so the empty corner is just below where the edge is to be placed
Top Layer • At this point, 2/3 of the cube is done • Last Layer Strategy: • 1. Orient Edges • 2. Orient Corners • 3. Permute Edges • 4. Permute Corners After orientation After permutation
Orient Edges • Three cases [A] = F U R U’ R’ F’ [B] = F R U R’ U’ F’ [A] U2 [B]
Orient Corners • Seven cases R B L’ B’ R’ B L B’ R2 D R’ U2 R’ D R U2 R L’ B’ R’ B L B’ R B L’ U R U’ L U R’ R U’ L’ U R’ U’ L
Orient Corners R’ U2 R2 U R2 U R2 U2 R’ R’ U’ R U’ R’ U R’ U R’ U2 R’
Permute Edges • Rotate the top layer until you have one of the following cases for edge permutation: • These two cases show that only one edge is permuted. • It is possible that you won’t encounter either of these cases in any particular solve. There is one other case:
Permutation • You must learn at least one of the first two cases: • Breaking down each sequence into groups of fewer moves makes it easier to learn long sequences • These two sequences are broken into groups (indicated by parentheses) that make learning them easier. (R2 U) (F B’) R2 (F’ B) (U R2) (R2 U’) (F B’) R2 (F’ B) (U’ R2)
The Other Case • In case you want to learn an extra sequence, here is the solution (R B’ R’ B)(F R’)(B’ F)(R’ B R)(F2 U)
Permute Corners • There are four possibilities for corner permutation • Do not rotate the top layer like you did for edges (that would mess up the edges!) • Here are the possibilities: Case 1 Case 2 Case 3 Case 4
The Final Step… • You only need to learn one of these cases (either c1 or c2) • They have similar solutions R’ F R’ D2 R F’ R’ D2 R2 R B’ R F2 R’ B R F2 R2
You Are Done! • You now know the way to avoid nearly all of the 43 quintillion combos of a cube • Now you need to learn how to become faster by learning the following: • Finger tricks/triggers • Lubing your cube • Solve from bottom -> top • Learn all 57 orientations! • Learn all 21 permutations!