Download
1 / 16
160 likes | 306 Views
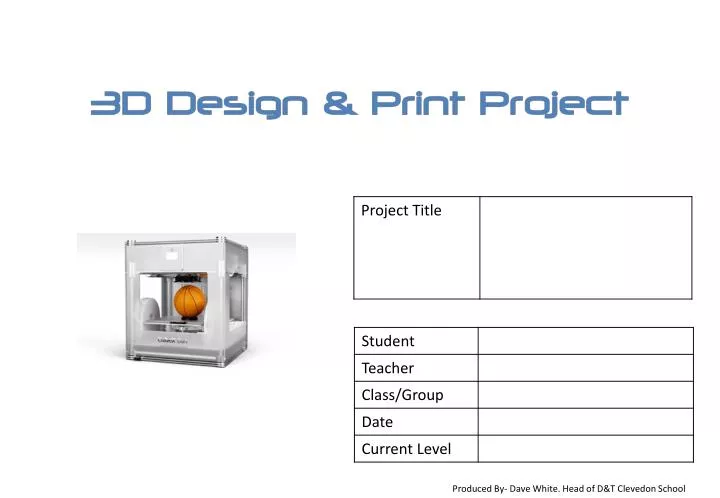
Produced By- Dave White. Head of D&T Clevedon School. Introduction. In this project you will be using Computer Aided Design (CAD) and Computer Aided Manufacture (CAM) to design and make a new and innovative product.

E N D
Introduction • In this project you will be using Computer Aided Design (CAD) and Computer Aided Manufacture (CAM) to design and make a new and innovative product. • Throughout the project you will have opportunities to show your Personal Learning and Thinking Skills (PLTS). There is a symbol showing which of which PLTS are most likely to be used on each page. • This project also gives you the opportunity to move your National Curriculum Level higher. • Self Assessment overviews for both PLTS and National Curriculum Levels are available towards the back of this booklet. You can use these to check what you can do to improve your work. • Much of the work on this project will be produced using a computer and CAD software… you can put evidence of your work in this booklet by doing screen captures and printing extra pages or you could use an electronic version to create a simple e-portfolio • The Design Brief might be given to you or should be negotiated with your teacher.
Brief & Specification • Design Brief • Design Specification On this page you should record your Design Brief and Specification. Remember that the Brief is a short statement that sets the task. The specification says exactly what the finished product must be like and what it will do. If you are writing the specification as a result of doing your own research you will need to come back and fill in this section later.
Research and Investigation On this page you should record evidence of any research and investigation that you carry out for this project. You will need to find out about ….“end users” of the product; how the 3D printers work and how this will influence your designs; Similar existing products that you could use to base your ideas on.
Mood Board Gather images, material samples, colour swatches, inspiring words and anything else that helps “set the scene” for your design work. Sketch or stick items on this page…. Or if you do this by gathering information from the internet copy and paste items to a blank page and add it to you design booklet.
Initial Design Ideas Use this space to SKETCH your first ideas and thoughts. Produce a spider diagram to help structure your thoughts. You could use the 4x4 and SCAMPER design tools to help you generate and develop ideas
CAD Design You will of course be using CAD to produce your design. On this page you should show evidence of your initial CAD work. Use screen shots or printouts to show your first design ideas produced using CAD
CAD Design Development Use this space to show how you design develops. This could include any changes to the shape and size of the product, improvements to the way it works etc. Use screen shots or printouts to show any changes that happen throughout the design process.
Specification Check Check your design against your specification… does it still do what it is supposed to do? Do you need to modify your design further to make sure it fits your specification?
Final Design As you will have used CAD to produce your design you should be able to produce an orthographic drawing of your final design. Copy/Paste, screenshot or print out a copy of your final design including dimensions. You could also produce a 3D rendering of your design
Preparation for Printing To prepare your design for printing you will need to convert the CAD file into .STL format. Produce a screenshot of your .stl file and insert it on this page. You will also need to produce the g-code that drives the 3D printer, either a screenshot or a printout of the g-code header should be included on this page
3D Printing and the Final Product If possible produce some photos of you product being printed. Print out and add in a photograph of your final product… preferably with it being used by the person it was designed for.
Evaluation Check your design against your brief and specification…. Does it do what you intended? How well does it do it? Use Cafeque to further help with your evaluation. A graphic way to help visualise the effectiveness of your design is to produce a radar diagram (That’s where I draw the line). Don’t forget to check with an “end user” for their views on the product. Don’t forget to say how you could improve your design if you were to do it again
Self Evaluation with PLTS Against each of the Personal Learning and Thinking Skills (PLTS) Give yourself a RAG rating (Red – something I need to work on; Amber – I’m OK at this; Green – Something I’m doing very well). Circle the appropriate words. It would be a good idea to do this several times throughout the project to see if anything changes. With thanks to Priory School, Weston-Super-Mare, UK for the PLTS Rag rating table
National Curriculum Levels Use this page to check your National Curriculum Level… you can also use it to see what you need to do to progress. Your Teacher will also use this page tp indicate the level they think you have achieved