Download
1 / 12
120 likes | 240 Views
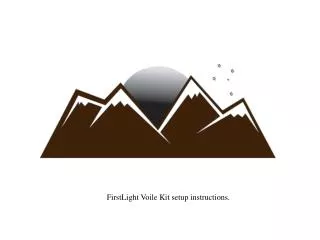
FirstLight Snowboards DIY Puck setup. Decide where you want to put the pucks. If you want you can T nut the board for the ends of the puck like done in this shot. With a protractor set your angle, this was 17 deg. Tape a piece of paper folded down the middle onto the board

E N D
Decide where you want to put the pucks. If you want you can T nut the board for the ends of the puck like done in this shot.
Tape a piece of paper folded down the middle onto the board Use the centre line of the paper to centre your stance with the angle you set. Use a pencil to rough out the holes.
Mark the centre of the Green puck so you know where to place the pucks on the centre line. Then draw around the puck when it is placed on the centre line. Push the pencil into the holes you want to drill out so you can mark them on the pucks.
Cut the outlines of the traced puck lines and flip them over to mark the holes on the bottom. Centre punch or mark the holes with a marker.
Drill the holes out with a 6.5mm drill and countersink as well
Do the same for the rear puck. Mark each side of the puck showing where to cut the puck in half. Use either a hack saw or jig saw for this.
After the puck is in two pieces round of any sharp edges. The final step is to screw the puck in and go get some sick lines
If you need any more info please contact sales@firstlightsnowboards.com.au Or Adam on +61 (0)413 888 115