Download
1 / 22
260 likes | 512 Views
LRU Replacement. Agenda. LRU Replacement Ground Rules Antenna LRU Overview Tx Antenna LRU’s Rx Antenna LRU’s External Antenna LRU’s Pedestal LRU Overview Pedetsal LRU’s RTP LRU Overview RTP LRU’s. LRU Replacment Ground Rules.

E N D
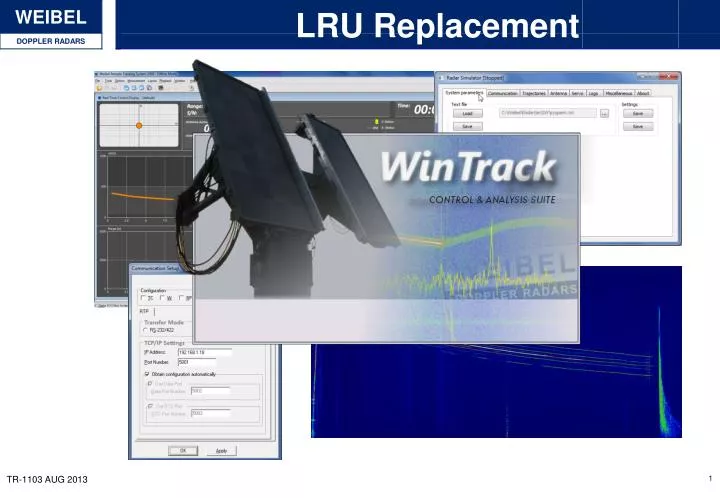
LRU Replacement TR-1103 AUG 2013
Agenda • LRU Replacement Ground Rules • Antenna LRU Overview • Tx Antenna LRU’s • Rx Antenna LRU’s • External Antenna LRU’s • Pedestal LRU Overview • Pedetsal LRU’s • RTP LRU Overview • RTP LRU’s TR-1103 AUG 2013
LRU Replacment Ground Rules • Always ensure to have the following before starting a repair • Necessary tools and parts needed for the repair • The correct documentation to support the repair • The necessary skills and training to allow you to do the repair • Remember that even trained repair and maintenance crew should still inform Weibel that a repair is starting and the reason for the repair. • LRU replacement Checklist • Prepare the LRU • Power down and disconnect the equipment that will have the replacement done • Open the equipment and replace the LRU following the documentation • Close the equipment, reconnect and power up • Verify that the replacement has been successfull. TR-1103 AUG 2013
Systems Diagram TR-1103 AUG 2013
Trailer Interconnections TR-1103 AUG 2013
Antenna LRU overview • Rx Antenna LRU’s • LNA82x (Low noise amplifier pack) • Rx Module/IQ Mixers • DC250/DC450 (Internal PSU) • PCB302 (Antenna Controller Board) • PCB531 (Antenna CPU Board) • Tx Antenna LRU’s • DC250/DC450 (Internal PSU) • PCB302 (Antenna Controller Board) • PP801/PP460 (Power amplifier pack) • Pre-Amplifiers • External Antenna LRU’s • PS-xxxx (External power supplies) • OM-xxxxyy (External Oscillator) TR-1103 AUG 2013
TxAntennaLRU’s PP801 PP460 Pre-Amp PCB302 TR-1103 AUG 2013
TxAntennaInterconnections TR-1103 AUG 2013
RxAntennaLRU’s LNA82x PCB531 PCB302 DCx50 RxModule TR-1103 AUG 2013
RxAntennaInterconnections TR-1103 AUG 2013
ExternalAntennaLRU’s PS-XXXXYY OM-XXXXYY TR-1103 AUG 2013
Open and close the Antenna • To Open • Before opening the antenna place it in 0 degrees elevation • Turn off power and disconnect any cables to the antenna panel that must be removed • Unscrew all screws on the antenna lid • Collect the screws and keep in closed container • Lift off the antenna lid (2 man recommended) • To Close • Put the antenna back in place and ensure that cables or other items are stuck • Remount all the antenna lid screws • Reconnect all cables and turn on power • Verify that the unit replaced is now functioning SPECIFIC LRU REPLACEMENT PROCEDURE CAN BE FOUND IN THE MFDR-ALL INSTALLATION AND MAINTENANCE GUIDE TR-1103 AUG 2013
Pedestal LRU Overview • PCI Boards • CPU Board • I/O Board (FPA1020) • Master Connection Board • Slave Connection Board • Pedestal Power Units • Motordrivers (MEDHT/MDDHT) • AC/DC Power Supplies (PPS2000) • Internal PSU (SPX1194) TR-1103 AUG 2013
PedestalLRU’s Slave Conn Boards Master Conn Board CPU Board CPU Board MEDHT 2kW MDDHT 1.5kW TR-1103 AUG 2013
AP-2100 Interconnections TR-1103 AUG 2013
Opening the Pedestal • Each type of pedestal has different unit placement and differenthatchopenings • Openingthem is similar procedures as openingantenna lids (removecables, screws and open slowly) AP-2100/45 AP-2100/40 LeftHatch Right Hatch SPECIFIC LRU REPLACEMENT PROCEDURE CAN BE FOUND IN THE AP-2100 INSTALLATION AND MAINTENANCE GUIDE LeftHatch Right Hatch TR-1103 AUG 2013
RTP LRU Overview • RTP LRU’s are designated as front or rear mounted and the replacement depends on type • Front: • CPU Board • DSP Board • ADC Board • Systran Board • Rear: • DSP Rear Board • ADC Rear Board • RTP-ATX-PSU TR-1103 AUG 2013
RTP LRU Front Boards CP-6002 CP-6000 Systran Board CP-304 DSP-Board ADC-Board TR-1103 AUG 2013
RTP LRU Rear Boards ADC Rear Board DSP Rear Board RTP-ATX-PSU TR-1103 AUG 2013
RTP Interconnections TR-1103 AUG 2013
RTP Front Unit Replacement • Unscrewfront panel screws and open • Remove all cables from unit in question • Unfasten the unit in question • Replace unit and refasten • Reconnectcables • Close and replace front panel screws FULL DESCRIPTION IS FOUND IN THE RTP INSTALLATION AND MAINTENANCE GUIDE CHAPTER 8 TR-1103 AUG 2013
RTP Rear Unit Replacement • Unfasten the three boards next to the PSU • Disconnect any cables that cannot follow the boards out • Lift the boards out • Remove all cables from unit in question • Unfasten the unit in question • Replace unit and refasten • Reconnect, replace and refasten outer boards FULL DESCRIPTION IS FOUND IN THE RTP INSTALLATION AND MAINTENANCE GUIDE CHAPTER 8 TR-1103 AUG 2013