Download
1 / 7
70 likes | 293 Views
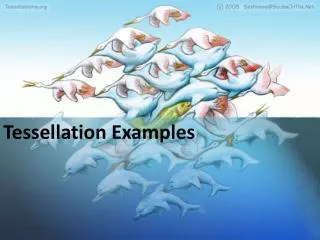
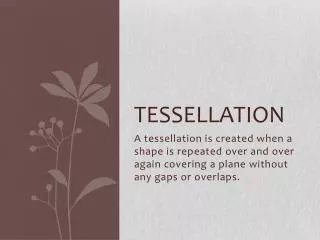
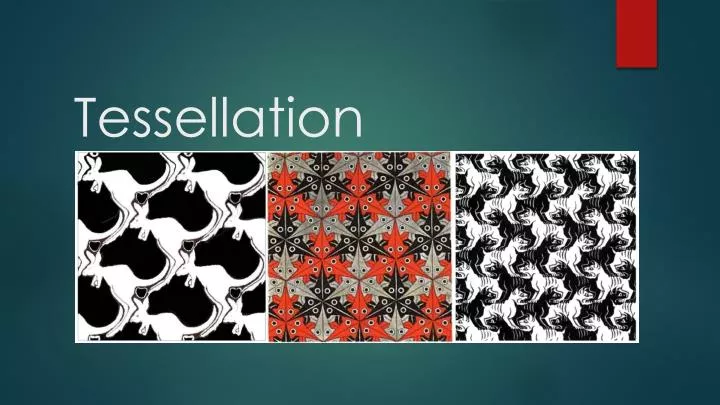
Tessellation. DEFINITION A tessellation is created when a shape is repeated over and over again covering a plane without any gaps or overlaps . The word "tessellate" is derived from the Ionic version of the Greek word " tesseres ," which in English means "four." The first tilings were

E N D
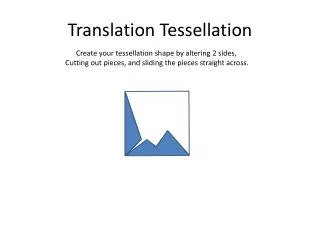
DEFINITION • A tessellation is created when a shape is repeated over • and over again covering a plane without any gaps or overlaps. • The word "tessellate" is derived from the Ionic version of the Greek • word "tesseres," which in English means "four." The first tilings were • made from square tiles. • A regular polygon has 3 or 4 or 5 or more sides and angles, all equal. A regular tessellation means a tessellation made up of congruent regular polygon. Regular means that the sides and angles of the polygon are all equivalent (i.e., the polygon is both equiangular and equilateral). Congruent means that the polygons that you put together are all the same size and shape.]
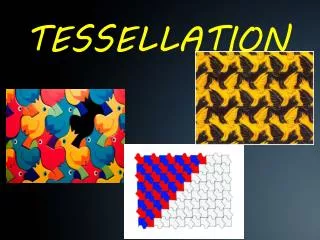
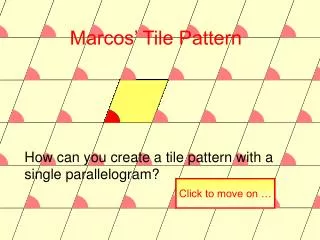
Only three regular polygons tessellate in the Euclidean plane: triangles, squares or hexagons. Here are some of the example: a tessellation of triangles a tessellation of squares a tessellation of hexagons
Simply stated, pochoir is the French word for stencil. In the 1920’s and 30’s Art Deco era, the color application process of the stencil was rejuvenated by the French, bringing color illustration processes for books and prints to new glorious heights. This interest in exploring the stencil process came in reaction to the proliferation of machine printing and the poor quality of color reproductions in publishing. With pochoir printing, the hand application of layers of pigment created dazzling effects that the camera or printing press could never replicate. Earlier stencil works, typically used for decorative surface ornament were quite primitive, with applied color areas outlined by the supporting cutout framework. New experimental techniques in pochoir refined the process using multiple layers of color applications for a single print. Pochoir printing was also easily combined with images made by lithography, woodcut, wood engraving, line drawings, or etchings, thus turning a decorative technique into fine art. Jean Saudé was one of the foremost artists to explore and promote pochoir techniques and his treatise, Traitéd’Enluminured’Art au Pochoir, published in 1925 did much to further this art form.
With pochoir, a hand painted fashion plate, decorative or interior design, or illustration to be duplicated was carefully analyzed to determine each color layer. Often, but not always, an outline of the image was printed as a black and white lithograph and served as a base layer, especially in the design and fashion portfolios. In many interior illustrations, a line drawing or even a half-tone photograph was lithographed as the base layer. Each succeeding layer of color was then printed over the black and white litho layer. Depending on how intense the lithograph layer was, it would either be incorporated fully in the final image or be invisible and serve only as a guide to the image layout.
Separate stencils were cut, sometimes in thin sheets of copper, zinc, or aluminum, for every color component. Later stencil materials were made of celluloid or plastic and contemporary stencil materials are made of coated paper or acetate. Each successive color layer, using watercolor or gouache, was applied to the stencil with a brush called a pompon. Pigment on the brush could not be thick or runny, as paint could easily slide underneath the stencil and change the shape of the image. Therefore, it was necessary to really blot the pigment on the brush before applying it to the stencil and in the case of watercolor images, this was even more critical. Skilled printers could achieve incredibly subtle details using gradation and stippling, spattering or even simply drawing additional details with a small brush on the final layer. Sometimes as many as 100 stencils were used to recreate a single image, and the resulting print was surprisingly rich and detailed.