Download
1 / 17
170 likes | 243 Views
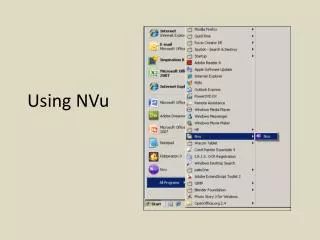
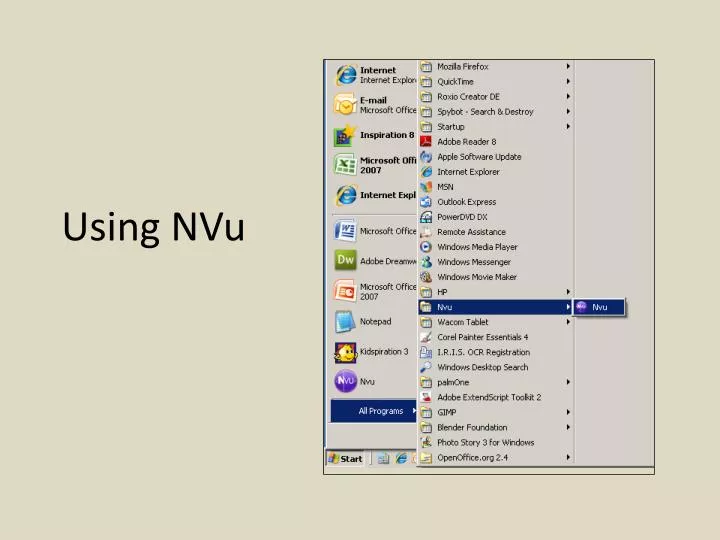
Using NVu. 1. To format page use pull-down menu. 2. Click button.

E N D
1 To format page use pull-down menu. 2
Click button. 1. Change background color first by clicking on box. Once you have selected a background color, that selection will show up in side box so you can see if you need to change text colors. Think about how your page will look when it is projected. Pick background and text colors that have a light/dark contrast against each other. 2. Click OK when satisfied with choices.
1. Click the table link to create a table. This helps keep page organized. 2. Choose table size – similar to MS Word. Click OK when done.
Click on table. Notice handles. • To enlarge table, use these boxes in the margin. Simply mouse over, click and drag to desired size.
Inactive cell – no indicators in cell margin. Indicates active cell.
You can add columns or rows by clicking on the arrows. You can delete rows or columns by clicking on the circle in the center.
Place cursor in cell and start typing. To change fonts, go the format menu and choose desired font. Changes size of the text.
Create a table within a cell for your teaching resources. Type in name of website and an explanation of what can be found on that site.
Notice the lines around each of the cells. You can eliminate these lines if you do not like their appearance.
From the Table menu, choose properties. Change Border value to 0 to eliminate lines.
Notice the change in appearance of table borders on your screen image. Lines in red will not show when viewed in browser. These table lines will still show when viewing page in browser.
After highlighting the text, click “Link”. This brings up the “Link Properties” menu. Place ENTIRE URL in “Link Location”. This can be copied and pasted from URL of web page. Entire URL: http://www.fte.org. Then click OK.
Link created – notice the change in appearance. Follow the same procedure to create the rest of your links.
When you are finished, save it in your server space in your “Web” folder. Name the file with your name. Note: Do not name your web page Index as this will cause problems with the way you view your server space and may interfere with the ability to view your files remotely.
Open your page in a browser by opening your file from your server space to check. Be sure to check all your links through the browser before you close NVu. Important: Check your page on a computer other than the one you created the page on. If there are problems with your page, you won’t be able to tell on the same computer you created your page on. (Your page will not have a photo at this point.) Notice the lines that were in red are not visible when viewed through the browser. The lines around the table are visible.