Download
1 / 36
370 likes | 636 Views
You are the Provider. You and your EMT-B partner are dispatched to the local skateboarding rink for a fall injury. The scene is safe. You find an 18-year-old male who is holding his left arm close to his chest. He appears to be in a lot of pain.

E N D
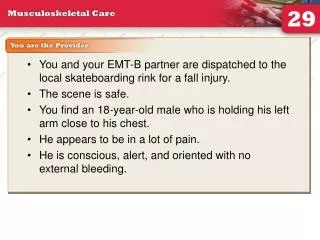
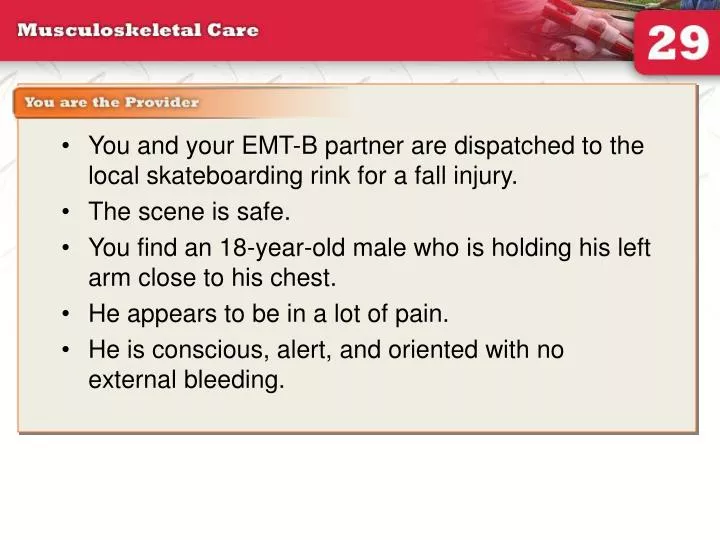
You are the Provider • You and your EMT-B partner are dispatched to the local skateboarding rink for a fall injury. • The scene is safe. • You find an 18-year-old male who is holding his left arm close to his chest. • He appears to be in a lot of pain. • He is conscious, alert, and oriented with no external bleeding.
You are the provider continued • What is the mechanism of injury? • What questions should you ask to determine the patient’s possible injury? • Should you stabilize the patient’s c-spine? • What could you do to ease the patient’s pain?
Scene Size-up • Carefully assess the MOI. • Observe for hazards and threats to safety; take BSI precautions. • Consider the need for spinal stabilization. • Evaluate the need for law enforcement. • Consider requesting ALS backup.
Initial Assessment (1 of 2) • Ask patient’s chief complaint; assess level of consciousness. • Ask about MOI. • Injuries to head may cause inadequate breathing. • You may administer oxygen to relieve anxiousness and improve perfusion. • Do not let the injury distract you from caring for ABCs.
Initial Assessment (2 of 2) • Treat patient for shock if signs of hypoperfusion are present. • Bandage bleeding extremities with sterile dressings to control bleeding • Do not make so tight as to restrict distal circulation. • Monitor bandage tightness by assessing circulation, sensation, and movement distal to injury. • Swelling may cause bandage to become too tight.
Transport Decision • Provide rapid transport if patient has airway or breathing problems. • If patient had significant MOI, transport rapidly even if patient seems okay. • Stabilize patient on a backboard.
You are the provider continued • You assess ABCs, take c-spine precautions, and provide oxygen via nonrebreathing mask. • Patient is a low-priority transport. • He tells you he fell while on a skateboard. He used his right arm to break the fall. • Heard a “pop” when he hit the concrete. Denies hitting his head or losing consciousness. • Right forearm is angulated slightly in the middle. He asks you not to touch it.
You are the provider continued • After your initial assessment, what should you do? • Describe the next phase of your assessment.
Focused History and Physical Exam • Use DCAP-BTLS. • Contusions, abrasions, or tenderness may be only signs of an underlying injury.
Rapid Physical Exam forSignificant Trauma • If you find no external signs of injury, ask patient to move each limb carefully, stopping immediately if this causes pain. • Skip this step if the patient reports neck or back pain. Slight movement could cause permanent damage to spinal cord.
Focused Physical Exam for Nonsignificant Trauma • Evaluate circulation, motor function, sensation. • If two or more extremities are injured, transport. • Severe injuries more likely if two or more bones have been broken • Recheck neurovascular function before and after splinting. • Impaired circulation can lead to death of the limb.
Assessing Neurovascular Status (1 of 4) • If anything causes pain, do not continue that portion of exam. • Pulse • Palpate the radial, posterior tibial, and dorsalis pedis pulses.
Assessing Neurovascular Status (2 of 4) • Capillary refill • Note and record skin color. • Press the tip of the fingernail to make the skin blanch. If normal color does not return within 2 seconds, you can assume that circulation is impaired.
Assessing Neurovascular Status (3 of 4) • Sensation • Check feeling on the flesh near the tip of the index finger. • In the foot, check the feeling on the flesh of the big toe and on the lateral side of the foot.
Assessing Neurovascular Status (4 of 4) • Motor function • Evaluate muscular activity when the injury is near the patient’s hand or foot. • Ask the patient to open and close his or her fist. • Ask the patient to wiggle his or her toes.
Baseline Vital Signs/SAMPLE History • Obtain baseline vital signs as soon as possible. • Shock is common. • Attempt to obtain SAMPLE history without delaying transport. • Extent of history depends on how quickly you need to transport.
Interventions • Stabilize ABCs. • Control serious bleeding. • Secure patient to a backboard if critically injured. • Provide prompt transport. • If patient is not critically injured, splint on scene. • Goal is to stabilize injury in most comfortable position that allows for maintenance of good circulation distal to site.
You are the provider continued (1 of 2) • You begin a focused physical exam. • You note tenderness, swelling, and crepitus with gentle palpation in the right mid-forearm. • Patient can feel you touch his fingers. Distal pulse is found. Capillary refill is normal. • Your partner manually stabilizes the injured extremity. You begin the SAMPLE history and assess vital signs.
You are the provider continued (2 of 2) • Describe your emergency care.
Detailed Physical Exam • Inspect and gently palpate other extremities and the spine to identify underlying fractures, dislocations, or sprains. • Compare injured limb to opposite, uninjured limb.
Ongoing Assessment • Repeat initial assessment and vital signs. • Reassess interventions. • Reassess neurovascular function and color of splinted injured extremity distal to injury site. • Communication and documentation • Report problems with ABCs, type of fracture, and if circulation was compromised before or after splinting. • Document complete descriptions of injuries and MOIs.
Emergency Medical Care • Completely cover open wounds. • Apply the appropriate splint. • If swelling is present, apply ice or cold packs. • Prepare the patient for transport. • Always inform hospital personnel about wounds that have been dressed and splinted.
Splinting • Flexible or rigid device used to protect extremity • Injuries should be splinted prior to moving patient, unless the patient is critical. • Splinting helps prevent further injury. • Improvise splinting materials when needed.
General Principles of Splinting (1 of 3) • Remove clothing from the area. • Note and record the patient’s neurovascular status. • Cover all wounds with a dry, sterile dressing. • Do not move the patient before splinting.
General Principles of Splinting (2 of 3) • Immobilize the joints above and below the injured joint. • Pad all rigid splints. • Apply cold packs if swelling is present. • Maintain manual immobilization. • Use constant, gentle, manual traction if needed. • If you find resistance to limb alignment, splint the limb as is.
General Principles of Splinting (3 of 3) • Immobilize all suspected spinal injuries in a neutral in-line position. • If the patient has signs of shock, align limb in normal anatomic position and transport. • When in doubt, splint.
In-line Traction Splinting • Act of exerting a pulling force on a bony structure in the direction of its normal alignment. • Realigns fracture of the shaft of a long bone. • Use the least amount of force necessary. • If resistance is met or pain increases, splint in deformed position.
Applying a Rigid Splint (1 of 2) • Provide gentle support and in-traction of the limb. • Another EMT-B places the rigid splint alongside or under the limb. • Place padding between the limb and splint as needed.
Applying a Rigid Splint (2 of 2) • Secure the splint to the limb with bindings. • Assess and record distal neurovascular function.
Applying a Zippered Air Splint • Hold the injured limb, apply gentle traction and support the injury site. • Partner should place splint around extremity. • Zip up the splint. • Inflate by pump or mouth. • Test the pressure in the splint. • Check and record distal neurovascular function.
Applying an Unzippered Air Splint • Support limb. • Place arm through splint and grasp hand or foot of injured limb. • Apply gentle traction to hand or foot while sliding splint onto injured limb. • Inflate by pump or mouth. • Test pressure. • Check and record pulse, motor, and sensory function and monitor.
Applying a Vacuum Splint • Stabilize and support the injury. • Place the splint and wrap it around the limb. • Draw the air out of the splint and seal the valve. • Check and record distal neurovascular function.
Traction Splints • Do not use a traction splint under the following conditions: • Upper extremity injuries • Injuries close to or involving the knee • Pelvis and hip injuries • Partial amputation or avulsions with bone separation • Lower leg, foot, or ankle injuries
Applying a Hare Traction Splint(1 of 3) • Expose the injured limb and check pulse, motor, and sensory function. • Place splint beside the uninjured limb, adjust to proper length, and prepare straps. • Support the injured limb as your partner fastens the ankle hitch.
Applying a Hare Traction Splint(2 of 3) • Continue to support the limb as your partner applies gentle in-line traction to the ankle hitch and foot. • Slide the splint into position under the injured limb. • Pad the groin and fasten the ischial strap.
Applying a Hare Traction Splint (3 of 3) • Connect loops of ankle hitch to end of splint as your partner continues traction. • Carefully tighten ratchet to the point that splint holds adequate traction. • Secure and check support straps. • Assess distal neurovascular function. • Secure the patient and splint to long board for transport.