Download
1 / 17
370 likes | 998 Views
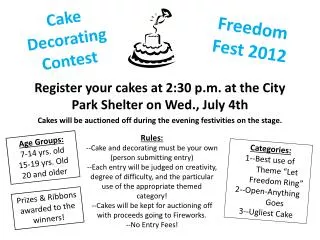
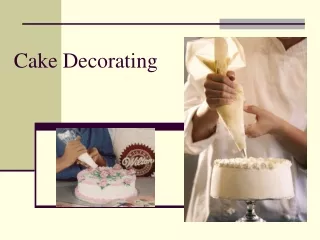
Cake Decorating. Before Beginning…. Using a two-part device called a coupler lets you interchange several decorating tips without changing the bag.

E N D
Before Beginning… • Using a two-part device called a coupler lets you interchange several decorating tips without changing the bag. • The two parts of the coupler are the base and the ring. The base fits inside the bag, then you put the decorating tip of your choice over the portion of the coupler that sticks out of the bag. When you screw the ring on, you've locked the decorating tip onto the coupler and bag.
Disposable Bag • Unscrew coupler ring. Notice that the threads in the coupler base start about 1/2 in. above the tip. Push the coupler base into the bag as far down as possible. With scissors, trim bag about 1/4 in. below bottom edge of coupler. Position decorating tip over coupler base and bag. Screw ring in place to secure. To change decorating tips, unscrew ring, replace decorating tip and screw on ring.
Filling the Bag The most important thing to remember is don't overfill, or icing may squeeze out the wrong end. The right amount of icing to start with is about 1/2 cup.
Filling the Bag • Fold down the top to form a generous cuff, and hold the bag beneath the cuff. Use your spatula to fill the bag with approximately three tablespoons of icing at a time.
Filling the Bag • To remove icing from the spatula, hold the bag on the outside between the thumb and fingers. Then pull the spatula out of the bag, using the bag and your fingers to squeeze the icing off.
Closing the Bag • Unfold the cuff and twist the bag closed, forcing the icing down into the bag. You can make sure you've released any air trapped in the bag by squeezing some of the icing out of tip into the bowl. This is called "burping" the bag.
Using a Pastry Bag • The size and the uniformity of the icing are dependent on how the pressure and the grip of the decorating bag. So we have to apply just the right pressure so consistently that we can shift the bag around in such a way that the right amount of icing flows through the tip.
Icing Consistency • As a general guideline, if you are having trouble creating the decorations you want and you feel your icing is too thin, add a little more confectioner's sugar; if you feel your icing is too thick, add a little more liquid.
Stiff Icing • Stiff icing is used for figure piping and stringwork and for decorations like roses, carnations and sweet peas with upright petals. If icing is not stiff enough, flower petals will droop.
Medium Icing • Medium icing is used for decorations such as stars, shell borders and flowers with flat petals. If the icing is too stiff or too thin, you will not get the uniformity that characterizes these decorations.
Thin Icing • Thin icing is used for decorations such as printing and writing, vines and leaves. Leaves will be pointier, vines will not break and writing will flow easily if you add 1-2 teaspoons light corn syrup to each cup of icing. Thin icing is used to ice cakes smooth. Begin with your prepared icing recipe, then add small amounts of the same liquid used in the recipe (usually milk or water) until the proper spreading consistency is reached
Correct Bag Position • Angle refers to the position of the bag relative to the work surface. There are two basic angle positions, 90° (straight up) and 45° (halfway between vertical and horizontal).
Direction • The angle in relation to the work surface is only half the story on bag position. The other half is the direction in which the back of the bag is pointed.
Direction • Bag at 6:00
Direction • Bag at 3:00
Finishing the Cake • Put a top and bottom border on your cake so that the decoration looks complete.