Download
1 / 30
500 likes | 1.16k Views
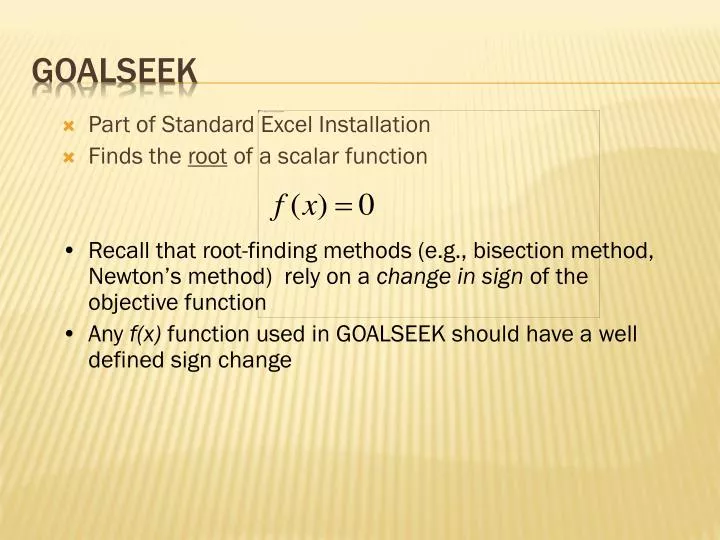
Part of Standard Excel Installation Finds the root of a scalar function. GOALSEEK. Recall that root-finding methods (e.g., bisection method, Newton’s method) rely on a change in sign of the objective function Any f(x) function used in GOALSEEK should have a well defined sign change.

E N D
Part of Standard Excel Installation Finds the root of a scalar function GOALSEEK • Recall that root-finding methods (e.g., bisection method, Newton’s method) rely on a change in sign of the objective function • Any f(x) function used in GOALSEEK should have a well defined sign change
Use Excel’s GOALSEEK feature to find the root of f(x) = x – cos(x) between 0 and 1. GOALSEEK - Example
Make use of named ranges in Excel • Create solution variable cell “xval” and target cell “fofx” GOALSEEK - Example
Highlight cells that will be named. Under Formulas Tab select Create from Selection
Input the function into the “target cell” • Use the named variable • Type “=xval – cos(xval)” into the target cell GOALSEEK - Example
Put an initial guess in the variable cell • 0.5 is the middle of the interval, so use it • Now invoke the GOALSEEK function • You can use the named ranges in the GOALSEEK dialog box, or point and click GOALSEEK - Example
GOALSEEK Goal Seek found on Data Tab under “What-If Analysis”
Then click “OK” GOALSEEK - Example
Solver is an “add-in” to Excel It is not installed by default SOLVER will find a particular value, the maximum, or the minimum of a scalar function of a vector SOLVER
Uses a gradient-based method (like Newton’s method) to find the root or the max/min Works very well for functions that have a well-defined minimum (or maximum), like a quadratic form (a parabola) SOLVER
Finding the Add-ins in Excel 2000 Go to Excel Options
FINDING The add-ins in Excel Go to Add-Ins Tab on left and click Go at bottom
Finding The Add-ins in Excel Make sure Solver Add-In is checked and click ok
Finding the SOLVER Add-in Now go to Data tab and click on Solver on the far right
Find the minimum of SOLVER - Example f(x,y)=(x-5)2 + (y-5)2
Use named ranges to establish variables for ‘xval’ and ‘yval’ Use named range to create a target cell ‘fxy’ SOLVER - Example
Put initial guesses for xval, yval in their cells (use (0,0)) Type the formula into the target cell (“=(xval-5)^2 + (yval-5)^2”) SOLVER - Example
Invoke the SOLVER function SOLVER - Example
Define and solve a problem by using Solver • On the Data Tab, click Solver (far right). • If the Solver command is not on the Data Tab, you need to install the Solver add-in. • In the Set Target Cell box, enter a cell reference or name for the target cell. The target cell must contain a formula. MicroSoft Help on “SOLVER”
Example 2: Invoking the SOLVER function Solver is found on far right of Data tab
To have the value of the target cell be as large as possible, click Max. • To have the value of the target cell be as small as possible, click Min. • To have the target cell be a certain value, click Value of, and then type the value in the box. • In the By Changing Cells box, enter a name or reference for each adjustable cell, separating nonadjacent references with commas. The adjustable cells must be related directly or indirectly to the target cell. You can specify up to 200 adjustable cells. MicroSoft Help on “SOLVER”
To have Solver automatically propose the adjustable cells based on the target cell, click Guess. • In the Subject to the Constraints box, enter any constraints you want to apply. • Click Solve. • To keep the solution values on the worksheet, click Keep Solver Solution in the Solver Results dialog box. MicroSoft Help on “SOLVER”
To restore the original data, click Restore Original Values. • Tips • You can interrupt the solution process by pressing ESC. Microsoft Excel recalculates the worksheet with the last values found for the adjustable cells. MicroSoft Help on “SOLVER”