Download
1 / 39
390 likes | 571 Views
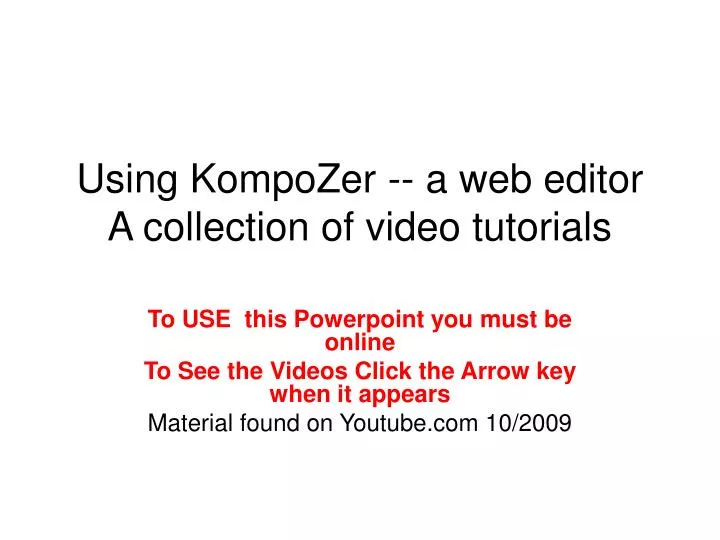
Using KompoZer -- a web editor A collection of video tutorials. To USE this Powerpoint you must be online To See the Videos Click the Arrow key when it appears Material found on Youtube.com 10/2009. Introduction to KompoZer. Source: http://www.youtube.com/watch?v=balaIg2aLkg.

E N D
Using KompoZer -- a web editorA collection of video tutorials To USE this Powerpoint you must be online To See the Videos Click the Arrow key when it appears Material found on Youtube.com 10/2009
Introduction to KompoZer Source: http://www.youtube.com/watch?v=balaIg2aLkg
Download and Install Source: http://www.youtube.com/watch?v=blswgvw9E3k
How to Download and Set Up Source: http://www.youtube.com/watch?v=blswgvw9E3k
Getting Started - 1 Source: http://www.youtube.com/watch?v=eBkvyTBq47Y
Getting Started -2 Source: http://www.youtube.com/watch?v=cokpGGXzzxw
Getting Started – 3Setting KompoZer Parameters Source: http://www.youtube.com/watch?v=gTSTrYpCTY4
The Link Properties Dialog The URL can be an absolute URL, in which case: • Type it in the "Link to" window in the dialog box. • Copy from the Netscape Location: window and paste in the second window. • Place the mouse on the text link and click the right mouse button; then select the Copy Link to Clipboard option. Finally, paste it in the "Link to" window. The URL can be a file in the current system's directory, (i.e. a relative URL). • A simpler method is to click [Choose file..] and use the usual Window's directory dialog box to find the correct file, highlight it, and click [Open]. • After the link's text and URL are completed and click [OK].
Adding a Link Source: http://www.youtube.com/watch?v=xNETETNlICw
Adding Images with KompoZer Source:http://www.youtube.com/watch?v=2GXx_X2oUMg
Creating Lists Source: http://www.youtube.com/watch?v=3BaEl5UmdUs
Adding Video and other Media • Review the [Insert] Button
An Example of adding media • Note this example also shows you how to create a Logo page • Shows setting the page color and background image • Setting up and using a table tools. • Inserting Youtube videos.
The Example – A capture page Source: http://www.youtube.com/watch?v=7cudH9fNeMM
Forms Forms: Allows for interaction between the user and the web page or the web server. This is a necessary requirement for e-business and distance learning.
Creating the form <form></form> • The form tag creates a container for all of the rest of the input tags, thus the first step to creating a Form on a page is [Form]/define form… • Fill out the Definition dialog box • After filling out the form and clicking [OK] a box will appear on the screen as doted lines.
Form Name • The form name can be anything that is not a reserved one. • It is a good idea to name the form in a meaningful manner. The form is an object. When programmers refer to it is easier to refer it by name.
About Encoding The Commonly Supported Encoding Types
The Components of the Form Container These other tags go inside the Form, i.e. you only use one form container but you can have as many components as you need • Form Field (input type) • Form Image • Text Area • Selection List … • Define Button … • Define Label …
Form Field (input type) • [Form]/ Form Field.. • A selector will occur with all of the input types: • Text • Password • Checkbox • Radio Button • Submit button • Reset button • File • Hidden • Image • Button.
Form Field (input type) more • Note the radio button requires that you put then into a group, since only one of the group can be selected. • Every member must have the same group name (spelling and case). • The field value is the value that goes with that choice. • One of the group can be checked as Initially Selected to indicate the normal choice.
Form – Define Button • In order for this option to work correctly is to highlight the text to appear on the button and then select [Form]/Define Button .. • For example to create a submit button Highlight the word “submit” and then
Design of a Form Source: http://www.youtube.com/watch?v=ymqwCSPsfww
Creating Forms in KompoZer Source:http://www.youtube.com/watch?v=ymqwCSPsfww
Before Watching the Publishing Video • Read carefully the specific parameters of the Course web site. • You will need these to enter these values in the Publishing tabs forms
First Step -- Publish button • Click [Publish] • Click Setting Tab • Site Name – Ceweb.uml.edu • Pub address – ftp://ceweb.uml.edu/ • Http address (URL) -- http://ceweb.uml.edu/User_id • Note User_id • Fill in the User_id and Password
Before Publishing After the Web page has been: • Created, • Edited, • Checked for grammar, spelling, content, and appearance, and • Finally validated [Tools]/Validate HTML then it is ready to be uploaded to your website (Published).
HTML Flash Embed Source: http://www.youtube.com/watch?v=-L4pMmyMwMU