Download
1 / 9
90 likes | 95 Views
How to Setup Epson Surecolor P5000 Printer? 1-844-266-0040 for Epson Surecolor P5000 Wireless Printer Setup, Connect Epson Surecolor P5000 Printer to Wifi

E N D
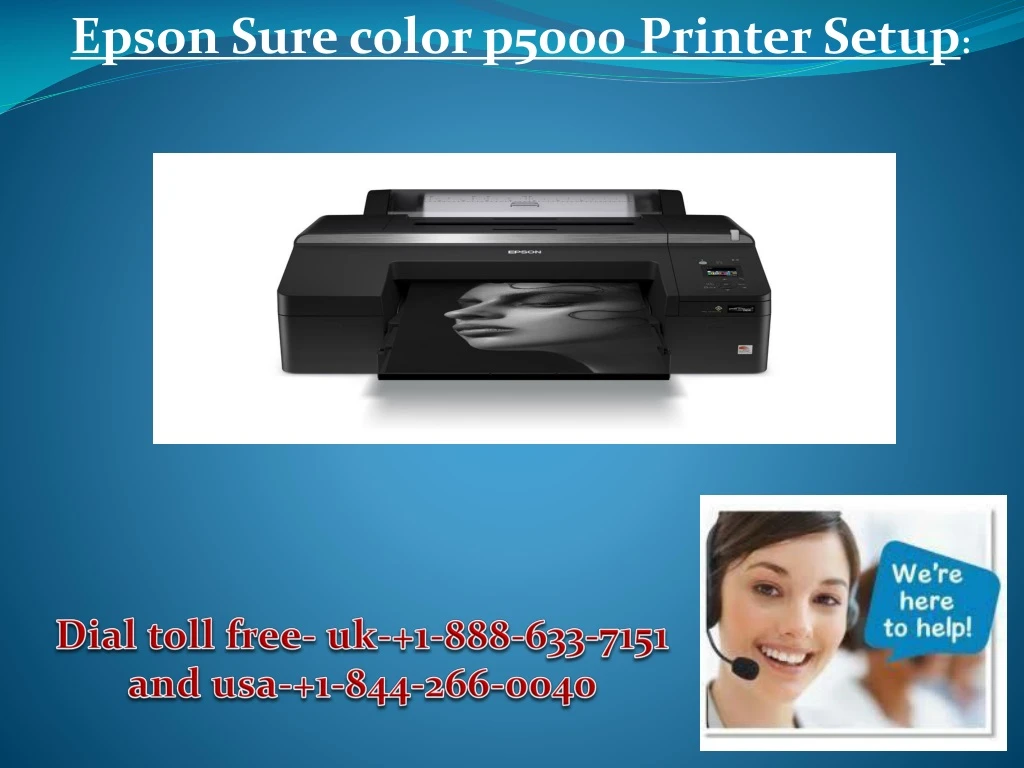
Epson Sure color p5000 Printer Setup: Dial toll free- uk-+1-888-633-7151 and usa-+1-844-266-0040
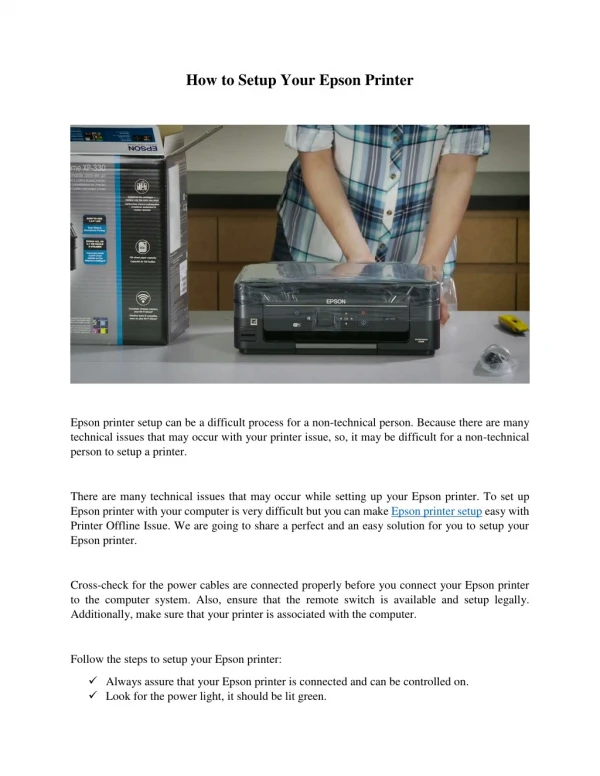
Epson Surecolor p5000 Printer Setup: • Unpack Your Printer: • Please make sure you’ve got all the products. • Remove the tape from your printer’s front portion. • Lift your output tray corner and remove it to dismantle it. • Remove from the production tray all the tapes and packing material. • Remove the paper drawer and open your printer’s cover. Remove all the tape and material in the product and shut down the top cover you opened. • Replace the drawer and paper drawer production. • Remove the tape that covers your printer’s back.
Turn on your configuration printer: • Connect the primary wire of your printer to the energy source to set up Epson surecolor p5000 printer. • Use the energy button to turn on your printer. • Select the ink set placed on your printer’s control panel. • Once the charging starts, you can not make any adjustments to the settings. • It will take a minute to initialize. It is suggested that the ink cartridges not be changed before the process is completed.
Install Ink Cartridges: • Use the ink cartridges that came with your printing device to charge ink. • Press the covers on the right and left side of the ink cabinet to open it. • Take out the ink compartment package material. • Remove the ink cartridge covers. Now, shake at least 15 seconds of the ink cartridges. • Place in their slots each of the ink tanks. Push them to click. • Close the rooms for the ink. • The ink will be charged by the printer. This will take about twenty minutes.Do not switch off your printer, load paper, open the covers to finish the process. • Load Paper:
Load Paper: • Load sheets in the paper tray of the same size. • To select the cut sheet, open the control panel and click the left arrow and down arrow key. Now, choose all right. 2. Lift the corner of the output tray to remove it. • Remove and remove the paper tray. • Move out the guides of the corner. • Load the sheets facing down in the cabinet with the side to be printed. Please make sure the paper you loaded fits in the left corner of the arrow. • Slide the edges but not very tightly against the paper. • Now, softly press inside the printer the paper cassette. • Change the output tray and extend it for adjusting its paper size and length.
Roll Paper: • Based on the core size of the roll paper, the core adapter to the spindle must be removed. If you want to print borderlessly, the spacer must also be installed. To roll the paper, follow these measures. • Remove from one end of your spindle the paper stop to set up Epson p5000 printer 2. Roll the paper so that it can be placed in your spindle. Push the position until your spindle is finished. • Place the paper stop on your spindle once you’ve pushed the paper on the spindle. • Please make sure you have selected the paper function setting to roll your paper. Now, click the control panel for your printer’s left arrow button. After that, to select cut / roll paper or roll paper / no cut, click the down arrow button. Then press all right. 5. Open the paper cover for the roll. • Make sure that the black end of your spindle is on the left hand while putting the roll paper in your printer. • Press the button on the control panel to feed the paper. • Place your roll paper edge in your roll paper feeder. • After clicking the button, in the printing position, the printer will automatically begin feeding the document. • Shut down the paper roll cover. • Go to the control panel and select Yes to use the type environment of the displayed media. To select a fresh environment, select No. • Take the production tray out. However, do not raise the stopper. If at the moment of printing the stopper is raised, then paper may not eject properly.
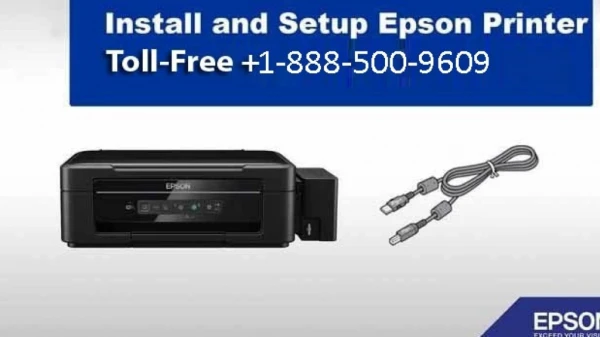
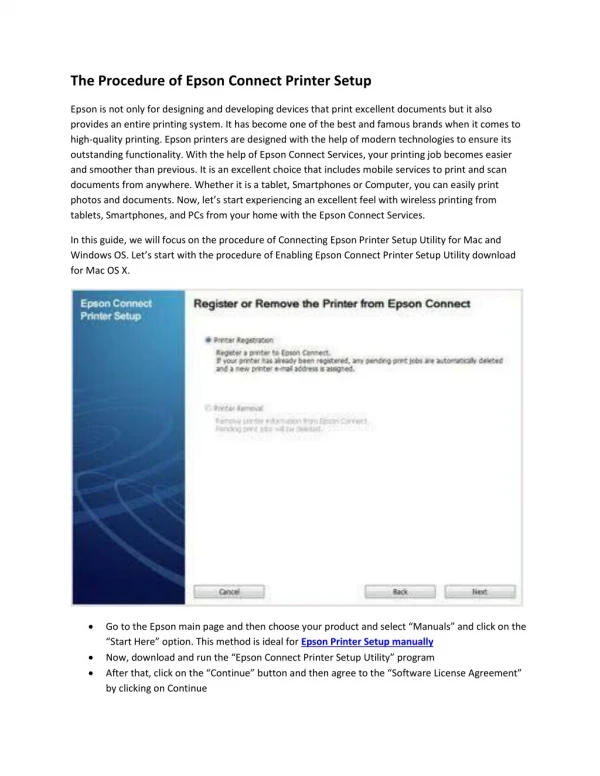
Install Software: • To download the printer software to the Epson p5000 printer, you must have an online link. • Please make sure you do not connect your printer to the computer system. • Download the printer product software package now. • Follow the instructions provided to run the setup program on the screen afterwards. • Either select wired network connection or Direct USB connection when viewing the screen of your connection.
Get in touch with us • Visit our site-https://www.epsonprintersupport247.com/how-to-setup-epson-surecolor-p5000-printer/ • Dial toll free- USA-+1-844-266-0040 • Dial toll free- UK-+1-888-633-7151