Download
1 / 7
70 likes | 75 Views
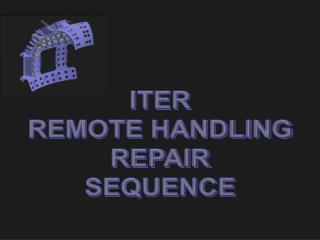
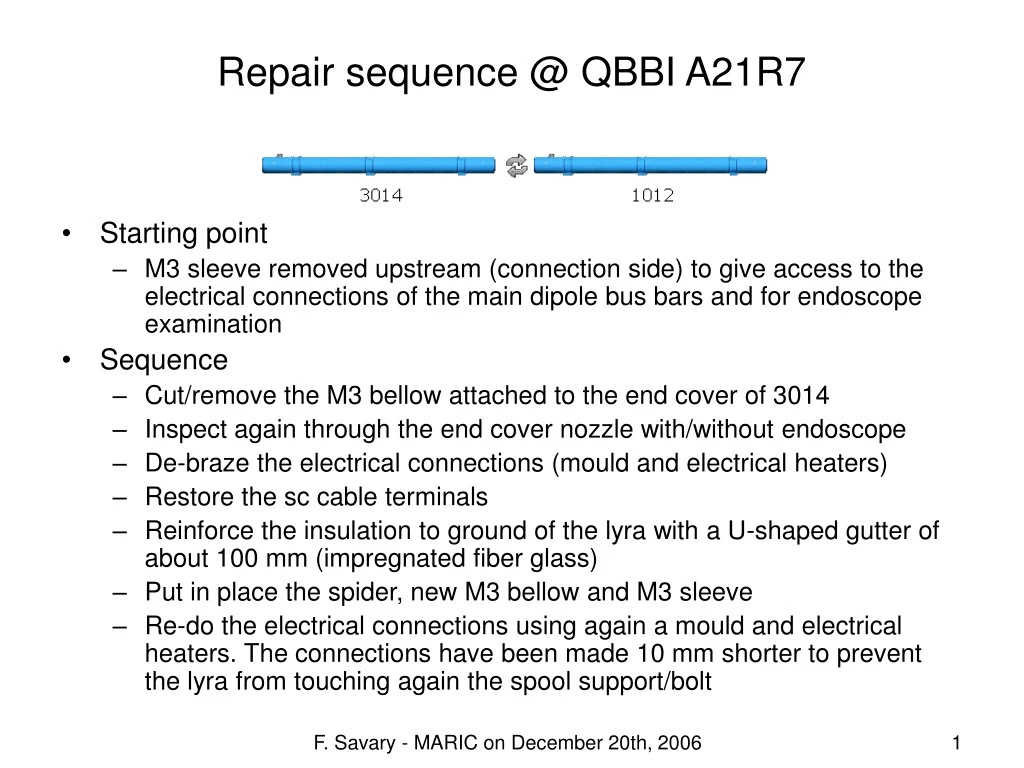
Repair sequence @ QBBI A21R7. Starting point M3 sleeve removed upstream (connection side) to give access to the electrical connections of the main dipole bus bars and for endoscope examination Sequence Cut/remove the M3 bellow attached to the end cover of 3014

E N D
Repair sequence @ QBBI A21R7 • Starting point • M3 sleeve removed upstream (connection side) to give access to the electrical connections of the main dipole bus bars and for endoscope examination • Sequence • Cut/remove the M3 bellow attached to the end cover of 3014 • Inspect again through the end cover nozzle with/without endoscope • De-braze the electrical connections (mould and electrical heaters) • Restore the sc cable terminals • Reinforce the insulation to ground of the lyra with a U-shaped gutter of about 100 mm (impregnated fiber glass) • Put in place the spider, new M3 bellow and M3 sleeve • Re-do the electrical connections using again a mould and electrical heaters. The connections have been made 10 mm shorter to prevent the lyra from touching again the spool support/bolt F. Savary - MARIC on December 20th, 2006
Where was the problem? 3014Lyra compressed A cold mass in production at ASG F. Savary - MARIC on December 20th, 2006
Improve access for inspection and repairPreparation for de-brazing F. Savary - MARIC on December 20th, 2006
Preparation of the insulation gutter F. Savary - MARIC on December 20th, 2006
Put in place the insulation gutter and re-do the electrical connection F. Savary - MARIC on December 20th, 2006
Tooling for the electrical connection (270°C for about 5 min) F. Savary - MARIC on December 20th, 2006
Electrical connection finished and insulated Many thanks to the participants: Max Duret, Jacques Fataz, André Jacquemod, Roberto Lopez, Willemjan Maan, Alain Poncet, Marc Pozzobon, Davide Tommasini, Stephane Triquet, Claude Urpin … and the others for their help/support F. Savary - MARIC on December 20th, 2006