Download
1 / 14
140 likes | 287 Views
Pinhole Photography for the DSLR. Scott Hull GSFC Photo Club 4/20/2011. History. Also known as a camera obscura Effect described as early as 5 th century BC Aristotle, Bacon, and da Vinci all studied it Initially a room, with the image projected on a wall

E N D
Pinhole Photography for the DSLR Scott Hull GSFC Photo Club 4/20/2011
History • Also known as a camera obscura • Effect described as early as 5th century BC • Aristotle, Bacon, and da Vinci all studied it • Initially a room, with the image projected on a wall • Portable versions with projection screens for drawing • First known pinhole photograph in 1850 • Popular mostly in late 19th century • Revived in the 1960’s for artistic purposes • Has been used in spacecraft for X-ray imaging
Resources • Cameras • Many are homemade • Commercial cameras are available • Modifications for the DSLR • Photographic Medium • Film • Photographic paper • CCD • Information • Dozens of web sites • Very big in the UK
Making the Aperture (1) • Materials • Aluminum can • Aluminum foil • Brass shim stock • Punch • Needle or pin • Mounted in a pencil eraser • Can be sharpened with sandpaper • Technique • Thin the stock to weaken it, and provide better optics • Punch and twist, to get a round hole • Sand any burrs flat
Making the Aperture (2)http://www.alscotts.com/techniques/pinhole/
Practical Aspects • DSLR makes things much easier • Light meter • High ISO values available for short exposures • “Film” is cheap • Use a tripod for long exposures • Dust on the sensor is a big problem • Remove with a low pressure puff of air (don’t blow it!) • Consider movement - blurring • Usually not desirable • Can be an interesting effect
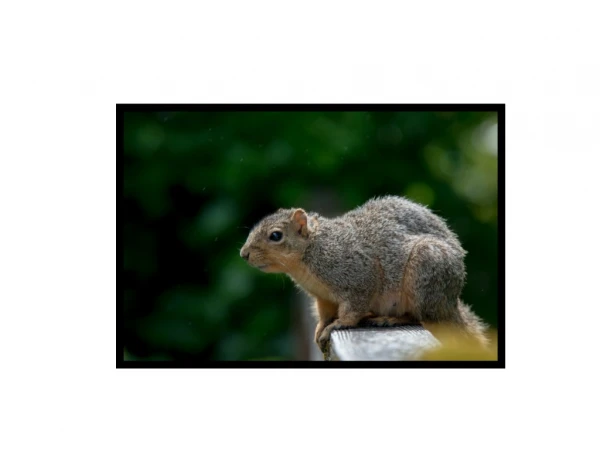
My Examples 0.16 mm aperture
Theoretical Optimum Hole Size R = 0.95 √ (λ d) R = radius of the hole λ = wavelength (550 nm average) d = focal distance (usually 50 mm) • For most DSLRs, then R = 0.157 mm (hole diameter = 0.315 mm) • Aperture: f = d/2R = f 159
Actual Optimization • Smaller is better • Roundness is critical • Flatness is important • Stock thickness has an effect as well • Thinner is better • Wider field of view with thinner stock vs.
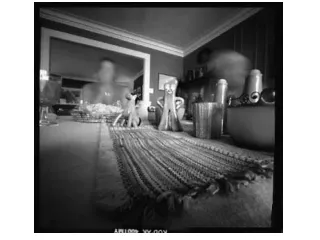
Extreme ExampleSIX MONTH exposure onto photo paper Notice the lines traced by the sun as it crossed the sky day after day, after day… http://www.geardiary.com/2010/07/28/photographer-uses-soda-can-camera-to-capture-6-month-long-exposure/
Worldwide Pinhole Photography Day • http://www.pinholeday.org/ • Last Sunday in April every year • April 23 to May 1 this year, because of Easter • Take as many images as you want, but only submit one • Submit photos as a part of the Goddard Photo Club workshop: "NASA/Goddard:Greenbelt"