Download
1 / 17
170 likes | 333 Views
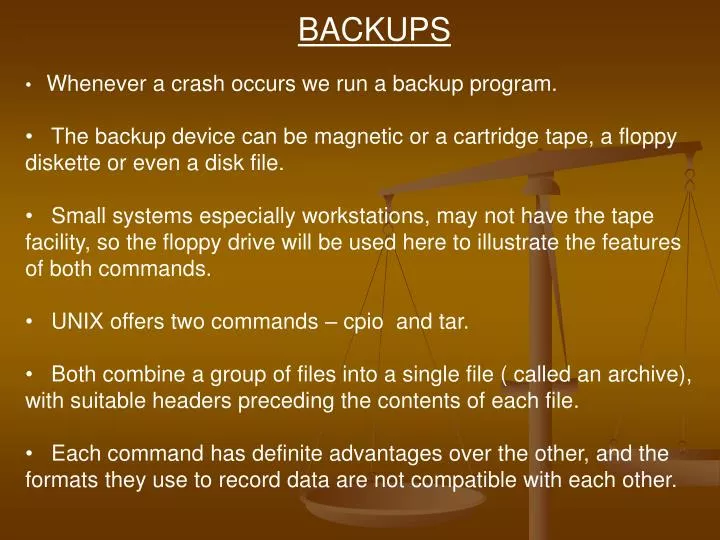
BACKUPS. Whenever a crash occurs we run a backup program. The backup device can be magnetic or a cartridge tape, a floppy diskette or even a disk file.

E N D
BACKUPS • Whenever a crash occurs we run a backup program. • The backup device can be magnetic or a cartridge tape, a floppy diskette or even a disk file. • Small systems especially workstations, may not have the tape facility, so the floppy drive will be used here to illustrate the features of both commands. • UNIX offers two commands – cpio and tar. • Both combine a group of files into a single file ( called an archive), with suitable headers preceding the contents of each file. • Each command has definite advantages over the other, and the formats they use to record data are not compatible with each other.
Copy input-output – the cpio Command • cpio (copy input output) copies files to and from a backup device. • It uses standard input to take the list of filenames. • It then copies them with their contents and headers to a stream which can be redirected to a file or device. This means that cpio can be used with redirection and piping. • cpio uses two key options, -o (output) and i (input) two commands should not be placed at a time.
Packing up files(-o) • Since cpio uses only standard input, you can use ls to generate a list of filenames to serve as its input. The –o key option creates the archive on the standard output, which you need to redirect to a device file. • $ ls | cpio –ov > /dev/rdsk/foq18dt Array.pl Calendar Convert.sh • The –v verbose option displays each file name on the terminal when its being copied. • cpio needs as input a list of files, and if this list is available in a file, redirection can be used too. • $cpio –o >/dev/rdsk/foq18dt < flist.
Incremental Backups: • find can also produce a file list, so any files that satisfy its selection criteria can also be backed up. • You will frequently need to use find and cpio in combination to backup selected files. • Find the files those that have been modified in the last two days. • Shell command • find . –mtime -2 –print | Cpio –ovB > /dev/rdsk/foq18dt • Since the path list of find is dot, the files are backed up with their relative path names. • However if it is /, find will use absolute pathnames • -B sets block size to 5120. for higher sizes –c option is used. • [Find . –mtime -2 –print | cpio –ovc 51200 > /dev/rdsk/foq18dt]
Multivolume backups • When the created archive in the backup device is larger than the capacity of the device, cpio prompts for inserting a new diskette into the drive. • Find . –mtime -2 –print | cpio –ocB > /dev/rdsk/foq18dt • Output: • Reached the end of the medium on output. • If you want to go on, type device/filename when ready • /dev/fd0 • 3672 blocks • Enter the device when cpio pauses to take input. In this way, an archive can be split into several extents(volumes).
Restoring Files • A complete archive or selected files can be restored with the –i key option • To restore files, use redirection to take input from the device. • $cpio –iv < /dev/rdsk/foq18dt • Array.pl • Calendar • a.sql • When restoring subdirectories, cpio assumes that the subdirectory structures are also maintained on the hard disk; it cant create them in case they are not. • However the –d (directory) option overrides that. • cpio also accepts a quoted wild card pattern, so multiple files fitting the pattern can be restored. Restoring only the shell scripts becomes quite easy. • $Cpio –iv “*.sh” < /dev/rdsk/foq18dt
Handling modification times • Use the –m option to tell cpio that the modification time has to be retained. • cpio compares the modification time of a file on the media with the one on disk (if any). If the disk file is newer than the copy, or of the same age, then it wont be restored. • cpio then echoes the message. • “current <unit14> newer” • This is useful built in protection feature that safeguards the latest version of a file. However these can be overridden with the –u(unconditional) option .
Displaying the archive • The –t option displays the contents of the device without restoring the files. This option must be combined with the –i key option. • $cpio –itv “*.sh” < /dev/rdsk/foq18dt • Other options • -d creates directories as and when needed • -c writes header information in ASCII form for portability • -r renames the file in interactive manner • -f exp copies all files except those in expression • Copy all files except those in expression • $Cpio –ivf “*.c” < /dev/rdsk/foq18dt
The “tape” archive Program – the tar Command • tar is a versatile command with certain exclusive features not found in cpio. • It doesn’t use standard input to obtain its file list. Tar accepts file and directory names as arguments. • It copies one or more entire directory trees, i.e. it operates recursively by default. • It can append to an archive without overwriting the entire archive. • The common key options are. • -c ----- copy • -x ----- extract • -t ----- table of contents • -f ----- additionally used for specifying device name
Backing up files (-c) • tar accepts directory and file names directly on command line. The –c option is used to copy files to the backup device. The –v verbose option shows the progress of the backup. • $tar –cvf /dev/rdsk/foq18dt /home/sales/sql/*.sql • a /home/sales/sql/a.sql 1 tape block • a /home/sales/sql/a.sql 1 tape block • The ‘a’ before each pathname indicates that the file is appended. • The command backs up all sql scripts with absolute pathnames. • They can only be restored in the same directory.
The advantage of tar lies in that it can copy an entire directory tree with all its subdirectories • 18 tell to execute the program faster (i.e. 18*2*512 bytes) • $tar –cvfb /dev/rdsk/foq18dt 18* • The above command doesn’t backs up the hidden files. • $tar –cvfb /dev/rdsk/foq18dt 18. • The above command backs up the hidden files. • The files here are backed up with their relative pathnames, assuming they all fit in one diskette. • If they don’t, tar in system V can accommodate them as much as much as possible and then quit the program without warning.
Multivolume Backups • For multivolume backups tar in solaris uses –k option followed by the volume size in kilobytes. • $tar –cvfkb /dev/rdsk/foq18dt 1440 18 index • Output: • Volume ends at 1439, blocking factor=18 • Tar: large file index needs 2 extents • Tar: Current device seek position =ok • +++ a index 1439 [extent #1 of ] • Tar: please insert new volume, then press RETURN Tar estimates that two 1440kb diskettes will be required.
Restoring Files • Files are restored with the –x(extract) key option. • When no file or directory name is specified, it restores all files from the backup device. • The following command restores the files just blocked up. • #tar –xvfb /dev/rdsk/foq18dt • Output: • /home/sales/sql/a.sql 169 bytes , 1 tape blocks • /home/sales/sql/b.sql 456 bytes , 1 tape blocks • /home/sales/sql/c.sql 4855 bytes , 1 tape blocks
Selective Extraction • It is possible by providing one or more directory or filenames. • #tar –xvF /dev/rdsk/foq18dt /home/sales/SQL/a.sql • Unlike cpio, when files are extracted, the modification time of the files also remain unchanged. This can be overridden by the –m option to reflect the system time at the time of extraction. • Key options: • Option significance • -c creates a new archive. • -x extracts files from archive. • -t List contents of archive. • -r Appends file at the end of the archive. • -u Like r, but only if files are newer than archive
Non key options • -f device uses pathname device. • -v verbose option lists files in long format. • -w confirms from user about action to be taken. • -b n uses blocking factor n, when n is restricted to 20 • -m changes modification time of file to time of extraction. • -I file_name Takes file name from file(solaris only) • -T file_name Takes file name from file(Linux only) • -X file_name Excludes filenames in file • -K num Multivolume backup sets size of volume to num kilo bytes. • -M Multivolume backup Linux only. • -Z compress/uncompress with gzip(linux only)
Displaying the archive • Like in cpio, the –t key displays the contents of the device in a long format similar to the listing. • #tar –tvf /dev/rdsk/foq18dt • Output: • rwxr_xrwx 203/50 472 jan 4 09:355 1991 ./dentry.sh • rwxr_xrwx 203/50 472 jan 4 09:355 1991 ./dentr.sh • If you want to extract the file func.sh from the diskette. • #tar –tvf /dev/rdsk/foq18dt func.sh • Tar:func.sh: not found in archive • Tar failed to find the file because it existed there as ./func.sh and not func.sh put the ./ before the file name and get it. • #tar –tvf /dev/rdsk/foq18dt ./func.sh
Other options: • The –r option is used to append a file to an archive. The unusual outcome of this is that an archive can contain several versions of the same file. • The –u option also adds a file to an archive but only if the file is not already there or is being replaced with a newer version. You cant use the –c option when using either –r or –u. • The –w option permits interactive copying and restoration. It prints the name of the file and prompts for the action to be taken(yes or no).