Download
1 / 2
20 likes | 128 Views
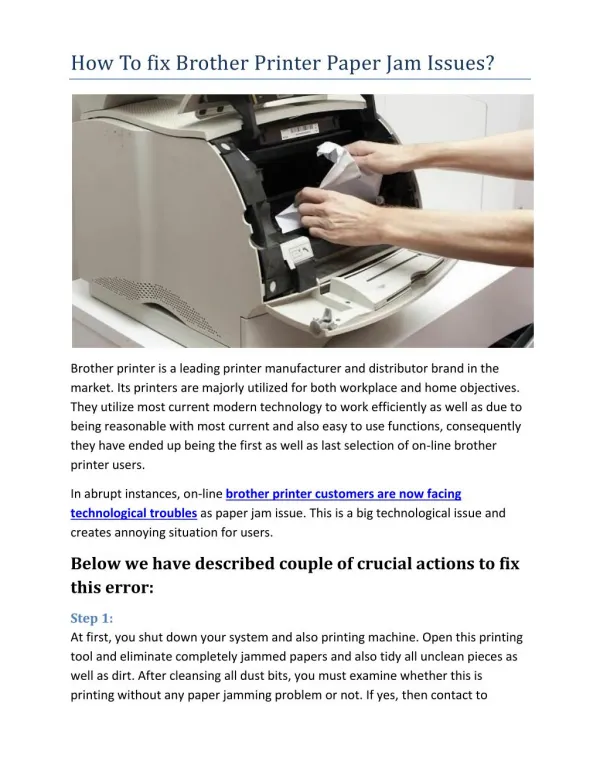
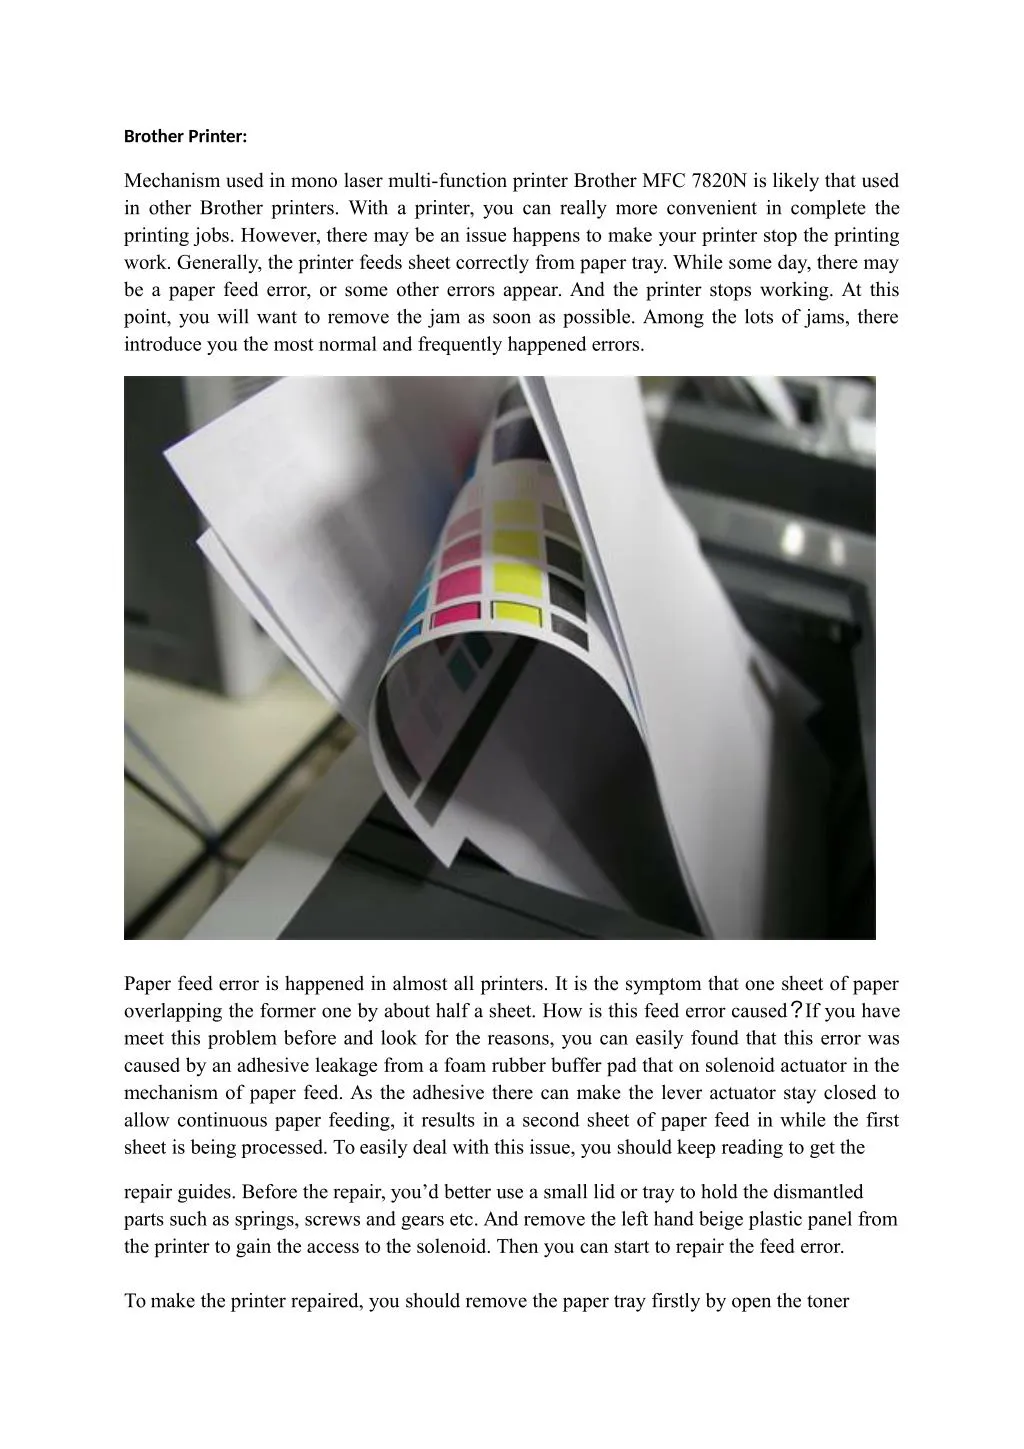
Paper feed error is happened in almost all printers. It is the symptom that one sheet of paper overlapping the former one by about half a sheet. How is this feed error caused?If you have meet this problem before and look for the reasons, you can easily found that this error was caused by an adhesive leakage from a foam rubber buffer pad that on solenoid actuator in the mechanism of paper feed.<br><br>To Know More: http://www.alivetechsupport.com/printer-support/brother-printer-tech-support

E N D
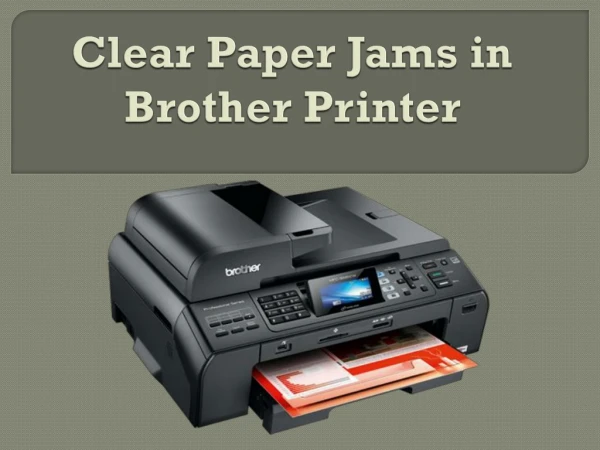
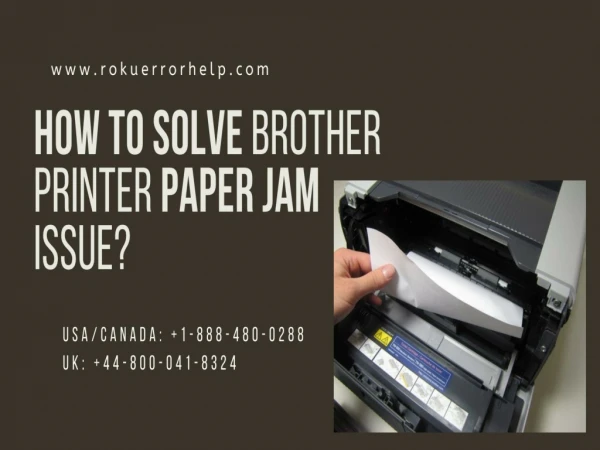
Brother Printer: Mechanism used in mono laser multi-function printer Brother MFC 7820N is likely that used in other Brother printers. With a printer, you can really more convenient in complete the printing jobs. However, there may be an issue happens to make your printer stop the printing work. Generally, the printer feeds sheet correctly from paper tray. While some day, there may be a paper feed error, or some other errors appear. And the printer stops working. At this point, you will want to remove the jam as soon as possible. Among the lots of jams, there introduce you the most normal and frequently happened errors. Paper feed error is happened in almost all printers. It is the symptom that one sheet of paper overlapping the former one by about half a sheet. How is this feed error caused?If you have meet this problem before and look for the reasons, you can easily found that this error was caused by an adhesive leakage from a foam rubber buffer pad that on solenoid actuator in the mechanism of paper feed. As the adhesive there can make the lever actuator stay closed to allow continuous paper feeding, it results in a second sheet of paper feed in while the first sheet is being processed. To easily deal with this issue, you should keep reading to get the repair guides. Before the repair, you’d better use a small lid or tray to hold the dismantled parts such as springs, screws and gears etc. And remove the left hand beige plastic panel from the printer to gain the access to the solenoid. Then you can start to repair the feed error. To make the printer repaired, you should remove the paper tray firstly by open the toner
access lid and get the toner-drum unit removed. And put a plastic bag into the dark cupboard with keeping the toner unit level. In this way, you can remove the paper tray easily. Even more, you can remove the lid to make the repair easier. To remove the lid, you need to pop out the black plastic connector arm from the lug which is at the left end of the lid and then slide the arm back to printer. And press it leftwards to disconnect the left hand lid stay and then bend the lid to make the stay above plastic pin. Finally, you need to press the lid to the right and slide it out of its hinge pins and the right hand lid stay with lid fully open. During this jam, there may be broken part come with. You can check it by looking at the back of the printer from the left hand side firstly. Then, open the jam access lid and disconnect the stay. When the lid lower further, pull the slot in the left hand hinge shroud over the flats staying on the left hand pin. Later, slide the lid off the other pin and remove the screw on the triangular tab under the main hinge. Finally, clip the left hand beige panel with the front, back and top of the panel removed. In this way, the top half of the MFC can be raised to expose to the left hand beige panel clips. And the shield can be removed by unscrewing the single screw and unclipping the tab at the top of the printed circuit board. To fix the broken part, you should firstly find the offending solenoid under the black gear to the right hand of the spring. Then, you can undo the mounting screws and disconnect the wiring to remove the printed circuit board. And the wiring plugs are uniquely important to facilitate a correct reconnection. The ribbon cable on the left hand edge of the printed circuit board is a push fit in socket on the other printed circuit board. Remove the printed circuit board to make the black plastic gear and spring expose. And unhook it to remove the spring, hold the black plastic gear by pressing clip with holding it onto shaft to uncover the solenoid. Unscrew solenoid fastener and lift out it with spring to reveal the foam pad. Finally, remove the foam pad and clean any adhesive residue on the solenoid frame. And change the solenoid and rebuild components in printer.