Download

1 / 15
150 likes | 283 Views
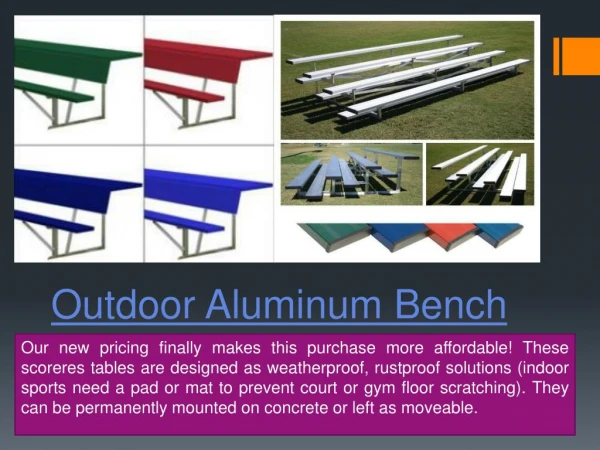
Creating Cedar Benches. A Girl Scout Gold How To Manual Created by Samantha Brown. Step 1:. Research and Plan. Gather information on your project What size? What style? Paint? Sealer? Other coating? How long will this take? Create a rough timeframe

E N D
Creating Cedar Benches A Girl Scout Gold How To Manual Created by Samantha Brown
Step 1: Research and Plan • Gather information on your project • What size? • What style? • Paint? Sealer? Other coating? • How long will this take? • Create a rough timeframe • Leave room in your schedule for problems • Include a timeframe for each step • Leave room for add-ins
Step 1: Research and Plan • Gather information on your project • I chose three separate sizes. • I wanted my benches to be simple and natural. • We sealed my benches with a long lasting coating. • I gave myself a year to complete my project. • Create a rough timeframe • I didn’t realize the time needed to get the iron welded. • I specified how long each step should take. • Some months had extra time to add things I forgot.
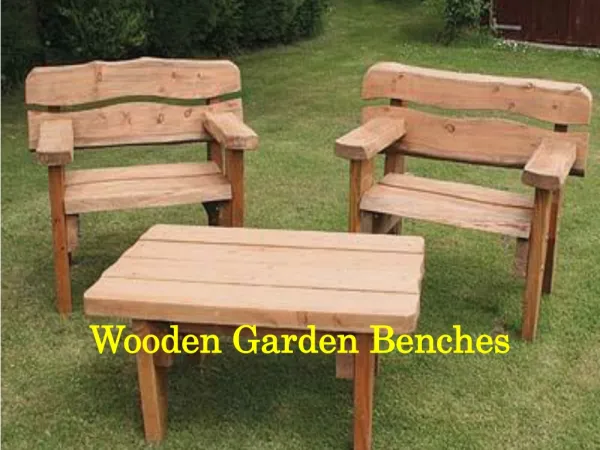
Step 1: Pictures!
Step 2: Assemble a Team • Assign people to different team roles • Advisor • Someone smart, knows paperwork, & you can trust • Carpenter • Licensed, inexpensive/free, easy to work with • Welder • Licensed, inexpensive/free, easy to work with • Miller • Licensed, inexpensive/free, easy to work with • Organizations • Friendly, helpful, involved • Media • News, television news, radio, Facebook, and websites • Misc. • Anyone else who might make a great addition to your team!
Step 2: Assemble a Team • Assign people to different team roles • Advisor • I chose an affiliate with Girl Scouts • Carpenter • My father was a great addition to my team! • Welder • I chose the owner of a local iron company. • Miller • I chose a company outside of my town for a bigger impact • Organizations • I used churches, the local Lions Club, & Girl Scouts • Media • I joined up with the newspaper, the radio, my project recipient’s website, and many Facebook pages. • Misc. • I invited my family to listen to me speak at an important event
Step 2: Pictures!
Step 3: Build, build, build! • Make sure you get a licensed professional for all power tools. • Use all required safety equipment. • Make sure to closely follow your plans. • Have extra materials in case of problems • Match parts before constructing. • Get pictures! • One bench at a time
Step 3: Build, build, build! • I handed my material off to companies to cut, and weld. My father was licensed and was able to do some work. • The professionals used goggles, masks, gloves, and aprons. • We were constantly referring to our plans throughout the project • We didn’t have any extra materials so we constantly worried about messing up. • Because I wasn’t certified, matching wood was one of the few jobs I was able to do. • We always made time for photo-ops • It made it easier to keep up when we focused on one bench.
Step 3: Pictures!
Step 4: Present • Presenting is important in community service projects. • It gives you the opportunity to inspire others • You get to brag a little • You can show off your accomplishments • Speak at as many events as possible • Benefits • School events • Community Events • Utilize the internet and social media!
Step 4: Present • Presenting is important in community service projects. • It gives you the opportunity to inspire others • You get to brag a little • You can show off your accomplishments • I spoke at: • My recipient’s benefit • A radio show • My Girl Scout Service Unit banquet • I wrote an article for the local newspaper • I posted/was tagged on several Facebook posts, and posted my How To to the recipient’s website, and many Facebook pages
Step 4: Pictures
Step 5: Celebrate! • Enjoy that you have created beautiful benches and helped your community. • Gather with friends and family to celebrate your achievement. • Don’t forget to involve your recipient in your celebrations!
Step 5: Pictures