Download
1 / 23
240 likes | 528 Views
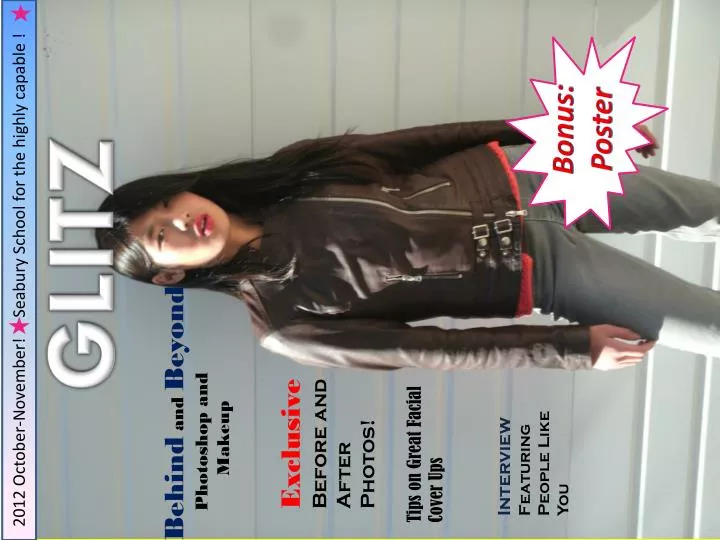
Bonus: Poster. GLITZ. 2012 October-November! Seabury School for the highly capable !. Behind and Beyond Photoshop and Makeup. Exclusive Before and After Photos!. Interview Featuring People Like You. Tips on Great Facial Cover Ups. 1. Poster Bonus!!. Contents

E N D
Bonus: Poster GLITZ 2012 October-November! Seabury School for the highly capable ! Behind and Beyond Photoshop and Makeup ExclusiveBefore and After Photos! Interview Featuring People Like You Tips on Great Facial Cover Ups
1 Poster Bonus!! Contents Beyond and Behind Photoshop pg. 2 Before and After Photos! pg.5-8 Tricks and TidBits Pg. 9 Amazing Cover Up Tips! Pg. 10-11 Interviews and Advice Pg. 14-15 Striking the Pose Pg. 17
3 Picture Made by: Maleah Bishop • 9 Seabury School Forthe Highly Capable • Great Tech Learning Program!! • Middle School Campus Located in Down Town Tacoma 925 Court C 98402
2 Beyond and Behind Photoshop When people flip through the People magazines and other fashion and gossip type magazines most people notice the amazing photographs of all the celebrities made to perfection. Most of the photos show lots of skin and the skin has a glow to it as if to say look I’m so beautiful and perfect. I ‘ve seen and heard of many young people doubt themselves for not that glow and perfection to their selves as people do in the photos. The real truth that the magazine’s don’t tell you is that usually without the makeup they look like your average person. Most people spend half of their time standing in front of the mirror making a list of what’s wrong with themselves. That or applying cover-up makeup or other types of makeup. I’ve even seen magazines that release issues about celebrities without makeup it’s almost scary you can’t recognize them. Most of the photos don’t use as much makeup as they use photo editing to get rid of pimples and other blemishes. For facial hair sometimes they can edit it out but most of the time the models are required to wax almost every week depending on how fast your hair grows. By: Maleah ,Qiuyuan , Bishop
The photo to the top left is a photo of Katelyn from Washington state. Any female at her age is more prone to have experience with pimples or uneven colored spots on the face. You can see at the bottom left is a photograph of Katelyn also but edited on a photo editing program. Anyone can use photo shop or other photo editors to cover up any blemishes or loose strands of hair that they might have. This picture could trick one into thinking that this is how she really looks. 4 Undercovering the Photos After Before
There to the top left is another photo that hasn’t been edited. You can see in the first picture there’s strands of hair in her face and a dark colored single freckle on the chin and on the section over the lips. Also noticeable is the lighting difference. At the bottom left the lighting has been edited to look sunnier and a hotter temperature. Down bellow all of these small things have been edited out of the photo. 5 Before After
Here to the left is a photo with hairs hanging out of the ponytail and frizzy strands that look like their going wild. The face has little blemishes and no pimples. There is a darkish line under the left eye though. The lighting was edited in the second picture to bring out the bright eye catching yellow shirt. 6 After Before
Like the last picture the top left photo has little skin blemishes but the lighting change isn’t needed but it lightens the picture. At the bottom left is the edited version which is mostly noticeable by the lighting difference. The exposure the temperature and lighting gives brings out the face more. 7 After Before
Click the tab that says “edit” Look for the retouch button. Click and extend the lines into the desired size of box Continue step 2-1 if desired Look for the crop button Click the edge of picture and drag to desired size. Explore the other features available on this program 8 Tricks & TidBits All the photo editing seen in the before and after section was done with windows livel photo editor soft where. To use the program follow the instructions to the right. There are other programs available for use as well including Sumo Paint, Adobe Photoshop, Pixlr Editor and others can be used .
9 Many of these brands are probably familiar from stores or commercials. Many people when using any of these types of makeup want a natural look when their applying the makeup. Not, that pasty look that looks like you’ve put globs of skin colored clay and thick cream on your skin. Here’s how to help get the most natural look possible when you look in the mirror. Cover up Tips
2. Choosing the right color for your skin Choosing the color and tones to match your skin is the most important part. To make sure you get the best one that matches your skin tone and color it’s best to go to the store to compare and if possible use samples. If the marks and blemishes are darker colored then sometimes a shade darker is wanted to help conceal the spot. If the mark includes a open pimple or a sour or scab don’t use any cover up to conceal it. 11 3. Applying the cover up. When applying the makeup first wash the area of skin that is to be treated. Also wash your hands to avoid adding oils to your skin when applying the cover up. When your applying the makeup to your face use a little at a time to avoid globs. Also keep a tissue in case. Use your finger (Works best) to lightly pat the makeup on the desired area. Keep adding more if needed then smooth out if it looks uneven. 1.Choosing the right brand Choosing the right brand or style is important. You might just want to stick with what you already use but try to choose moist styles like cream. That way it will be easier to apply to the skin and make it look natural.
Name: Maleah Bishop Live: University Place WA Hair: Black with Natural highlights Loves: Painting and Riding Horses Advice: My advice is to use all natural cover ups and choose the best skin color. 12 Name: Zaneb Khan Live: Federal Way WA US Hair Color: Blackish Brown Loves: Swimming, Soccer and my Brother Advice: Use Docter recommended face wash to keep your face fresh. Advice on Pimples and Skin blemishes Interviews and Advice Name: Astrid Anderson Live: Federal Way WA US Hair color: Blonde Loves: Biking and sports Advice: Use all natural products that has no artificial ingredients. Always see your dermatologist.
Name: Julianne Bishop Live: Painesville Ohio Hair Color: Brown Loves: Riding Horses Advice: When washing your face be sure to use a washcloth or a micro/scrubbing rag to get off any tough dead skin or oils and dirt. 13 Name: Lives: ? Hair Color: ? Loves:? Advice: ? Name: Amy Thoburn Lives: University Place WA Hair Color: Brown Likes: Reading and writing stories Advice: Don’t eat greasy foods and eating fried food and chocolate can make your skin break out.
14 After a stressful day go and grab a bottle of Weleda’s Iris Hydrating Facial Cream!
Aside from makeup and photo editing, finding the right pose is just as important. When I flip through modeling magazines I always find that the positions of the models are made to complement their clothes. For a ball gown or a dressy dress there’s more of a dreamy look in the face. The body is holding the dress or their laying or leaning against something. The background surroundings are usually pale pastels or if outdoors it’s sunny. For a more punkish look even casual look there’s more of a hard striking pose and the eyes can be more direct to the camera. Backdrops for themes like this can be solids or on a street to. Most pictures especially close ups the eyes look of into the distance. Striking the Pose
The photo to the right is a good example of staring into the distance. The style of clothing and makeup is a little undefined in that it doesn’t really have it’s own genre. Being a face shot the clothes if she’s wearing any is unknown what style they are. You can see that the eyes are level and almost in a daze staring off into the distance. These pictures from America’s next Top Model are a good example of the general guidelines of posing. The bottom right picture shows a short more prissy dress meant to be Snow White with the apple. As a more dressyish look the woman posed against something. She is looking more direct a the camera but the dress shows a tint of what you could call sassy in the dress. This face shot to the right has a very dreamy look. The head is slightly cocked and the eyes are looking up. It presents a thinking look to the face.