Download
1 / 1
10 likes | 89 Views
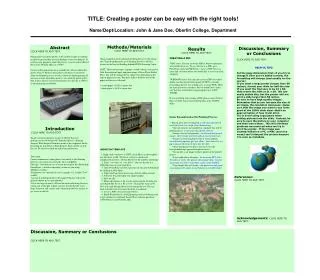
TITLE: Creating a poster can be easy with the right tools! Name/Dept/Location: John & Jane Doe, Oberlin College, Department. Results CLICK HERE TO ADD TEXT. CREATING A PDF

E N D
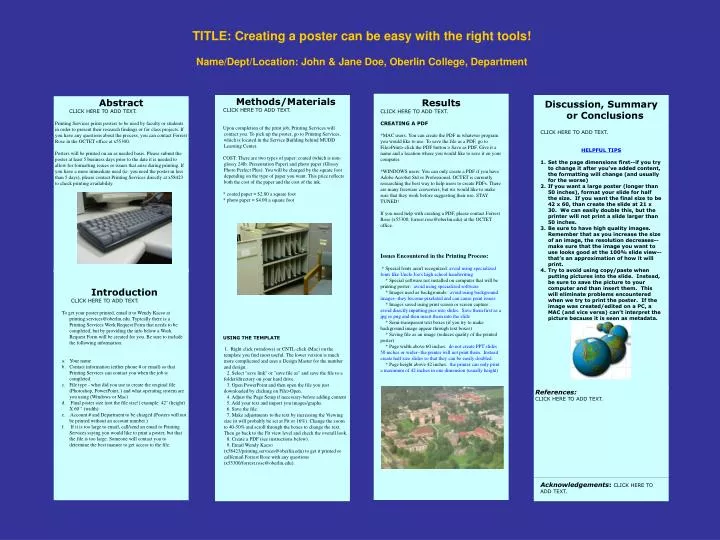
TITLE: Creating a poster can be easy with the right tools! Name/Dept/Location: John & Jane Doe, Oberlin College, Department Results CLICK HERE TO ADD TEXT. CREATING A PDF *MAC users: You can create the PDF in whatever program you would like to use. To save the file as a PDF, go to File>Print> click the PDF button > Save as PDF. Give it a name and a location where you would like to save it on your computer. *WINDOWS users: You can only create a PDF if you have Adobe Acrobat Std or Professional. OCTET is currently researching the best way to help users to create PDFs. There are many freeware converters, but we would like to make sure that they work before suggesting their use. STAY TUNED! If you need help with creating a PDF, please contact Forrest Rose (x55300, forrest.rose@oberlin.edu) at the OCTET office. Issues Encountered in the Printing Process: * Special fonts aren't recognized: avoid using specialized fonts like Uncle Joe's high school handwriting * Special software not installed on computer that will be printing poster: avoid using specialized software * Images used as backgrounds: avoid using background images--they become pixelated and can cause print issues * Images saved using print screen or screen capture: avoid directly inputting pics into slides. Save them first as a jpg or png and then insert them into the slide * Semi-transparent text boxes (if you try to make background image appear through text boxes) * Saving file as an image (reduces quality of the printed poster) * Page width above 60 inches: do not create PPT slides 50 inches or wider--the printer will not print them. Instead create half size slides so that they can be easily doubled. * Page height above 42 inches: the printer can only print a maximum of 42 inches in one dimension (usually height) Methods/Materials CLICK HERE TO ADD TEXT. Upon completion of the print job, Printing Services will contact you. To pick up the poster, go to Printing Services, which is located in the Service Building behind MUDD Learning Center. COST: There are two types of paper: coated (which is non-glossy 24lb. Presentation Paper) and photo paper (Glossy Photo Perfect Plus). You will be charged by the square foot depending on the type of paper you want. This price reflects both the cost of the paper and the cost of the ink. * coated paper = $2.00 a square foot * photo paper = $4.00 a square foot USING THE TEMPLATE 1. Right click (windows) or CNTL-click (Mac) on the template you find most useful. The lower version is much more complicated and uses a Design Master for the number and design. 2. Select "save link" or "save file as" and save the file to a folder/directory on your hard drive. 3. Open PowerPoint and then open the file you just downloaded by clicking on File>Open. 4. Adjust the Page Setup if necessary-before adding content 5. Add your text and import you images/graphs. 6. Save the file. 7. Make adjustments to the text by increasing the Viewing size (it will probably be set at Fit or 16%). Change the zoom to 40-50% and scroll through the boxes to change the text. Then go back to the Fit view level and check the overall look. 8. Create a PDF (see instructions below). 9. Email Wendy Kacso (x58423/printing.services@oberlin.edu) to get it printed or call/email Forrest Rose with any questions (x55300/forrest.rose@oberlin.edu). Discussion, Summary or Conclusions CLICK HERE TO ADD TEXT. HELPFUL TIPS Set the page dimensions first--if you try to change it after you’ve added content, the formatting will change (and usually for the worse) If you want a large poster (longer than 50 inches), format your slide for half the size. If you want the final size to be 42 x 60, than create the slide at 21 x 30. We can easily double this, but the printer will not print a slide larger than 50 inches. Be sure to have high quality images. Remember that as you increase the size of an image, the resolution decreases--make sure that the image you want to use looks good at the 100% slide view--that’s an approximation of how it will print. Try to avoid using copy/paste when putting pictures into the slide. Instead, be sure to save the picture to your computer and than insert them. This will eliminate problems encountered when we try to print the poster. If the image was created/edited on a PC, a MAC (and vice versa) can’t interpret the picture because it is seen as metadata. Abstract CLICK HERE TO ADD TEXT. Printing Services prints posters to be used by faculty or students in order to present their research findings or for class projects. If you have any questions about the process, you can contact Forrest Rose in the OCTET office at x55300. Posters will be printed on an as needed basis. Please submit the poster at least 5 business days prior to the date it is needed to allow for formatting issues or issues that arise during printing. If you have a more immediate need (ie. you need the poster in less than 5 days), please contact Printing Services directly at x58423 to check printing availability. Introduction CLICK HERE TO ADD TEXT. To get your poster printed, email it to Wendy Kacso at printing.services@oberlin.edu. Typically there is a Printing Services Work Request Form that needs to be completed, but by providing the info below a Work Request Form will be created for you. Be sure to include the following information: Your name Contact information (either phone # or email) so that Printing Services can contact you when the job is completed. File type - what did you use to create the original file (Photoshop, PowerPoint..) and what operating system are you using (Windows or Mac) Final poster size (not the file size!) example: 42" (height) X 60 " (width) Account # and Department to be charged (Posters will not be printed without an account number.) If it is too large to email, call/send an email to Printing Services saying you would like to print a poster, but that the file is too large. Someone will contact you to determine the best manner to get access to the file. References: CLICK HERE TO ADD TEXT. Acknowledgements: CLICK HERE TO ADD TEXT.


![ABSTRACT TITLE : [Add text here.] BACKGROUND: [Add text here.] OBJECTIVE: [Add text here.]](https://cdn3.slideserve.com/6246365/slide1-dt.jpg)