Download

1 / 10
100 likes | 115 Views
Gel Diffusion Image Analysis. Neil Forbes Nanotechnology Institute 2007. Software. Download ImageJ Install files is available at: http://rsb.info.nih.gov/ij/ Follow the “Downloads” link Downloads are available for Windows, Macintosh and Linux Download Radial profiler

E N D
Gel Diffusion Image Analysis Neil Forbes Nanotechnology Institute 2007
Software • Download ImageJ • Install files is available at: http://rsb.info.nih.gov/ij/ • Follow the “Downloads” link • Downloads are available for Windows, Macintosh and Linux • Download Radial profiler • http://rsb.info.nih.gov/ij/plugins/radial-profile.html • Or in ImageJ: Help ImageJ Website Plugins Radial Profile Plot • Download the plugin to the plugins folder in Image Program File • Restart ImageJ
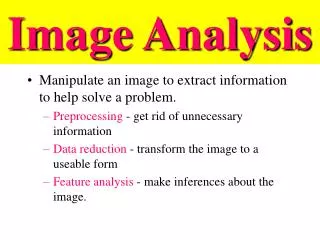
Image Analysis • Three methods from simplest to more complicated • Method 1: • Measure the dye penetration distance each day using a ruler • Use graph paper to plot distance vs. time • The rate is the slope of the line
Image Analysis • Method 2: • Display all of the images on the computer • Distances in the images need to be calibrated • Use the line function to measure the dye penetration distance (D) in pixels • Use a ruler to measure the width of the gel (W) in pixels, which we know is 60mm • The penetration distance is: • Plot the distance vs. time
Image Analysis • Method 3: • Open all of the images • Split into (R)ed, (G)reen and (B)lue images (RGB Split) • Pick the image with the most information • Draw a square box around the gel • Apply “Radial profile” from the “plugins” menu • Save the profile
Image Analysis • Method 3 (con’t): • Open all of the profiles in a spreadsheet (Excel) • Normalize the intensity: • Find the pixel that crosses 0.5 • Divide by the total number of pixels and multiply by 30 mm (the gel radius) • Plot distance vs. time
Comparison – Pretty good! The dye penetrates at approximately 200 μm/hr
Image Analysis • Finally, if the distance is normalized, complete distance vs. time plots can be generated. These compare nicely to theoretical predictions.