An Image/Link below is provided (as is) to download presentationDownload Policy: Content on the Website is provided to you AS IS for your information and personal use and may not be sold / licensed / shared on other websites without getting consent from its author.Content is provided to you AS IS for your information and personal use only. Download presentation by click this link.While downloading, if for some reason you are not able to download a presentation, the publisher may have deleted the file from their server.During download, if you can't get a presentation, the file might be deleted by the publisher.
E N D
Presentation Transcript
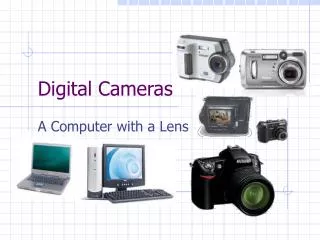
Digital Cameras
Nick Elacqua 4.P
Overview Installing a camera to your hard drive is crucial if you want to share your photos, keep them safe, or just free up some space on your camera. But before you can do that, you must install your camera to your computer. If you own a digital camera but have not installed it to your computer, you’ll need to do that. Most cameras have software you load separate, but if you don’t have an installation disc, don’t worry. You can manually configure your device via the control panel.
Installing your Digital Camera Here are the steps you need to take: Go to Control panel, and select “Printers and Hardware”. When the window opens, choose “Scanners and Cameras”. Look in the left hand column of the “Scanners and Cameras” window. Choose “add an imaging device”. It should be the first option. When the Installation Wizard appears, click “Next”. 5. Choose “Have Disk” if you have the installation CD. If not, select your camera from the list of devices provided by the wizard. (Make sure your camera is on and plugged in). 6. Insert your installation CD (if you have one) and follow the on-screen instructions for installing your camera. When done, click “Finish”.
Installing without the CD If you are installing but do NOT have the disk, this is what you need to do: When you reach the installation wizard, click on your camera model and name from the list provided by the wizard. (IMPORTANT: If you do not see the model of your camera and the list and do not have the CD, go to your manufacture's website and download the drivers for your camera). Make sure Automatic Port Detection is highlighted and click “Next” Type in a name for your camera. Select “Finish” and exit the wizard to complete the installation process.
Let’s Review If you are installing a camera with no disk but do not see your camera model from the list wizard, what should you do? Go to your manufacture's website and download the drivers for your camera. When installing your camera, what sub-category do you choose after clicking “Printer’s and Hardware”? “Scanners and Cameras” What needs to be highlighted when configuring a camera without a setup disk? Auto Port Detection