Download
1 / 3

E N D
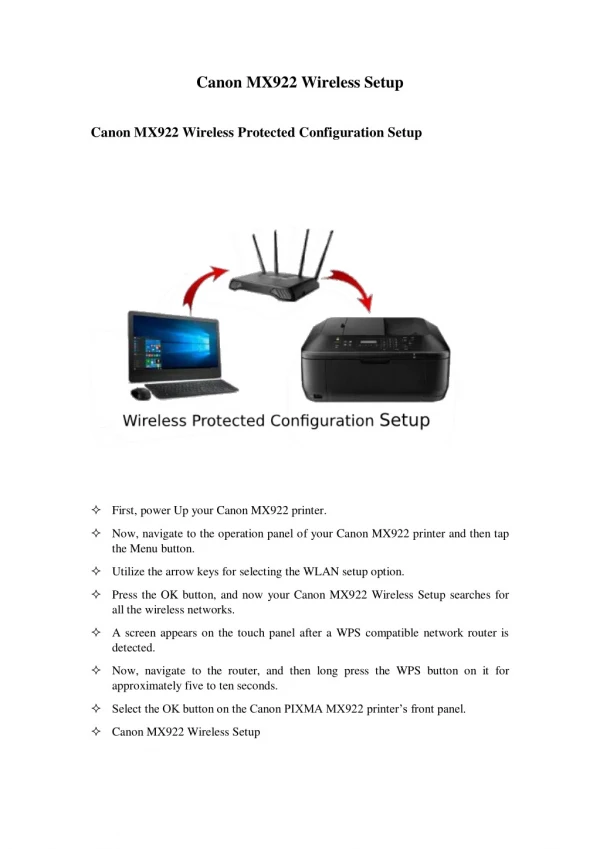
CANON MX452 WIRELESS SETUP Turn on your Wi-Fi router, connect the computer to it, and write down the Wi-Fi network name (SSID) and password. 1. Turn the printer on and press the Setup button to view the different setup menus. 2. Use the navigation keys to move to the Wireless LAN setup menu and press the OK button to select it. 3. Choose Standard Setup and the printer will start to detect the available networks. 4. Select your network name as the access point and enter the password. 5. Insert the installation CD on your computer and begin the installation. 6. When the Setup window appears, click Next to proceed. 7. Allow the software installer to make changes to the computer. If the system prompts to enter the username and password, input the credentials. 8. Select Network Connection > Wireless Connection > Connect to the network. 9. Click Other Methods and then choose Standard setup as the connection method. 10. Finish the software installation and follow the guided instructions to complete the setup.
CANON MX452 WIRELESS SETUP WITHOUT CD Download the printer driver from the official Canon Pixma MX452 setup website and save it on your computer. 1. Connect the computer to the Wi-Fi router network and make a note of the Wi-Fi network name and password. 2. On the printer’s operational panel, select the Wireless LAN setup option and input the network name and password. 3. Use the steps given in the Wireless setup to connect the printer to the Wi-Fi network successfully. 4. Now, open the driver installer you saved on the computer. 5. Follow the instructions in the setup window and complete the setup.