Download
1 / 54
540 likes | 1.13k Views
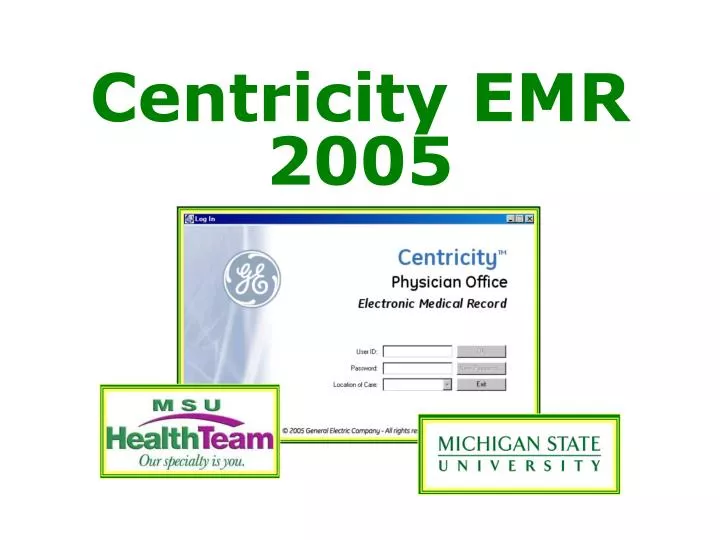
Centricity EMR 2005. KEY NEW FEATURES. GENERAL New Name/Login Screen Network Connection Recovery Out of Office Assistant . KEY NEW FEATURES. GENERAL New Name/Login Screen Network Connection Recovery Out of Office Assistant . Centricity EMR 2005. New picture Same log-in process.

E N D
KEY NEW FEATURES GENERAL • New Name/Login Screen • Network Connection Recovery • Out of Office Assistant
KEY NEW FEATURES GENERAL • New Name/Login Screen • Network Connection Recovery • Out of Office Assistant
Centricity EMR 2005 New picture Same log-in process
KEY NEW FEATURES GENERAL • New Name/Login Screen • Network Connection Recovery • Out of Office Assistant LOCKED
Network Connection Recovery A chart update lock caused by a dropped network connection will be automatically unlocked within minutes
KEY NEW FEATURES GENERAL • New Name/Login Screen • Network Connection Recovery • Out of Office Assistant
Out of Office Assistant • Out of Office Pop-Up • Activating the Out of Office Assistant • Turning off the Out of Office Assistant
Out of Office Pop-Up The pop-up window appears when you try to route a flag or document to someone whose Out of Office Assistant is activated.
Out of Office Assistant • Out of Office Pop-Up • Activating the Out of Office Assistant • Turning off the Out of Office Assistant
Activating the Out of Office Assistant 1. Go to Options | Out of Office Assistant… • Choose I am currently out of the office • Type a brief response to be included • Click OK
Out of Office Assistant • Out of Office Pop-Up • Activating the Out of Office Assistant • Turning off the Out of Office Assistant
Turning off the Out of Office Assistant If you’ve activated the Assistant, the next time you log in you’ll be prompted to turn it off
Out of Office Assistant NOTE: The Out of Office Assistant doesn’t prevent documents from being routed to your Desktop via an interface. (Sparrow and Ingham labs, MSU Radiology reports, etc.)
KEY NEW FEATURES VIEWS AND ROUTING DOCUMENTS • Desktop Document Views • Desktop Groups • Routing Multiple Documents
Desktop Document Views Click Organize to define a view by • Document type, priority, status • Location of Ordering Provider Click to select a desired view
KEY NEW FEATURES VIEWS AND ROUTING DOCUMENTS • Desktop Document Views • Desktop Groups • Routing Multiple Documents
Desktop Groups Create a group to view documents of more than one Centricity user simultaneously Multiple Desktops displayed
Desktop Groups Click Organize to create Desktop groups
Desktop Groups Who might use Desktop Groups? • Nursing staff monitoring multiple Desktops for incoming labs and imaging reports • Physicians covering for other physicians in their absence
KEY NEW FEATURES VIEWS AND ROUTING DOCUMENTS • Desktop Document Views • Desktop Groups • Routing Multiple Documents
Routing Sequential Documents • Click on the first document to be routed • Hold down the [Shift] key of your keyboard • Click on the last document to be routed • Release the [Shift] key 5. Click the Route button
Routing Non-Sequential Documents • Click on the first document to be routed • Hold down the [Ctrl] key of your keyboard • Click on other documents to be routed • Release the [Ctrl] key 5. Click the Route button
KEY NEW FEATURES IN THE CHART • Flowsheet Views • Allergies and Adverse Reactions • Differentiating between an allergy and an adverse reaction • Documenting an allergy or adverse reaction
Hide/Display Observations • Go to the Flowsheet tab of a patient chart • Click Organize • Choose from layout options • Click OK
Removed ObservationsDisplayed in Flowsheet View Observations removed Removal details
KEY NEW FEATURES IN THE CHART • Flowsheet Views • Allergies and Adverse Reactions • Differentiating between an allergy and an adverse reaction • Documenting an allergy or adverse reaction
Allergies & Adverse Reactions ! Allergy: a hypersensitivity to an environmental agent, food, or drug Adverse Reaction: any undesirable or unwanted consequence of a preventative, diagnostic, or therapeutic procedure or regimen
Allergies & Adverse Reactions A red “!” is attached to a critical allergy
Add an Adverse Reaction Select Non-critical reaction during an update
KEY NEW FEATURES IN THE CHART • Favorite Forms Pane • Problem List Management Tools • Enhanced Medication Documentation
Favorite Forms Pane Customize your Favorites for use in chart updates (Not for Handouts)
Create a Favorites List • Right-click in Favorites Pane • Select “Add Fav Form / Text component…” • Select desired form in Find Component window • Click OK
Using your Favorites Right-click on a form in Favorites and select “Insert into note” to add that form to an update in progress
KEY NEW FEATURES IN THE CHART • Favorite Forms Pane • Problem List Management Tools • Enhanced Medication Documentation
ProblemList Management • View inactive problems in the Update Problems window • Reactivate inactive problems • No more “Minor Diagnosis” • Prevent duplicate problems
ProblemList Management View Inactive problems in the Update Problems window
ProblemList Management Reactivate Old Problems • Move an inactive problem to the active problem list • Start a “New Occurrence” of an old problem
Reactivate Old Problems Select Inactive Click to select an inactive problem Click Reactivate
A Reactivated Problem Reactivated problem now on Active problem list Click OK to complete the process
A New Occurrence Start a “New Occurrence” of an old problem Select the desired inactive problem Click New Occurrence…
Reactivate or New Occurrence: What’s the Difference? Reactivatean inactive problem to continue treating that same problem • The reactivated problem keeps the initial start date and assessments • Subsequent assessments are attached chronologically
Reactivate or New Occurrence: What’s the Difference? Begin a New Occurrence to add a problem independent of initial instance • The new occurrence defaults to the attributes of the first, but with a new start date • Only subsequent assessments are associated with the new occurrence
No More “Minor Diagnosis” • This option has been replaced with enhanced custom problem list options, including defined end dates • Active minor dx problems in patient charts will remain on lists until they expire or are removed or changed during an update
Prevent Duplicate Problems The Duplicate Problem(s) Found window opens if you try to add a problem already on a patient’s active problem list Cancel View details of the problem Add duplicate problem Add a new assessment of existing problem
KEY NEW FEATURES IN THE CHART • Favorite Forms Pane • Problem List Management Tools • Enhanced Medication Documentation
Enhanced Medication Documentation Additional comment field in the New Medication and Change Medication windows
Enhanced Medication Documentation Potential medication interaction displayed
Enhanced Medication Documentation Allergies and Adverse Reactions now included in the New Medication window
Enhanced Medication Documentation Allergies and Adverse Reactions also added to the Prescriptions window