Download
1 / 4
40 likes | 52 Views
A complete guide and tutorial how to start dropshipping business with shopify. Step by Step Dropshipping with Shopify and Oberlo Tutorial.

E N D
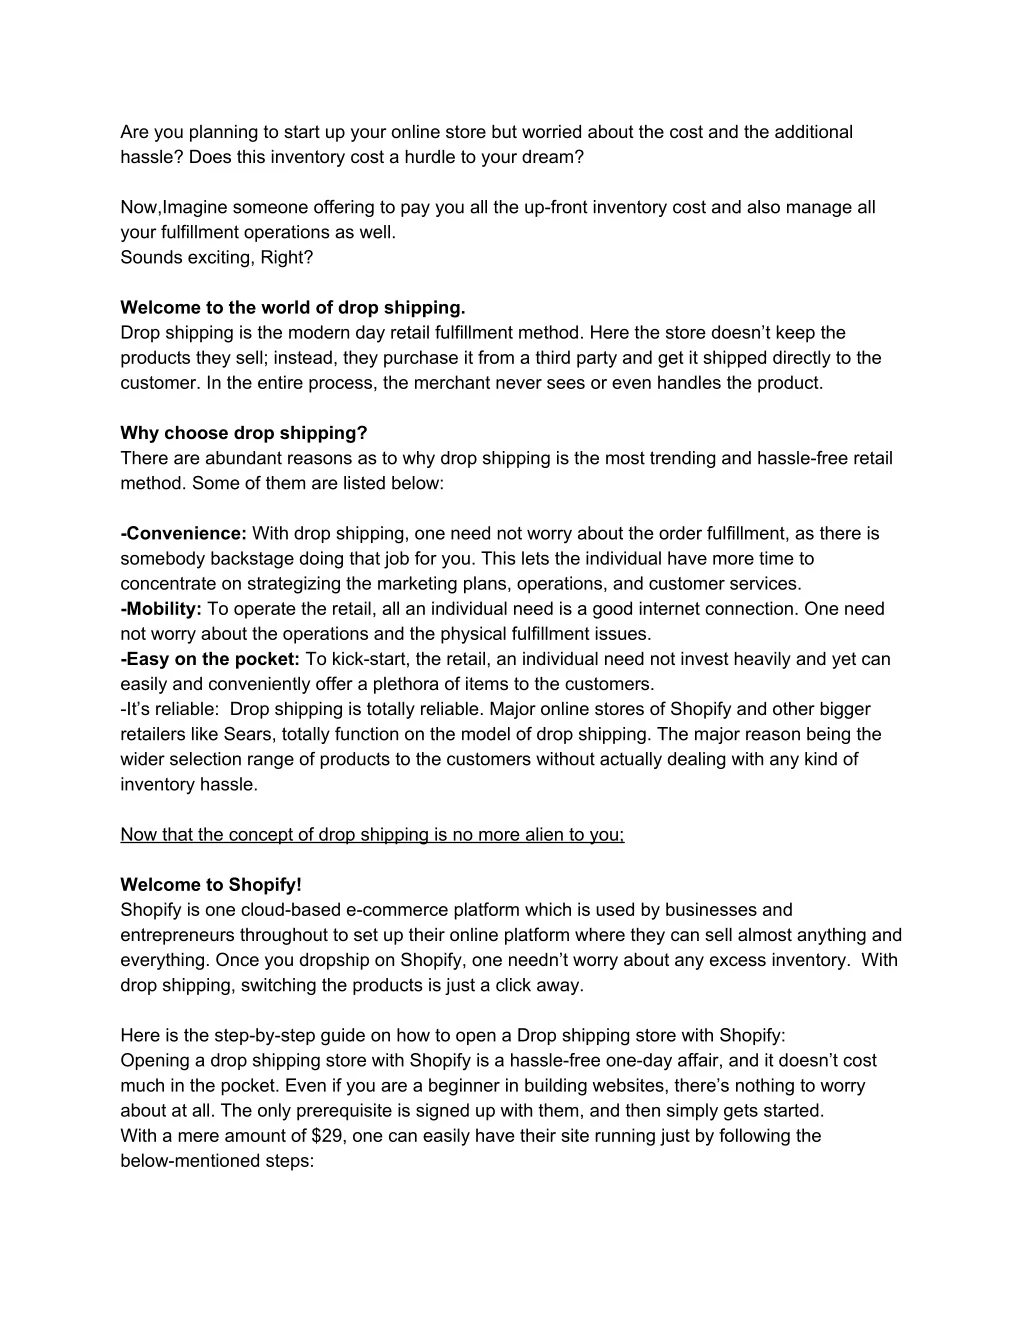
Are you planning to start up your online store but worried about the cost and the additional hassle? Does this inventory cost a hurdle to your dream? Now,Imagine someone offering to pay you all the up-front inventory cost and also manage all your fulfillment operations as well. Sounds exciting, Right? Welcome to the world of drop shipping. Drop shipping is the modern day retail fulfillment method. Here the store doesn’t keep the products they sell; instead, they purchase it from a third party and get it shipped directly to the customer. In the entire process, the merchant never sees or even handles the product. Why choose drop shipping? There are abundant reasons as to why drop shipping is the most trending and hassle-free retail method. Some of them are listed below: -Convenience: With drop shipping, one need not worry about the order fulfillment, as there is somebody backstage doing that job for you. This lets the individual have more time to concentrate on strategizing the marketing plans, operations, and customer services. -Mobility: To operate the retail, all an individual need is a good internet connection. One need not worry about the operations and the physical fulfillment issues. -Easy on the pocket: To kick-start, the retail, an individual need not invest heavily and yet can easily and conveniently offer a plethora of items to the customers. -It’s reliable: Drop shipping is totally reliable. Major online stores of Shopify and other bigger retailers like Sears, totally function on the model of drop shipping. The major reason being the wider selection range of products to the customers without actually dealing with any kind of inventory hassle. Now that the concept of drop shipping is no more alien to you; Welcome to Shopify! Shopify is one cloud-based e-commerce platform which is used by businesses and entrepreneurs throughout to set up their online platform where they can sell almost anything and everything. Once you dropship on Shopify, one needn’t worry about any excess inventory. With drop shipping, switching the products is just a click away. Here is the step-by-step guide on how to open a Drop shipping store with Shopify: Opening a drop shipping store with Shopify is a hassle-free one-day affair, and it doesn’t cost much in the pocket. Even if you are a beginner in building websites, there’s nothing to worry about at all. The only prerequisite is signed up with them, and then simply gets started. With a mere amount of $29, one can easily have their site running just by following the below-mentioned steps:
1.Get yourself registered with Shopify: To begin with, start with a 14-day free trial. Click on the free trial and enter your entire information in the required window. If the store name is already taken by someone else, then you won’t be allowed to proceed. Once the basic information is entered, tell them about what stage the business is at. Then tell Shopify what would you like to start selling. Add that to the online store. The business on drop shipping happens through its online store, so this is something which needs to be focused upon. 2.Buy your own Web Domain: It is always advised to buy the web domain at the beginning itself. Though it can happen at a later stage as well, chances are that you might not get what you wished for. It just costs $13.00 per year. To buy a domain one needs to click on ‘Online Store’ and then on ‘Domains’. Then in the upper right-hand corner, click ‘Buy new Domain’. To check the availability of the domain, type the wishful domain name and then click ‘Check Availability’. You’ll be then informed regarding the availability of the URL. After buying the domain, the user is directed to a page which will be asking if the user wants to redirect all his traffic to this new domain. Then, select your new domain and hit the save button. 3.Set Up the Email Forwarding: Once you have purchased your domain, it’s now the time to set up the email forwarding for the store. In order to do so click on the ‘Online store’ menu and then click ‘Domains’. After reaching the domain there will be a heading ‘Manage Domains’. Under this segment select the domain which you have just purchased, this is when you will be directed to a page which has a heading ‘Email forwarding’. This step ensures that all the emails to your domain get forwarded to your selected email address. 4.Select a Theme for the Shopify Store: Shopify site is very compatible with desktop and mobile as well. The site offers every individual to beautify their site with the theme of the framing. The theme gives the store its layout and basic structure. To pick up the theme click ‘Online Store’ and then click on ‘Themes’ tab. On the right-hand upper corner, there’s a button ‘Visit Theme Store’. This tab unveils the world of Shopify’s theme store. It offers every individual a wide range of themes which are free as well as a premium (paid). Every individual can have a demo of the theme before finalizing it. Once, the theme is finalized, select ‘Install Theme’. 5.Add all the must-have pages for Drop Shipping: After finalizing the theme, add all the must-have pages for your site. It includes the homepage, About Us, Product Page, Shipping, Returns and Contact Us. Adding and editing pages on Shopify is very easy. Click on ‘Online Store’ and then select the ‘Pages’ tab. Once your pages are all set, click on ‘Preview’ to see how the page will finally look like, and then ‘Save’. In order to add more pages just hit ‘Add Page’ button at the top right corner of the page. In order to add an image to the pages just copy the image and paste it in the required page. After having all the must-have pages drafted select ‘Online Store’ and select ‘Navigation’. Ensure that all the pages added by you are visible on the home page menu. 6.Add all the products and Brand Collection: On the main menu select ‘Online Store’ and under it hit ‘Products Tab’. There click on ‘Add Product’ which is popping in the middle of the screen.
This will direct you to a new page where one needs to add all the required details about their first product. It is advisable to use the information and digitals from the supplier’s website to have the best and full proof data. All the information needs to be typed in the ‘Organization’ tab, which is available on the right-hand side of the page. Once the information is entered hit the ‘save’ button and the page is all set. With Shopify, one gets the ease to add few products together as a ‘Collection’. 7.Revisit your Theme Customization: Now that you have added up all your products and customized everything as per your needs, go back to ‘Online Store’ and revisit your ‘Theme’ to see how everything looks like. Ensure everything is all okay and as per your need. Now, it is advisable to hit the ‘Social Media’ and enter all your social media accounts. Since everyone is so connected via social media; it is the best way to stay in touch with the customers. 8.Add the Shopify’s Customer Review App: With your Shopify account, there will be add-ons and plug-ins which will add more additional features and capabilities to your store. The customer review app will help one collect all the customer review and feedbacks. This will definitely help one to provide their customer with the best of their services and products. 9.Select a Shopify Plan: To start with Shopify offers a free trial of 14 days. Once you get used to it, select your plan as per your need. They have monthly, annual and biennial plans. With an annual contract, every individual gets a 10% discount, while with biennial you get 20%. The plan can be upgraded and canceled anytime. 10.Finalize all your Settings: It is the last step to start your own store. On the Shopify dashboard hit ‘Settings’ and double check all the information and options entered by you. Don’t miss out on the payments section. Once you are sure about everything just select ‘Complete Shopify Payments Account Setup’ and there you go. Now that your store is ready, the only thing left with you is to finalize agreements with all supplier partners; automate and outsource as much as you can. Oberlo! Oberlo is another boon to your Shopify account. It allows the individual to conveniently add numerous products to the Shopify account. A very convenient and user-friendly place, Oberlo provides easy import of all the dropship products and all the orders get fulfilled automatically. So, one needn’t worry about their orders getting fulfilled. Also, the inventory and the prices are always auto-updated so one doesn’t sell the products which have gone out of stock or the ones which don’t fit the price bracket. Oberlo also provides every individual the access to edit the product range, the title, description and the display as well, so every individual can easily customize their platform. Oberlo comes with an amazing shipment tracking facility. To add more
to it, Oberlo provides the flexibility to change the suppliers as well; no one can very conveniently change their supplier as per their ease and needs. Testimonials of Success: Oberlo was founded in September 2015. And ever since it’s found its merchants have sold more than 85 million products across the globe. The mention of Irwin Dominguez; the most successful e-commerce entrepreneur from San Diego is enough to talk about the success. He earned $1,000,000 in sales within eight months! With one of his hot selling product, his sale was around $30,000 a day. Currently, his everyday revenue is about $10,000 per day. The mantra of his success is all about finding the right target audience, and this audience needs to be updated constantly with a new audience as well as new products. The inventory cost to launch a store is almost nothing! So, it’s just a click to start with and literally, there’s nothing to lose. So, what’s the wait for? If you are an enthusiast, it is “THE TIME” to start with your store. Once you launch a store you’ll need to get new visitors so $100 USD Bing ads coupons, helps you get more traffic and perfect start. If you want to shopify trial for more than 14 days. Pls share you email in comment box and name of store you wish and how many day trial you want to be. You can request shopify 90, 60 or 30 days trial. You can find more shopify deals and offers from this link. https://www.yoyocoupons.com/store/shopify/ Credit: This post was sponsored by Yoyocoupons.com.