Download
1 / 10
100 likes | 109 Views
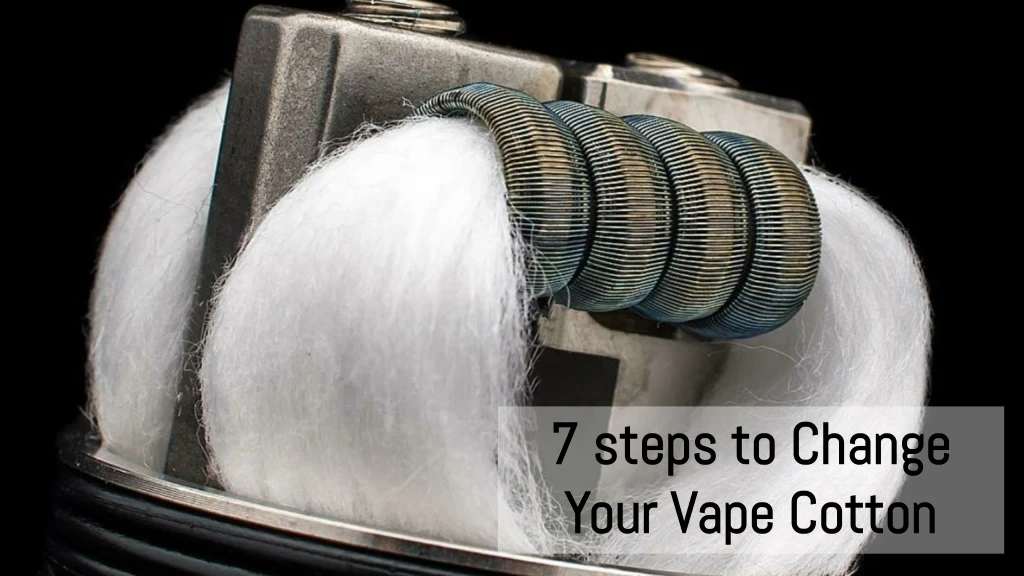
Changing the cotton in your wick requires you to follow the proper steps. Right from opening the mod to removing the old cotton as well as inserting new cotton requires needs to be done carefully.<br>http://nativewicks.com/

E N D
7 steps to Change Your Vape Cotton
Introduction E-cigarettes are a great alternative to tobacco smoking. However, the right wicking material such as the vaping cotton plays a key role in making or breaking the experience. Now, talking about it, you also need to change the vaping cotton within time so that you get proper flavour and vapor, both. If you get burnt taste and less vapor, then it is a clear sign that you need to change it. However, there are some steps that you need to follow to change the cotton.
First Step The first step is the most crucial whereby you must keep the items in hand that you would need to change the vape cotton. Now, there are not too many things that you would be needing. All you need would be a pair of tweezers as well as cotton balls that you would be using in the coil. The tweezer would help you pull out the earlier cotton as well as put the fresh one in the coil.
Second Step You cannot just take the cotton ball and put it inside just like that in the coil. All you need to do is dissemble the mod so that you can pull out the previous cotton ball. For that you need to use the tweezer. However, you need to be really careful so that you don’t damage the mod while pulling out the cotton.
Third Step The tweezer that you have would help you pull out the cotton. This is the third step. Remove the used cotton and you would see that it has turned blackish or greyish due to use. Also, the cotton would have e-juice in it. So, you must carefully pull it using the tweezers before you insert the new cotton ball.
Forth Step In the fourth step, after you have removed the used cotton ball, you must clean the coil so as to remove the excess juice from it. Let it dry out or wipe it clean before you put the new vape cotton. Removing the excess juice is crucial so that you get a clean vape every time without having to get the previous e-juice flavour. So, cleaning the coil is extremely important.
Fifth Step In the fifth step you need to unravel the cotton ball. After doing that, you need twist the cotton in order to fit the coil. However, it is always better to keep one end of the cotton longer so that it slips into the coil easily. Try to make it as thin as possible so that slips without any hassle. For better results, you must use organic cotton that comes in long strands.
Sixth Step When it comes to the sixth step, you must pull the cotton through the coil, cutting the extra strands that you have left earlier. Next, you need to tuck the ends of the cotton well so that it doesn’t come out. But you must leave some breathing space around the screw.
Ready to use Once you have inserted the vape cotton, the next task is to fill the e-juice. You must ensure that you fill the tank by evenly distributing 10 drops of e-liquid to the vape cotton as well the coil. Allow the juice to soak into the cotton for a better flavor and vapor. Now, you are all ready to enjoy a pleasurable vape without burnt taste or break-ins.
Thanks for your time. To know more please visit www.nativewickscotton.com