Download
1 / 5
50 likes | 83 Views
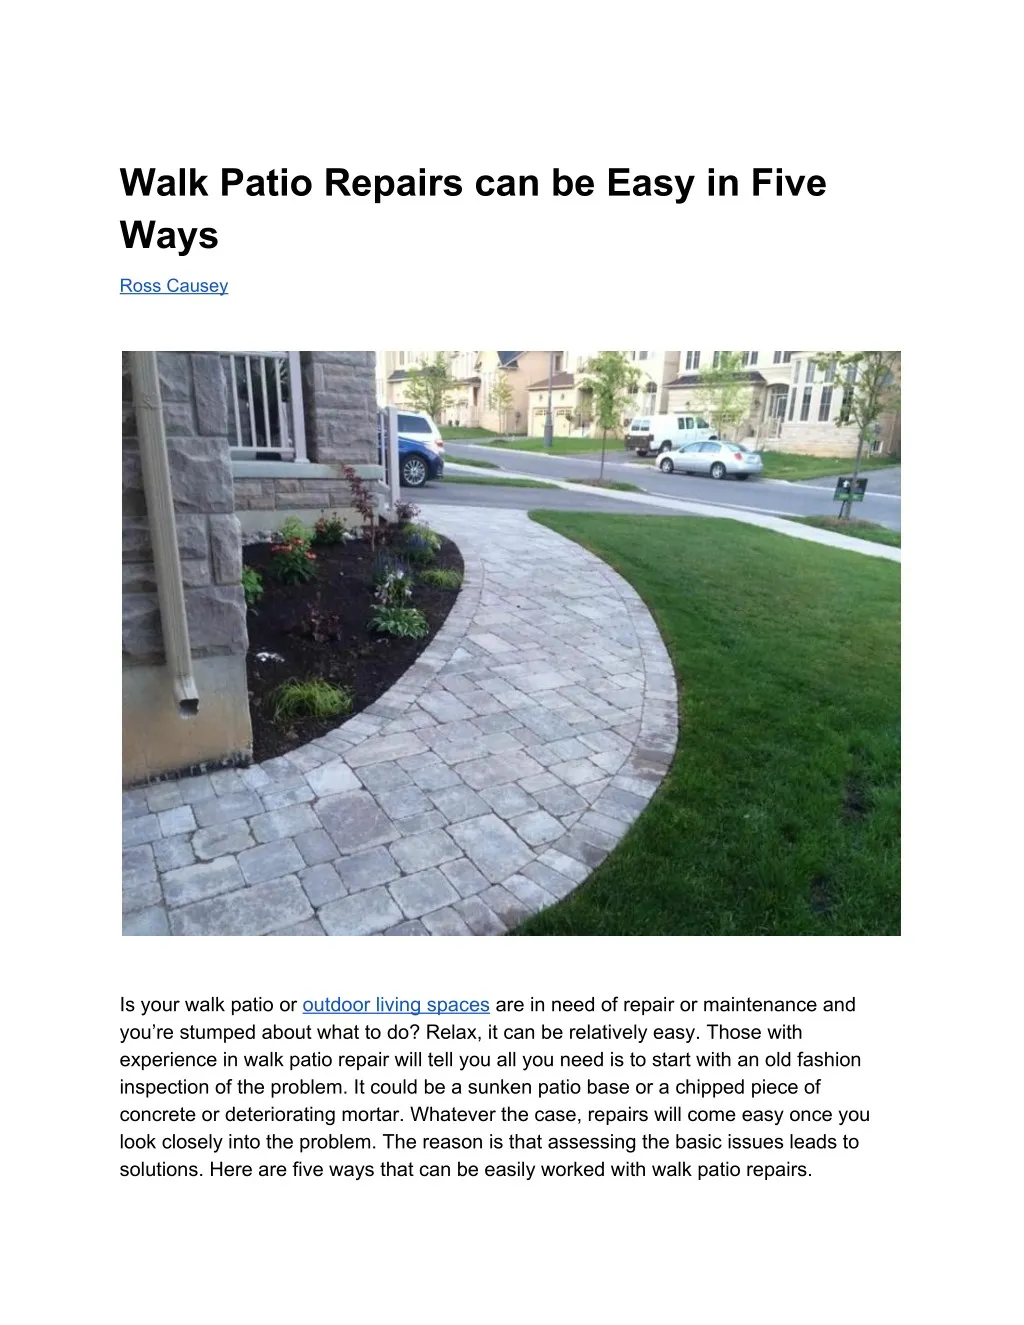
Is your walk patio or outdoor living spaces are in need of repair or maintenance and you’re stumped about what to do? Relax, it can be relatively easy. Those with experience in walk patio repair will tell you all you need is to start with an old fashion inspection of the problem. It could be a sunken patio base or a chipped piece of concrete or deteriorating mortar.

E N D
Walk Patio Repairs can be Easy in Five Ways Ross Causey Is your walk patio oroutdoor living spaces are in need of repair or maintenance and you’re stumped about what to do? Relax, it can be relatively easy. Those with experience in walk patio repair will tell you all you need is to start with an old fashion inspection of the problem. It could be a sunken patio base or a chipped piece of concrete or deteriorating mortar. Whatever the case, repairs will come easy once you look closely into the problem. The reason is that assessing the basic issues leads to solutions. Here are five ways that can be easily worked with walk patio repairs.
The first thing you need to do is look very closely at your existing mortar joints. Look at the color of the sand. Believe it or not, not all sand looks the same. Sand is simply a collection of very small rock particles, and the color of individual sand particles can be vastly different if the particles come from a variety of black, red, white and gray rocks. Visit different building supply businesses and/or sand and gravel pits, and try to find sand that matches both in color and particle size. The second thing is to make a very rich mixture that will be exceedingly strong. Once you have the correct sand, mix it one part of it to one part of pure Portland cement. You need this strength, even though you do not get too many extremely cold days. The extra cement also helps make the mortar flow easily from the tip of the special grout bag you will use to fill the defective mortar joints. Mortar grout bags are just like icing bags used by professional cake decorators. They are larger than an icing bag, and have a metal cone tip that has a one-half-inch hole at the end. The third thing is do not work on a hot, sunny windy day. Experts recommend working on cloudy days. The mortar will dry too rapidly, especially where you are filling slight depressions in the existing mortar joints. Once you have the mortar mixed, lightly spritz the mortar joints you are going to fill. Do not get them too wet, just slightly damp. Fill the grout bag half way with the mortar mix, and apply slight pressure to make the mortar mix flow just as toothpaste oozes from its tube. If you can’t get the mortar to flow, you need to add more cement and/or slightly more water. The mortar mix needs to be fairly wet so that it doesn’t clog the grout bag tip. Fourth thing is to check out the different colored pieces of sand. Each grain is a small piece of solid rock. The sand for the repair job should match the existing sand as close as possible in grain size, shape and color. Carefully guide the grout bag tip so that you apply new mortar only to the joint. Move the bag along and make sure you apply mortar so it rises above the level of the brick by about one-quarter inch. Fifth and the most important thing is to take the proper steps to ensure the sealing process is done correctly otherwise the seal will not be as strong and will eventually fail. In terms of keeping your patio durable and long lasting, sealing is best. Before patio sealing can begin the first step is to clean the patio surface of all dirt and debris as well
as any other stains or paints. Using a power washer is generally the best way to do much of the removal work however the surface must be completely dry before the patio sealing can begin. Once the initial sealing has begun, the best conditions are during mild temperatures where no rain is expected.