Download
1 / 2
20 likes | 22 Views
Learn how to setup HP Officejet 250 Printer for the first time.

E N D
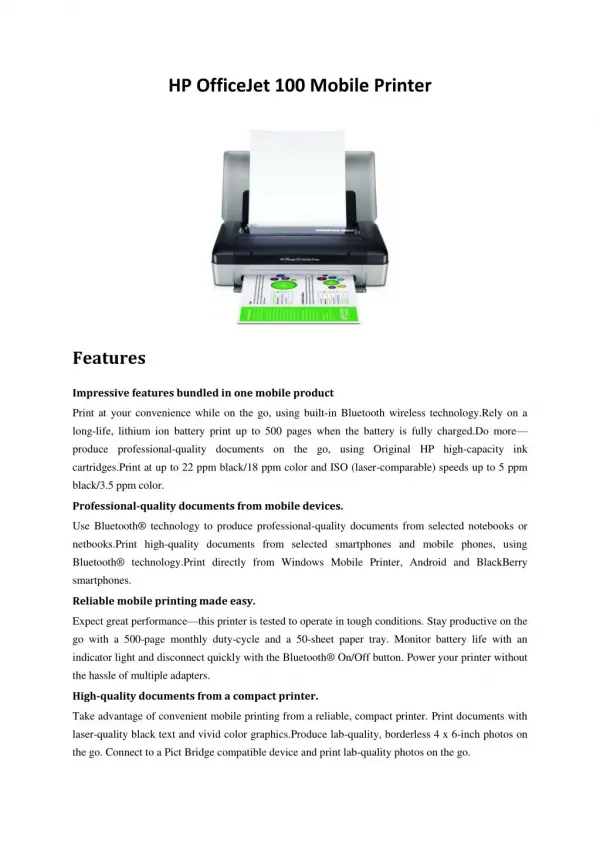
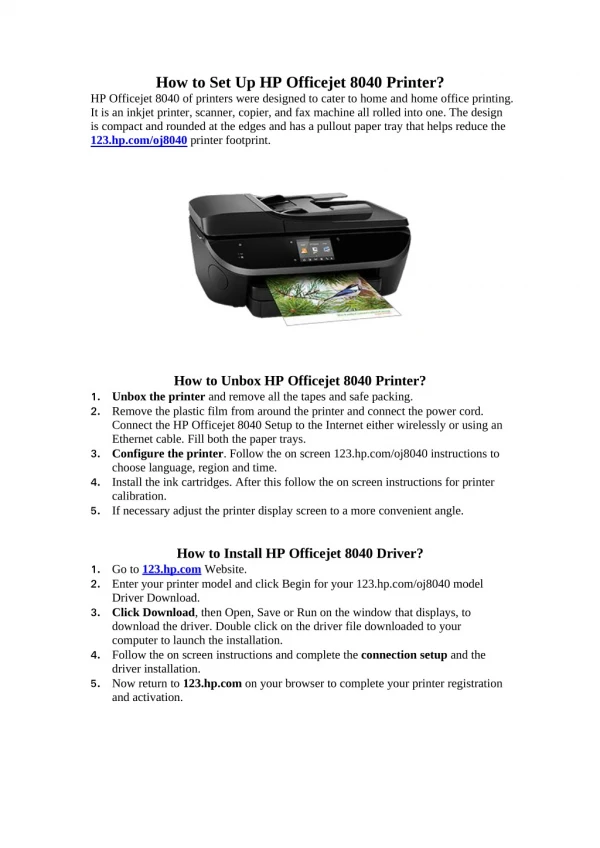
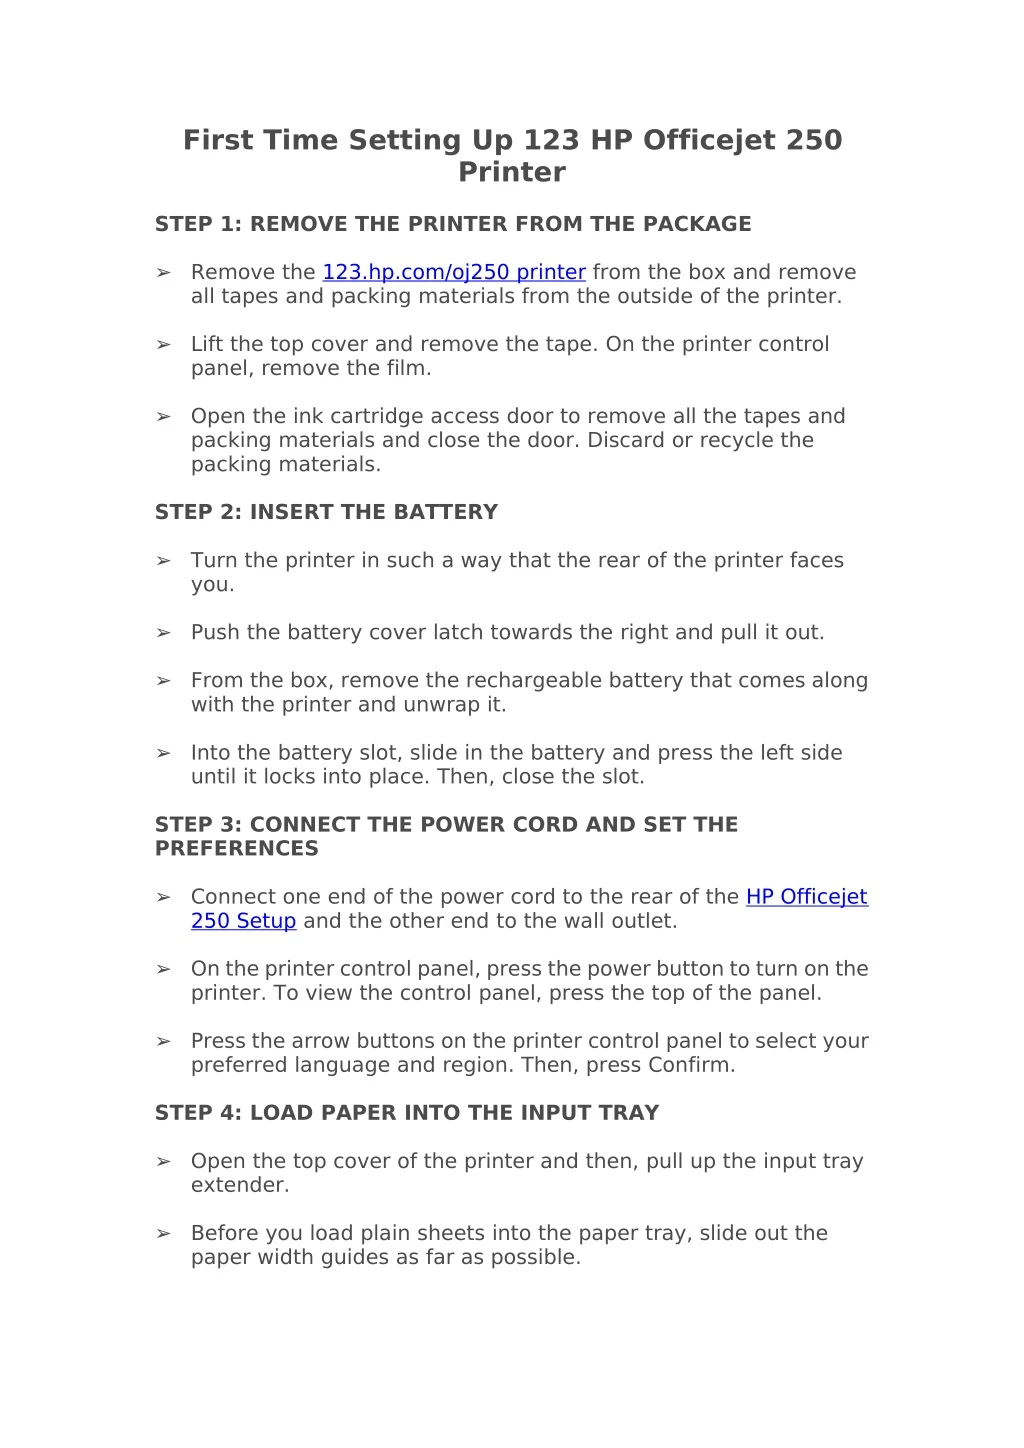
First Time Setting Up 123 HP Officejet 250 Printer STEP 1: REMOVE THE PRINTER FROM THE PACKAGE ➢ Remove the 123.hp.com/oj250 printer from the box and remove all tapes and packing materials from the outside of the printer. ➢ Lift the top cover and remove the tape. On the printer control panel, remove the film. ➢ Open the ink cartridge access door to remove all the tapes and packing materials and close the door. Discard or recycle the packing materials. STEP 2: INSERT THE BATTERY ➢ Turn the printer in such a way that the rear of the printer faces you. ➢ Push the battery cover latch towards the right and pull it out. ➢ From the box, remove the rechargeable battery that comes along with the printer and unwrap it. ➢ Into the battery slot, slide in the battery and press the left side until it locks into place. Then, close the slot. STEP 3: CONNECT THE POWER CORD AND SET THE PREFERENCES ➢ Connect one end of the power cord to the rear of the HP Officejet 250 Setup and the other end to the wall outlet. ➢ On the printer control panel, press the power button to turn on the printer. To view the control panel, press the top of the panel. ➢ Press the arrow buttons on the printer control panel to select your preferred language and region. Then, press Confirm. STEP 4: LOAD PAPER INTO THE INPUT TRAY ➢ Open the top cover of the printer and then, pull up the input tray extender. ➢ Before you load plain sheets into the paper tray, slide out the paper width guides as far as possible.
➢ Place the plain sheets into the paper tray and then, slide in the paper width guides until they rest against the sides of the paper. STEP 5: INSTALL THE INK CARTRIDGES ➢ First, open the ink cartridge access door and wait until the carriage is idle and silent before you proceed. ➢ Remove the tape and the plastic tape on the ink cartridge carefully. ➢ Make sure you touch the black plastic on the ink cartridge. ➢ From the ink cartridge, remove the plastic tape. Also, make sure you do not touch the copper-colored contact or the ink nozzles on the cartridge. ➢ Now, insert the ink cartridge into the slot and press it until it latches into place. ➢ Make sure you install the black ink cartridge on the right and the color ink cartridge on the left of the ink cartridges slots and close the latch. ➢ After closing the ink cartridge access door, the printer will automatically print an alignment page. ➢ If the 123.hp.com/oj250 printer did not automatically align the ink cartridge, align from the printer’s control panel. ➢ Swipe down on the home screen to the Dashboard and then, touch the HP Officejet 250 Setup icon. ➢ Scroll down and touch Printer Maintenance -> Align Printer and then, touch Continue. ➢ Now, the alignment page prints. STEP 6: INSTALL THE PRINTER SOFTWARE The printer hardware is setup completely. Now, install the printing software. Make sure you do not connect the computer to the printer until the printing software prompts.