Download
1 / 10
0 likes | 5 Views
Check out this helpful tutorial explaining how to make shirts with Cricut Maker. Go through the efficient steps and get started with your shirt projects today

E N D
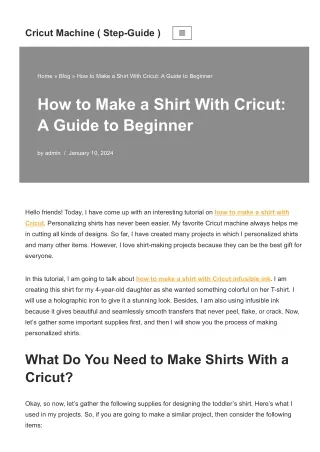
"The Cricut Maker machine has become a favorite tool of mine, particularly for crafting shirts. It's not just practical; it adds a fun element to the process. Recently, my friend Lisa and I experimented with various designs, all of which turned out exceptionally well. If you're aiming to impress with your crafting abilities, shirt-making with the Cricut Maker is an excellent choice. I'm here to guide you through the steps efficiently, so you can embark on trendy DIY projects and personalize your shirts to perfection.
Supplies and Tools Required for Cricut Shirts • Cricut Maker machine • StandardGrip mat • Weeding tool • Scissors • Heat Press or EasyPress 2 & mat • Bright pad for the weeding process • Iron-on transfer material • Cotton shirts (White and Black preferred)
How to Make Shirts With Cricut Maker: 4 Simple Steps Step 1: Designing Your Shirt Step 2: Cut Iron-On Vinyl Materials Step 3: Weeding Out the Design Step 4: Applying Iron-On Vinyl
Step 1: Designing Your Shirt • Step 1: Designing Your Shirt • Begin by launching the Cricut Design app. • Next, either craft a new design or upload one of your choice. • Once you've selected your design, make any necessary adjustments to finalize it for your shirts. • Afterward, follow the instructions to proceed with cutting."
Step 2: Cut Iron-On Vinyl Materials • "To begin, position the vinyl onto the cutting mat. • Next, grab a brayer tool and use it to smooth out the vinyl. • Afterward, place the mat onto your Cricut Maker machine. • Proceed by tapping the 'Make It' button.
Turn on the Mirror function to reverse the iron pattern. • Once mirrored, hit the Continue button. • Select Iron-On as your material from the options on the Make screen. • Navigate to the Browse All Materials option for further selection. • Finally, initiate the cutting process by tapping the blinking Go button on your Maker machine."
Step 3: Weeding Out the Design • Utilize the hook-shaped weeding tool to remove any excess vinyl from the corners of the design. • If there is excess vinyl on the plastic carrier sheet, it can be easily removed by hand.
Step 4: Applying Iron-On Vinyl The final stage of crafting shirts with a Cricut Maker involves applying the iron-on vinyl. For this task, a Heat Press is recommended. It's crucial to proceed with these application steps meticulously, ensuring proper adhesion of the designs to your shirt. Remember to adhere to the recommended time and temperature guidelines, which can be found in the Cricut Heat Guide provided with the machine. With this method, you've discovered a straightforward approach to shirt-making using a Cricut machine. Unleash your creativity by diving into exciting projects with your Cricut Maker machine today.
Visit For More Information Company:- Manny Maker Webpage:-https://mannymaker.com/how-to-make-shirts-with-cricut-maker-for-office/ Official Email:- hello@mannymaker.com Address:- 463 7th Ave, New York, NY, 10018, USA


![[PDF] DOWNLOAD Cricut: 2 BOOKS IN 1. Cricut for Beginners Cricut Design Space.](https://cdn7.slideserve.com/12487416/slide1-dt.jpg)