Download
1 / 25
260 likes | 633 Views
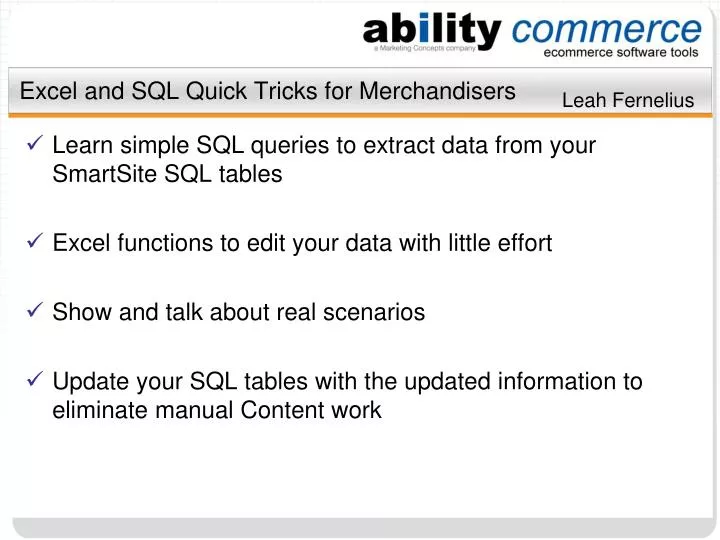
Excel and SQL Quick Tricks for Merchandisers. Leah Fernelius. Learn simple SQL queries to extract data from your SmartSite SQL tables Excel functions to edit your data with little effort Show and talk about real scenarios

E N D
Excel and SQL Quick Tricks for Merchandisers Leah Fernelius • Learn simple SQL queries to extract data from your SmartSite SQL tables • Excel functions to edit your data with little effort • Show and talk about real scenarios • Update your SQL tables with the updated information to eliminate manual Content work
Microsoft SQL Server 2008 Express – Free at http://www.microsoft.com/express/Database/ (on right side) Enable the ability to query and update your SmartSite SQL tables Contact Ability Support or your hosting company for connection information Microsoft Office Excel – any current version All Excel files created will need to be saved as .XLS Software Needs for Microsoft SQL and Microsoft Excel
SQL Query Components • Every SQL query must have at least two components • SELECT – control the data elements (columns) desired, such as, the item number or short description • FROM – identify the table that contains the desired data • Narrowing criteria and functions • WHERE – narrow the desired data outcome Equal: = Less Than: < Greater Than: > Not Equal to: <> Contains: like Doesn’t Contain: not like Note: ‘like’ and ‘not like’ are used with the wildcard of %
Microsoft SQL Management Tools • Connect to your SQL server • Select the desired database
Common SmartSite Tables • Common SmartSite Tables • acBrands • acGroups • acItems • acItemText • MCEcom_Order • MCEcom_ShoppingCart_LineItems • MCEcom_User_Address • Expand ‘Tables’ to see all of the SmartSite tables
Helpful Microsoft Excel Functions • CONCATENATE: =CONCATENATE(A1,” “,B1) • Use to add data to the front, end, or put to fields together into one, such as First Name and Last Name into one field • COUNT: =COUNT(A1:A20) • Counts the number of cells that contain numbers. • COUNTIF: =COUNTIF(B2:B25, “SmartSite”) • Counts the number of cells in a range with a single criterion. • EXACT: =EXACT(A2,B2) • Compares two text strings returning TRUE for an exact match or FALSE if otherwise. EXACT is case-sensitive
Helpful Microsoft Excel Functions Cont. • LEFT: =LEFT(B2,3) • Returns the first character or characters in a text string. If a number is not entered, then just the first character will be returned. If a number is entered, then the first positions for that count will be returned • LEN: =LEN(A4) • Counts the number characters in a text string • MID: =MID(A2,1,5) • Returns a specific number of characters from a text string, starting at a defined point. The example is for cell A2, first position, return 5 characters
Helpful Microsoft Excel Functions Cont. • PROPER: =PROPER(B2) • Capitalizes the first letter in a text string and converts all other letters to lowercase. Great for product descriptions from an OMS. • REPLACE: =REPLACE(C2,3,2,”10”) • Replaces part of a text string, based on the number of characters specified, with the new text. C2 is the old text, 3 is the position to start at, 2 is the number of positions to remove, and “10” is the new text • RIGHT: =RIGHT(A2,4) • Returns the last character or characters in a text string. If a number is not entered, then only the last character will be returned. If a number is entered, then the last positions for that count will be returned
Helpful Microsoft Excel Functions Cont. • SUBSTITUTE: =SUBSTITUTE(B2,”MPW”,”Mack’s”) • Substitutes new text for old text. “MPW” is the old text and “Mack’s” is the new text • UPPER: =UPPER(C2) • Convert text from mixed or lower to all upper case • VLOOKUP: see handout available
Scenarios Scenario One • Query the data in SQL • Copy the queried data into Excel • Manipulate the data in Excel using functions • Review manipulated data
Update Excel Data in SQL • Excel File Requirements for upload to SQL • One identifying row such as an item number, item ID or EDP • The file must contain column headings • Save the file as .xls • SQL Requirements • Permissions to write to or update the database
Update Excel Data in SQL Cont. • Log into the SQL Server with the SQL tool installed • Navigate to the desired database • Right click on the desired database selecting: Tasks > Import Data • The SQL Server Import and Export Wizard will open
Update Excel Data in SQL Cont. In the Data Source Field select Microsoft Excel Click ‘Next’ for the screen below
Update Excel Data in SQL Cont. • Browse to the file to be imported to update SQL • Verify the correct Excel Version displays in the drop down. • If using MS Excel 2007 be sure the 2007 version displays • Check box marked for ‘First row has column names’ • Click ‘Next’
Update Excel Data in SQL Cont. • Destination: should be defaulted to ‘SQL Server Native Client 10.0’ • Server name: will be the name of the SQL server • Authentication: access information for SQL • Database: should default to the database that was clicked to start this task • Click ‘Next’
Update Excel Data in SQL Cont. • Select the radio button for ‘Copy data from one or more tables or views’ • Click ‘Next’
Update Excel Data in SQL Cont. • Since the saved spreadsheet has only one sheet, check the box for ‘Sheet1$’ as shown • In the Destination cell remove the text ‘Sheet1$’ and enter the desired temp. table name
Update Excel Data in SQL Cont. • Edit Mapping: allows for the review of the Source and Destination mappings • Preview: display the data that will be imported
Update Excel Data in SQL Cont. Edit Mapping window • Review the Source and Destination columns shown • Click ‘OK’
Update Excel Data in SQL Cont. Preview Window • Display the data to be imported into the temp table • Click ‘OK’ to close the window
Update Excel Data in SQL Cont. • After the review of the data click ‘Next’ to move to Save and Run the data • Click Next on the Save and Run the data window will start the process to import the data from Excel
Update Excel Data in SQL Cont. • Review data, click ‘Finish’ • Success import will result in all ‘Success’ in Status
Update Excel Data in SQL Cont. • Close the SQL Server Import and Export Wizard • Go back to the SQL Server Management Studio window • Click on ‘New Query’ • Confirm desired database is in the drop down
Update Excel Data in SQL Cont. • Write the UPDATE script to insert the data in the temp table to the desired table • Click ‘Execute’ or hit ‘F5’ on keyboard to run the script • When script has run a message will appear to show how many rows were affected • Query the table to confirm data
You CAN do it! Enjoy your “new ability”! • Questions?