Download
1 / 7
70 likes | 74 Views
Quick & Easy Step-by-Step Instructions for HP Envy 5055 Printer First-Time Installation from Our Experts u2014 https://bit.ly/2C2fb5F

E N D
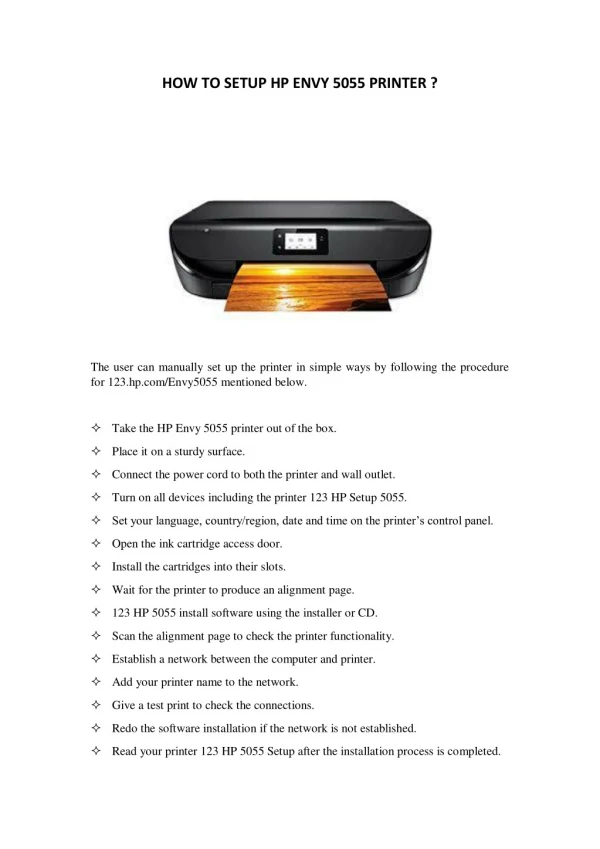
HP Envy 5055 Printer Are you looking for a 123.hp.com/envy5055 printer that performs all the tasks with great ease? Perform multitasks such as Print, Scan and Copy with your printer.
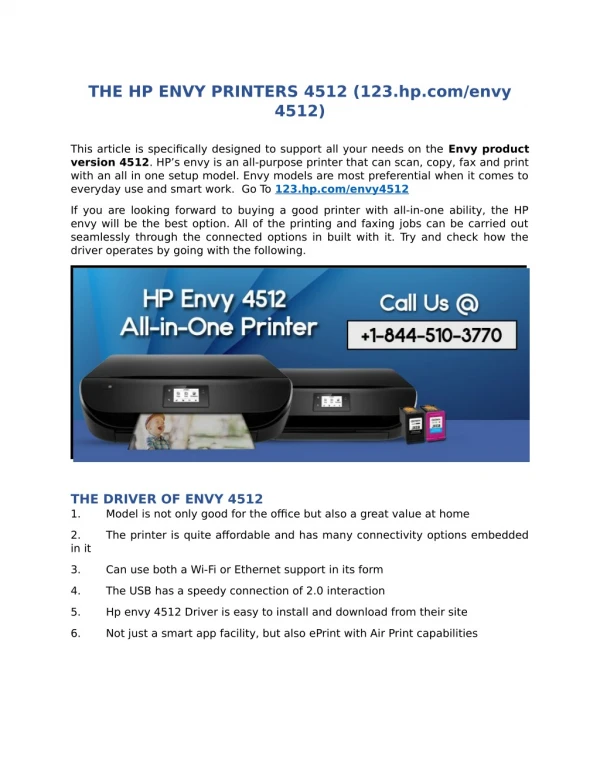
Quick Steps for HP 5055 Printer Setup & Install • Go to 123.hp.com/envy5055. • Download Driver Software for HP Envy 5055 Printer. • Enter your printer model and click Begin for your HP Envy 5055 Driver Download. • Click Download, then Open, Save or Run on the window that displays, to download the driver • Double click on the driver file downloaded to your computer to start the installation process.
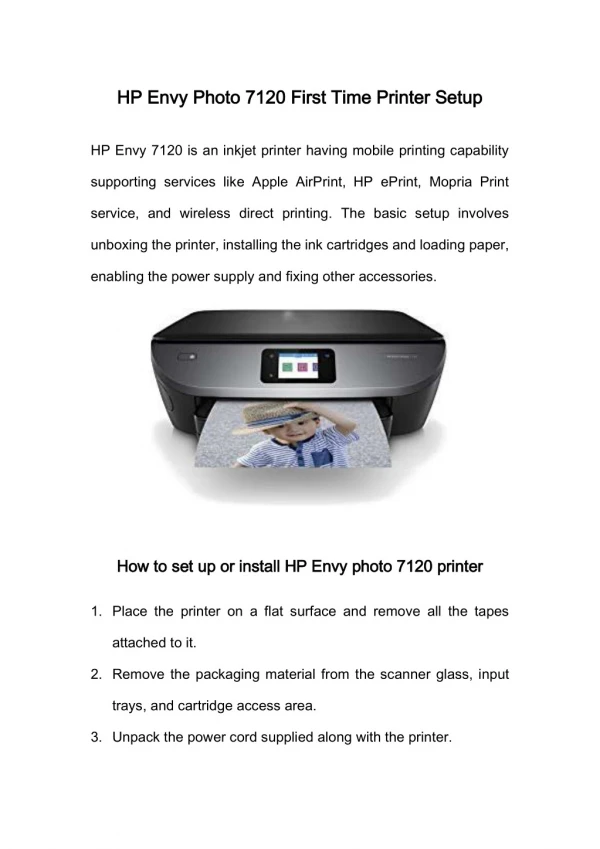
Follow the on screen instructions and complete the HP Envy5055 printer connection setup and the driver installation. • Now come back to HP Envy 5055 Printer Setup Page to finish registration and activation. HP Envy 5055 First-Time Installation Guidance • Remove the 123.hp.com/envy5055 Printer from the box • Discard all tape, stickers and packing materials from the printer. Discard the sticker from the control panel. • "Hold" the handles on either side of the 123 HP Envy 5055 Printer and lift the cartridge access door. • Remove all tape and packing material from inside the Envy 5055 printer.
Close the access door and open the input tray door. Pull the tray toward you and remove the packing tape. Push the input tray forward until it places properly to close the input tray door. • "Connect" the HP Envy 5055 Printer Setup to a wall outlet, switch on the printer and set your preferences. To set the preferences on the printer’s control panel, choose your preferred language and country/region. • "Click" on the Yes option to confirm your choice and if prompted, select the date and time and click on the Yes option to confirm your choice. Proceed to the next 123.hp.com/envy5055 step to install the ink cartridges. • Use the ink cartridges that came in the box with your Envy printer. Lift the ink cartridge access door until it locks into place and wait until the carriage halts. • "Remove" one of the ink cartridges and discard the plastic tape from the ink cartridge. Remember to not touch the copper-colored contacts or the ink nozzles.
With the nozzles facing the printer, insert the ink cartridge into its slot until it clicks into place. Place the color ink cartridge on the left slot and the black ink cartridge on the right. • "Close" the lid on the ink cartridge slot and close the ink cartridge access door. Insert plain U.S. letter paper in the input tray, open the input tray door and pull it toward you to extend the input tray. • "Slide the paper" guides such that it fits the edges of the paper. Mount the paper in portrait orientation and make sure you do not load more than 250 sheets. • "Do not push" the guides in so tightly that they damage the paper. Push the input tray into the Envy 5055 printer and click Done on the printer’s control panel. • "Align" the ink cartridges to achieve the best print quality. Raise the scanner lid and place the alignment page with the print side down on the scanner glass. Close the scanner lid and click OK. Install the software for the printer.