Download
1 / 7
70 likes | 80 Views
If any issues you are facing while you working on QuickBooks 1099 Form, simply call to connect our QuickBooks ProAdvisor support at 1800-935-0532. We are PosTechie provide 24/7 QuickBooks Point of sale Support, the third party consultancy service proadvisor.

E N D
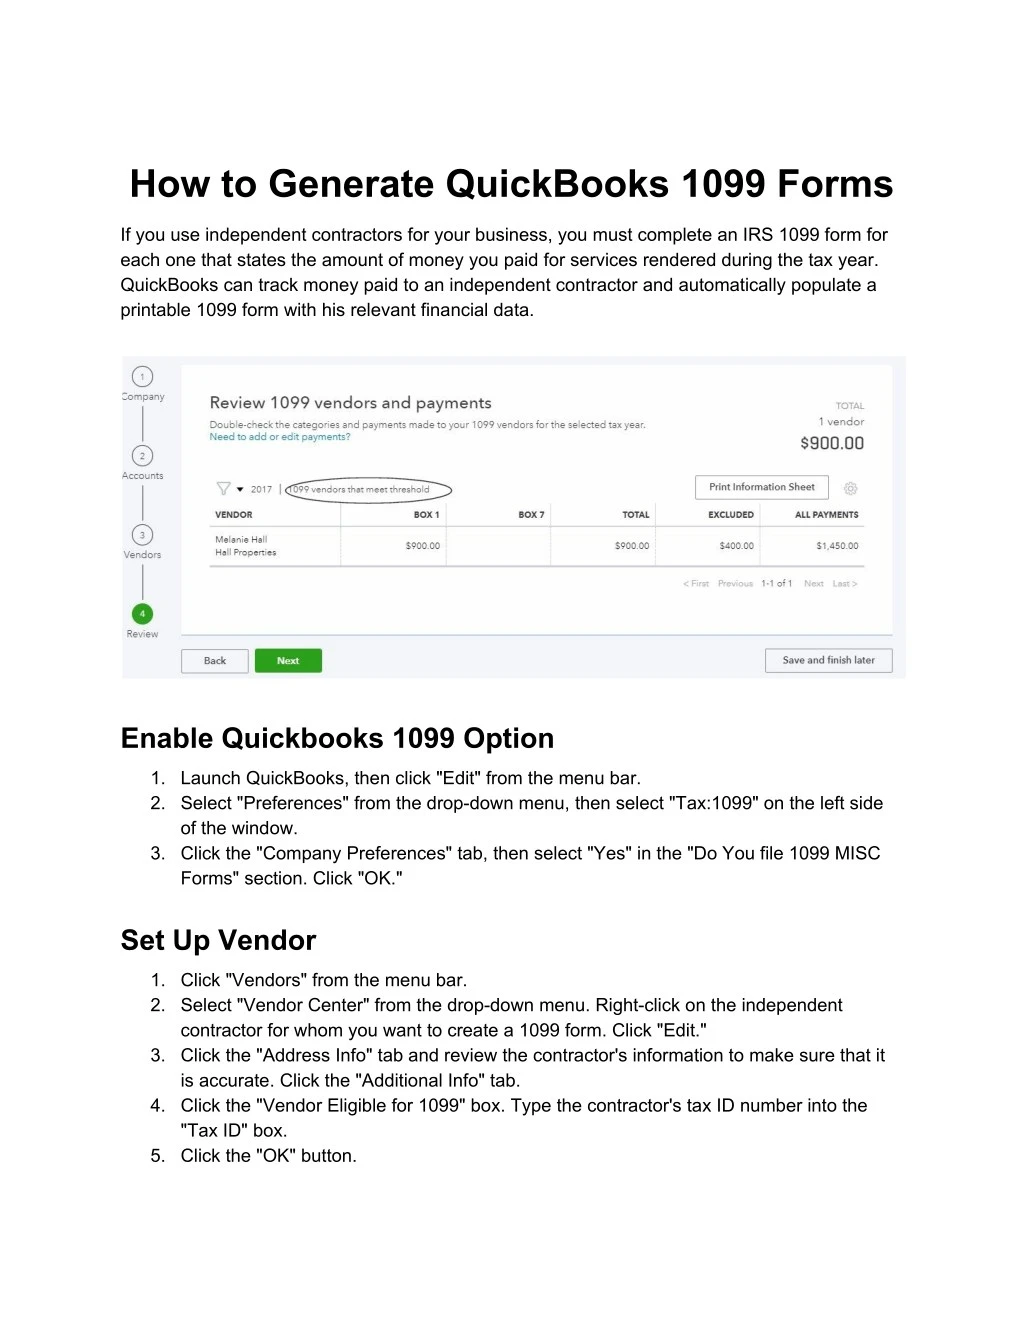
How to Generate QuickBooks 1099 Forms If you use independent contractors for your business, you must complete an IRS 1099 form for each one that states the amount of money you paid for services rendered during the tax year. QuickBooks can track money paid to an independent contractor and automatically populate a printable 1099 form with his relevant financial data. Enable Quickbooks 1099 Option 1. Launch QuickBooks, then click "Edit" from the menu bar. 2. Select "Preferences" from the drop-down menu, then select "Tax:1099" on the left side of the window. 3. Click the "Company Preferences" tab, then select "Yes" in the "Do You file 1099 MISC Forms" section. Click "OK." Set Up Vendor 1. Click "Vendors" from the menu bar. 2. Select "Vendor Center" from the drop-down menu. Right-click on the independent contractor for whom you want to create a 1099 form. Click "Edit." 3. Click the "Address Info" tab and review the contractor's information to make sure that it is accurate. Click the "Additional Info" tab. 4. Click the "Vendor Eligible for 1099" box. Type the contractor's tax ID number into the "Tax ID" box. 5. Click the "OK" button.
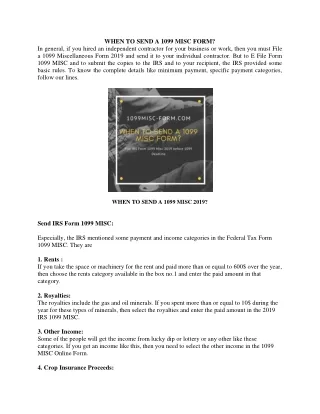
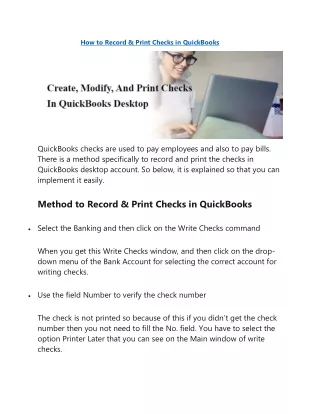
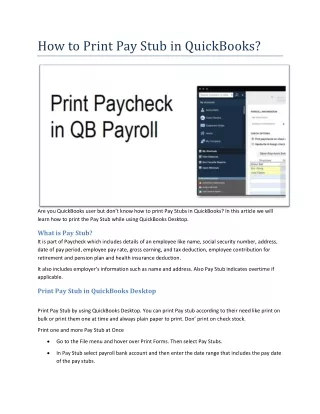
Print QuickBooks 1099 1. Insert the blank 1099 form into the printer, then click "File" from the QuickBooks main menu bar. 2. Select "Print Forms" from the drop-down menu, then select "1099s/1096" from the list. 3. Select the contractor for whom you want to generate a 1099, then click "Print 1099." A preview of the 1099 automatically opens. To view the detailed data on the form, deselect the "Alignment" box and select "PDF." 4. Click "Open PDF in Preview" to review the information on the form. 5. Click "Print" to print the completed 1099 form. Warning ● Print the 1099 data on a blank 1099 form created for use with a printer. References (3) ● Intuit QuickBooks Support: Print Form 1099-MISC ● Intuit QuickBooks Support: Set Up a 1099 Vendor ● Internal Revenue Service: 2011 Instructions for Form 1099-MISC Resources (1) ● Intuit: Quickbooks 1099 Kits About the Author An avid technology enthusiast, Steve Gregory has been writing professionally since 2002. With more than 10 years of experience as a network administrator, Gregory holds an Information Management certificate from the University of Maryland and is pursuing MCSE certification. His work has appeared in numerous online publications, including Chron and GlobalPost. As year end approaches it's time to prepare for filing Forms 1099 and 1096. There are various versions of the 1099 form but the most common is the 1099-MISC which is the focus of this article. The instructions for the form 1099-MISC are detailed and can be confusing. According to the IRS website you must File Form 1099-MISC, Miscellaneous Income, for each person to whom you have paid during the year: ● At least $10 in royalties (see the instructions for box 2) or broker payments in lieu of dividends or tax-exempt interest (see the instructions for box 8); ● At least $600 in rents, services (including parts and materials), prizes and awards, other income payments, medical and health care payments, crop insurance proceeds, cash payments for fish (or other aquatic life) you purchase from anyone engaged in the trade or business of catching fish, or, generally, the cash paid from a notional principal contract to an individual, partnership, or estate; ● Any fishing boat proceeds; or ● Gross proceeds of $600 or more paid to an attorney.
If the following four conditions are met, you must generally report a payment as nonemployee compensation in Box 7 of the form ● You made the payment to someone who is not your employee; ● You made the payment for services in the course of your trade or business (including government agencies and nonprofit organizations); ● You made the payment to an individual, partnership, estate, or, in some cases, a corporation; and ● You made payments to the payee of at least $600 during the year. There are many more specific instructions found in the guidelines as well as exceptions for payments that do not need to be reported. As a conservative approach, I have seen a number of clients issue 1099s to all service vendors who received $600 or more in payments for the year. The Form W-9 is intended to help you obtain a valid Taxpayer Identification Number for each taxpayer you are going to report on a 1099 form. I recommend requesting a completed W-9 from each new vendor you do business with that may be paid $600 or more throughout the year. The W9 form will give you the information you need to determine if the vendor is exempt from receiving a 1099 based on the federal tax classification of the business. A form 1099 must be provided to each vendor as required by January 31 and Red Copy A of the form 1099-MISC along with the summary 1096 must be submitted to the IRS by February 28. QuickBooks Enterprise Solutions has all of the capability you need to track payments to independent contractors or other vendors for whom you must send Form 1099-MISC and file 1096 Summary and 1099-MISC forms to the IRS. The 1099 Wizard is an easy-to-use tool for accurately preparing the year end forms you need. Turn the 1099 feature on and off When you turn the 1099 feature on, you can set up a vendor as eligible for Form 1099-MISC and can assign the accounts you use to pay that vendor to the appropriate box or boxes on the Form 1099-MISC. To turn the 1099 feature on and off 1. Switch to single-user mode. 2. Go to the Edit menu and click Preferences. 3. In the Preferences window, click Tax: 1099 in the list on the left. 4. Click the Company Preferences tab. 5. Select Yes for the "Do you file 1099 MISC forms?" option. Setup eligible vendors for 1099 tracking Once the 1099 feature is turned on you need to define which vendors are 1099 vendors and then set them up for tracking. 1. From the Vendors menu, choose Vendor Center. 2. Right-click the vendor you want to change to a 1099 vendor, and click Edit Vendor.
3. On the Address Info tab, make sure: ○ The vendor's legal name appears in the Full Name (First, M.I., and Last) fields. ○ The vendor's address contains the two-letter state abbreviation and the ZIP code. 4. Click the Tax Settings tab. 5. Enter the vendor's tax ID number. 6. If the vendor is a sole proprietor, enter the vendor's Social Security number. Otherwise, enter the vendor's nine-digit Tax Identification Number. 7. Click the Vendor eligible for 1099 checkbox. QuickBooks 1099 Wizard The easiest way to prepare your 1099?s at year end is by using the 1099 Wizard in QuickBooks. The first step in preparing the 1099 forms is to verify the accuracy of the information you'll report to the IRS. Begin by following the steps in the 1099 Wizard. From the Vendors menu, choose Print/E-file 1099s > 1099 Wizard Confirm your 1099 entries On the Confirm Entries page of the QuickBooks 1099 Wizard QuickBooks displays all the vendors for which Form 1099-MISC will be created. (In addition it displays those vendors with payments that are below the thresholds; these vendors will not get a Form 1099-MISC.) To the right of each vendor name, QuickBooks displays the following:
The payment amounts applied to each box on the 1099 The total of all payments included on the 1099 The amount in the "Total Included on 1099" column is the amount that will print on the Form 1099-MISC for that vendor. This is the total of all the payments to this vendor during the reporting year from accounts that were assigned (or mapped) to boxes on the Form 1099-MISC. ● ● If any amounts are incorrect, review all the accounts you used to make payments to this vendor. Make sure they are all listed on the Review Payments page and are assigned to boxes in the "Apply Payments to this 1099 Box" column.
The amount in the "Total Unmapped Payments" column is the sum of all the payments to this vendor during the reporting year from accounts that were not assigned (or mapped) to boxes on the Form 1099-MISC. Note that if the payments to a vendor in any category do not exceed the IRS's minimum threshold amount for that category, the box on the 1099 is empty. If you need to see the details for any of the amounts on this page you can double-click the row to see a detail report. Print Form 1099-MISC On the Choose A Filing Method page you can select Print or E-file. If you have pre-printed 1099-MISC or 1096 forms select Print 1099?s. The IRS doesn't accept forms on plain paper. 1. Select the time period covering the 1099-related payments you want in the forms, then click OK. 2. Click Preview 1099, and verify that each vendor's address will print correctly. To see details of each address, click Zoom In. 3. When you're satisfied with the accuracy and appearance of the addresses, click Print 1099. Print Form 1096 Once all of the QuickBooks 1099 forms have printed correctly click Print 1096.
1. Enter Contact Name (name of person to contact at your company) on the 1096 Information window. 2. If you will not be required to file Form 1099 in the future, check This is my Final Return. 3. Click OK. 4. On the Print 1096 dialog, click Preview to review the document then click Print. Year end can be a hectic time. I recommend a few things to alleviate some of the stress. It is important to plan ahead. Review the Wizard as early as possible in order to determine how many 1099 forms you will need. Pick up or order forms early. I recommend getting at least two 1096 forms in case of a printing error. Once the forms are prepared be sure to mail them to the IRS timely. Make a copy or scan of everything you send to the IRS in case there is ever a question and you need to review what you sent. Verify all documents are signed as needed before mailing. If you discover that you missed a 1099 after filing with the IRS, submit the missing 1099 with its own 1096 as soon as possible. If any issues you are facing while you working on QuickBooks 1099Form, simply call to connect our QuickBooks ProAdvisor support at +1800-935-0532. We are PosTechie provide 24/7 QuickBooks Point of sale Support, the third party consultancy service proadvisor.