Download
1 / 12
120 likes | 219 Views
Simple methods for taping the hand and fingers for a variety of minor hand injuries are discussed.

E N D
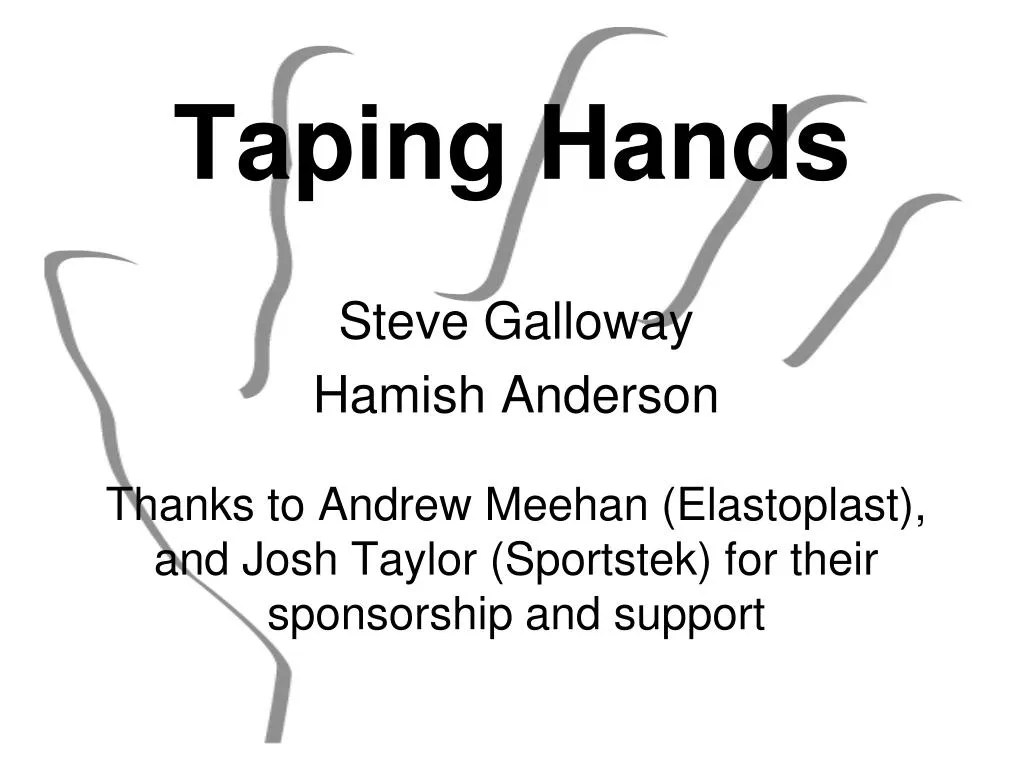
Taping Hands Steve Galloway Hamish Anderson Thanks to Andrew Meehan (Elastoplast), and Josh Taylor (Sportstek) for their sponsorship and support
Thumb • Tape to replicate deficient structure • Integrate thermoplastic if appropriate • Collateral ligaments • Skiers thumb • De Quervain’s?
Thumb • Step 1Attach an anchor gently around the wrist with Elastoplast Sport Rigid Strapping Tape 38mm. (Do not bind too tightly as this may compromise circulation).
Thumb • Step 2Using either Elastoplast Sport Rigid Strapping Tape 12.5mm or 25mm, apply a spica (figure-8 technique), starting from the back of the wrist around the base of the thumb and back to the anchor tape on the palm side of the wrist.
Thumb • Step 3Repeat the figure-8, strapping 2-4 times to further support the joints of the thumb.
Thumb • Step 4Overwrap with Elastoplast Sport Elastic Adhesive Bandage 50mm using spica (figure-8) to completely cover the rigid tape. This will help provide extra compression and protection.
Finger • Tape to replicate the structures that are deficient. • Tape in the position you want to hold joint in • Volar plate • Collateral ligament
Finger • Anchors • Place a strip of tape around the finger, just above and below the affected joint (figure 1). This should be applied gently to prevent circulatory problems and is used as a fixation point for the other taping techniques.
Fingers • Side Cross • Keeping the finger in a neutral position, start the tape at the level of the lower anchor at the side of the finger by following the black arrows (figure 2). Conclude this taping technique at the level of the upper anchor by firmly following the white arrows (figure 2). Do 1 - 2 side crosses at both the inner and outer aspect of the finger, slightly forward or backward of each other depending on the amount of support required.
Fingers • Side Vertical Lines • Keeping the finger in a neutral position, start the tape at the level of the lower anchor at the side of the finger by following the black arrow (figure 3). Conclude this taping technique at the level of the upper anchor by firmly following the white arrow (figure 3). Do 1 - 3 side vertical lines at both the inner and outer aspect of the finger, slightly forward or backward of each other depending on the amount of support required.
Fingers • Complete Finger Taping for complete support • Anchors x 1 • Inner Side Cross x 1 - 2 • Outer Side Cross x 1 – 2 • Inner Side Vertical Lines x 1 – 3 • Outer Side Vertical Lines x 1 - 3 • Repeat Anchors x 1
Fingers • Buddy taping • Avoid leaving a finger free on its own if possible


![[PDF READ ONLINE] Kinesiology Taping for Horses: The Complete Guide to Taping for Equine Health,](https://cdn7.slideserve.com/12519327/slide1-dt.jpg)