Download
1 / 3
30 likes | 37 Views
React Native App Development services prove beneficial for creating multifaceted Fitness Applications that are trending these days. React Native navigation, on-boarding, creation of the login and registration screen, setting up and implementing Firebase are some of the major steps for Fitness app development using React Native.

E N D
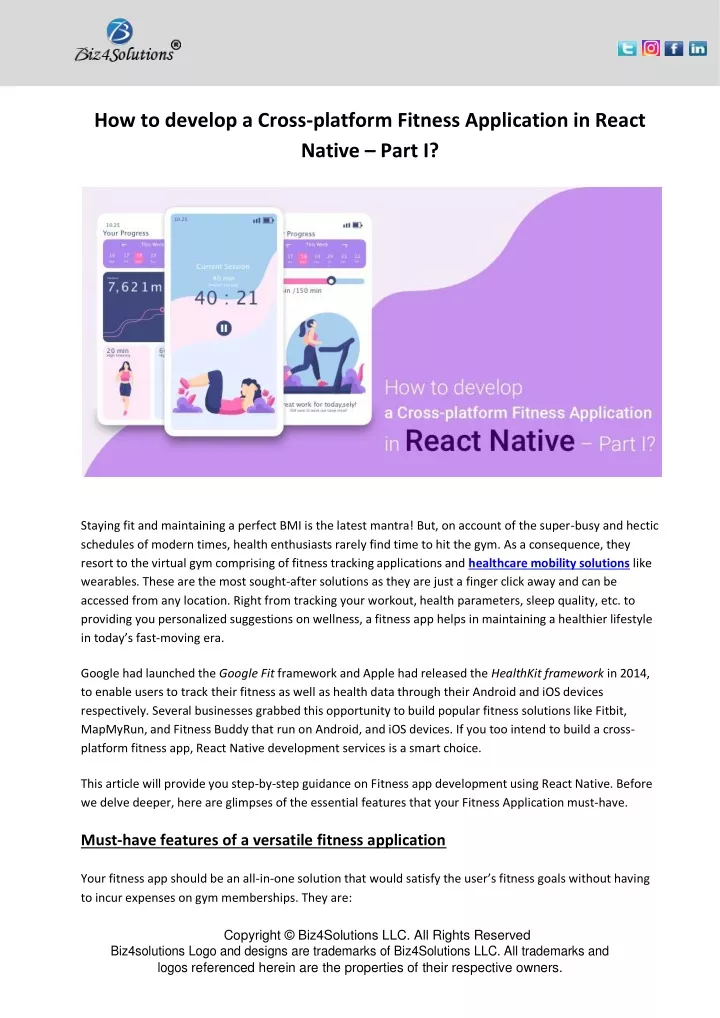
How to develop a Cross-platform Fitness Application in React Native – Part I? Staying fit and maintaining a perfect BMI is the latest mantra! But, on account of the super-busy and hectic schedules of modern times, health enthusiasts rarely find time to hit the gym. As a consequence, they resort to the virtual gym comprising of fitness tracking applications and healthcare mobility solutions like wearables. These are the most sought-after solutions as they are just a finger click away and can be accessed from any location. Right from tracking your workout, health parameters, sleep quality, etc. to providing you personalized suggestions on wellness, a fitness apphelps in maintaining a healthier lifestyle in today’s fast-moving era. Google had launched the Google Fit framework and Apple had released the HealthKit framework in 2014, to enable users to track their fitness as well as health data through their Android and iOS devices respectively. Several businesses grabbed this opportunity to build popular fitness solutions like Fitbit, MapMyRun, and Fitness Buddy that run on Android, and iOS devices. If you too intend to build a cross- platform fitness app, React Native development servicesis a smart choice. This article will provide you step-by-step guidance on Fitness app development using React Native. Before we delve deeper, here are glimpses of the essential features that your Fitness Application must-have. Must-have features of a versatile fitness application Your fitness app should be an all-in-one solution that would satisfy the user’s fitness goals without having to incur expenses on gym memberships. They are: Copyright © Biz4Solutions LLC. All Rights Reserved Biz4solutions Logo and designs are trademarks of Biz4Solutions LLC. All trademarks and logos referenced herein are the properties of their respective owners.
Monitoring the workout outcomes and tracking progress using AI. Recording and tracking of steps during outdoor exercise. Customizable workout journals, including workout plans. Measuring wellness parameters like calories burned, heart rate, glucose, etc and setting targets. Wellness recommendations and dietary suggestions, utilizing Machine Learning. Motivating users via push notifications and reminders. Connecting with personal trainers and fitness buddies through audio/video streaming. Integration with wearables such as sports bracelets, smartwatches, clip-ons, and other third-party devices. Support for the offline mode, Geo-location, profile creation, and sharing one’s achievements via social media. Add-ons like timers, gamification, integration with music apps, etc. Professional schedule management module for private trainers. How to build your React Native Fitness App? Architect your React Native Fitness applications that track health parameters, exercise regime, and diet; analyze this data, and generate personalized health and dietary recommendations by employing React Native App Developers. Take a look at the process. Create React Native app and setup navigation Set the ball rolling by first creating a react native app and then using React navigation for setting up navigation on the screen. The React Native CLI can be used for creating a new project by running the command react-native init fitness_master. For more details on installation, refer to the official documentation from React Native. For setting up react-navigation, install the main react-navigation package using “yarn adds react- navigation react-navigation-stack”, theninstall the other necessary dependencies for finalizing the setup. Install Cocoapod dependency for iOS; and for Android, you need to add to the dependencies in android/app/build.gradle. Create a new file for storing navigation, place the initial code, create four blank screens, fill out the stater, and finally create stack navigation. Importing ‘Navigator.js to App.js’ is the last step. Setting up React Native elements It’s time to create the first screen of the app. React Native elements are used for simplifying the UI creation. The steps include installing React Native elements using the command “yarn add react-native- elements”, opening the IntroScreen.js for importing the components needed, creating the header section and the main global wrapper, adding stylesheet, installing react native vector icons using the command “yarn add react-native-vector-icons”, install Cocoapod for iOS, then register font in info.plist through Xcode, activate the font icon in Android in build.gradle, then rebuild the code and finally adding image features, buttons touchable text, and style. Copyright © Biz4Solutions LLC. All Rights Reserved Biz4solutions Logo and designs are trademarks of Biz4Solutions LLC. All trademarks and logos referenced herein are the properties of their respective owners.
Creation of the login screen For creating the login screen, first import react components, add the container, then the header. Add the logo in the header by wrapping it with the container. Then add the inputs for the email and password. Now add the style to the input. Now add three social buttons for login and complete the process by adding the link to the forgot-password screen. Building the registration screen The steps for creating a registration screen are: Create view container to wrap and make styles that are global and then copy code from the login screen Password input screen Usage of a package (react native password strength meter) to verify the strength of the password. Setting up and installing Firebase in React Native The steps include installing a react-native-firebase package by using the command “yarn add react-native- firebase”, adding Firebase cocoa pod, and running it. Then create a new firebase project, for iOS from Xcode copy bundle identifier and paste on Firebase, download, and add it back to Xcode at a specific location. For using SDK in the app, import firebase into AppDelegate.m file. For Android, run the command “react-native link react-native-firebase”, add Firebase to your app, next download google-services.json and then add it to the android app. Then add a dependency open android/build.gradle, then activate plugin, last step add firebase package, and rebuild the project again. Conclusion We will review the remaining steps of building the fitness app in react native in our next version of the article. The craze for Fitness Applications is growing in leaps and bounds, thanks to their convenience quotient. Hence it’s a good time for businesses to invest in fitness app creation leveraging React Native. Would you like to build your custom application? Connect with Biz4Solutions, a highly experienced React Native App Development Company. Let us know your project requirement at sales.enquiry@biz4solutions.com. Copyright © Biz4Solutions LLC. All Rights Reserved Biz4solutions Logo and designs are trademarks of Biz4Solutions LLC. All trademarks and logos referenced herein are the properties of their respective owners.