Download
1 / 7
80 likes | 117 Views
There is much more information on this topic that a person needs to know if he is using QuickBooks, dial the toll-free number to contact QuickBooks Support Number and get the perfect guidance of how to use this software to make your work more easier. Our customer service takes remote access of your system to remove the problem, so you don’t need to go anywhere, comfortably sit at home and avail our best services.<br><br>Visit us our website to know more: - https://goo.gl/KLNsxp

E N D
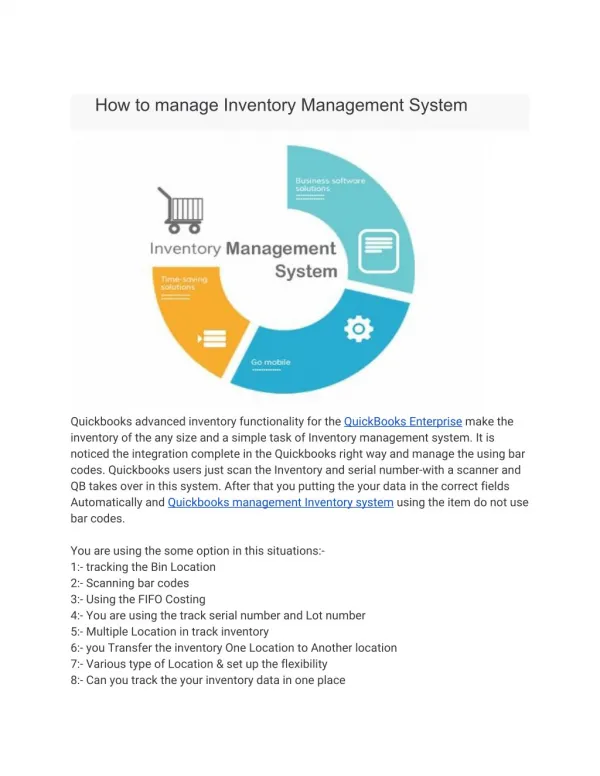
Instructions To Manage Inventory in QuickBooks It is the accounting software used by small and medium-sized businesses through which you can accept business payments, pay and manage bills and also perform payroll functions. People can manage their inventory using this accounting software. Users can try its trial version which is valid for 30 days. Top businessmen are using this program for managing Sales and Income and tracking their bills and expenses and doing much more with it.
Users can also summarize their profit and loss report within few minutes. One of its great features is that it creates a balance sheet report within no time. To manage your inventory in Quickbooks is a very big topic but here I’m explaining to you how to start with Quickbooks for inventory. Follow the given instructions to start with it.
Start your computer and click the icon of QuickBooks Pro to open it. Sign in to QuickBooks program and select Edit from the above menu which is located beside File option. Click Preferences from the drop-down list of File. Next, from the left side corner choose Items and Inventory and choose the second tab titled as Company Preferences.
Under this option, put the tick on the first statement which says Inventory and purchase orders are active. Select OK and get back to the main menu and choose Lists from subhead. Select Item List from the drop-down list. A new screen will be visible click Item from the bottom of the visible screen. Also, note that you have to select New for any new inventory record to add on from the list of Item.
Choose Inventory Part under Type option and provide the full information requested for that part. Mention all the details about inventory i.e. sales price, cost, income account, date etc. and complete it. Click OK and select Vendors from the menu. Choose the first option from drop-down list i.e. Vendor Center.
Select New Transactions and then click Receive Items and Enter Bill. Type all the information which is requested and select Save and Close to making the changes.
There is much more information on this topic that a person needs to know if he is using QuickBooks, dial the toll-free number to Contact Intuit QuickBooks Support Number048879113 and get the perfect guidance of how to use this software to make your work more easier. Our customer service takes remote access of your system to remove the problem, so you don’t need to go anywhere, comfortably sit at home and avail our best services. Original Source