Download
1 / 2
20 likes | 26 Views
If the user faces This PC must support Secure boot in Window 11, then they cannot be able to move forward with the Window 11 installation. https://office.com-setup.com/blog/window-11/how-to-resolve-this-pc-must-support-secure-boot-in-window-11/ <br><br>

E N D
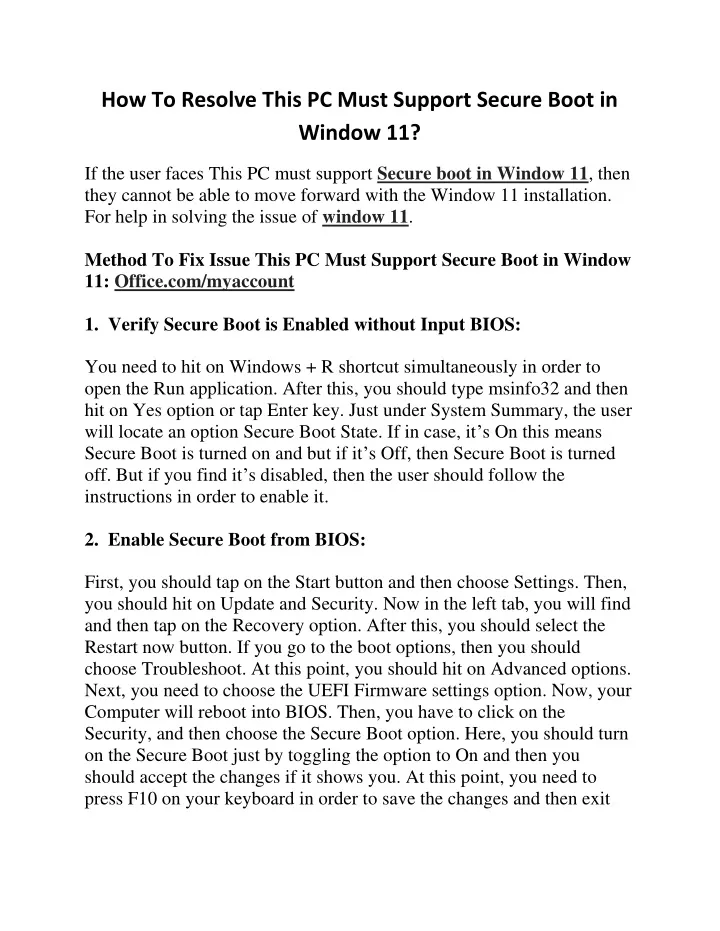
How To Resolve This PC Must Support Secure Boot in Window 11? If the user faces This PC must support Secure boot in Window 11, then they cannot be able to move forward with the Window 11 installation. For help in solving the issue of window 11. Method To Fix Issue This PC Must Support Secure Boot in Window 11:Office.com/myaccount 1. Verify Secure Boot is Enabled without Input BIOS: You need to hit on Windows + R shortcut simultaneously in order to open the Run application. After this, you should type msinfo32 and then hit on Yes option or tap Enter key. Just under System Summary, the user will locate an option Secure Boot State. If in case, it’s On this means Secure Boot is turned on and but if it’s Off, then Secure Boot is turned off. But if you find it’s disabled, then the user should follow the instructions in order to enable it. 2. Enable Secure Boot from BIOS: First, you should tap on the Start button and then choose Settings. Then, you should hit on Update and Security. Now in the left tab, you will find and then tap on the Recovery option. After this, you should select the Restart now button. If you go to the boot options, then you should choose Troubleshoot. At this point, you should hit on Advanced options. Next, you need to choose the UEFI Firmware settings option. Now, your Computer will reboot into BIOS. Then, you have to click on the Security, and then choose the Secure Boot option. Here, you should turn on the Secure Boot just by toggling the option to On and then you should accept the changes if it shows you. At this point, you need to press F10 on your keyboard in order to save the changes and then exit
BIOS. When the system reboots, then you should restart the Windows 11 installation process. Bypass the Secure Boot Requirement: First, you should log into your Insider account, then you have to go to Microsoft’s dedicated webpage and then just download the Windows 11 Preview Build. After this, you should select Windows 11 under Select edition and then hit on Confirm. Here, the download process will start and then you will have Windows 11 ISO. At this point, you should press Windows + E together in order to start File Explorer. Now, you need to locate the Windows 11 ISO and just right-click on it and then choose Mount. Next, you should visit to the Windows 11 image, just choose all files, then right click on it and then you should copy all files or here you can use Ctrl + C shortcut. Then, you have to create a new folder you should select New and then Folder. Here, you need to name the folder Window 11. Next, you should open the folder and then paste the contents just by right-clicking on the empty space and then just selecting Paste it. You should Mount a Windows 10 ISO. After this, you should access the sources folder in the Windows 10 image. At this point, you should locate the appraiserres.dll file, and then right-click on it and then select Copy. Next, you have to go back to the Windows 11 folder which you have created earlier, then you should open the sources folder and just paste the appraiserres.dll file. Here, you should choose Replace the file in the destination. At last, you should double-click on the setup.exe file from the Windows 11 folder in order to start the installation. For more help about window 11, go to Microsoft via www.office.com/setup.