Download
1 / 3
30 likes | 32 Views
DIY Step by Step Process for a New Toilet Installation

E N D
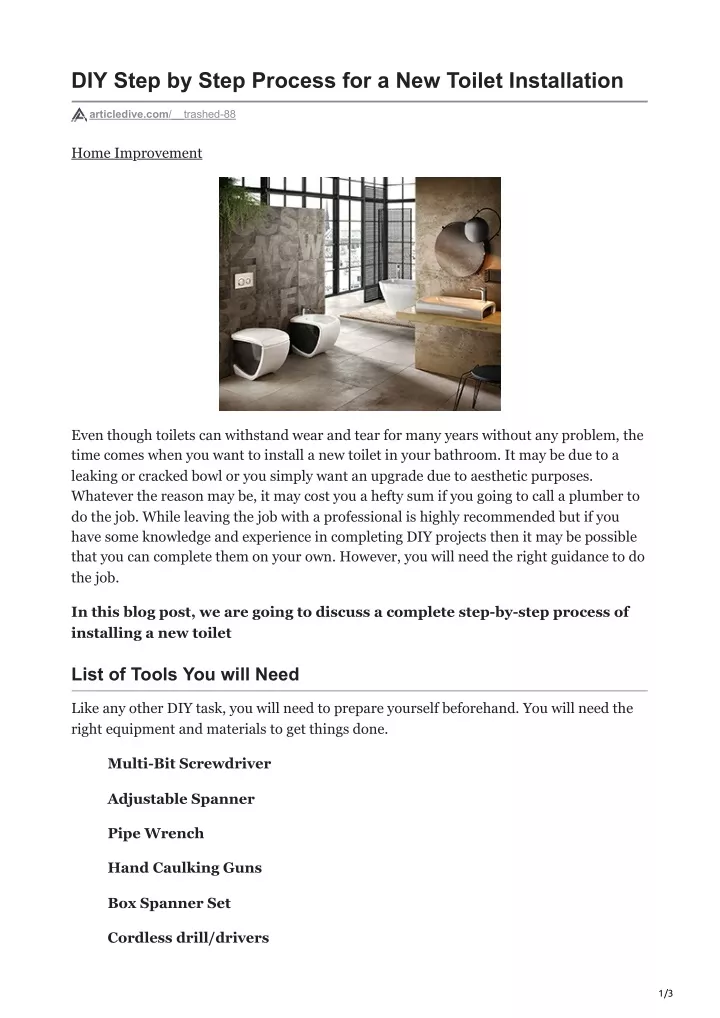
DIY Step by Step Process for a New Toilet Installation articledive.com/__trashed-88 Home Improvement Even though toilets can withstand wear and tear for many years without any problem, the time comes when you want to install a new toilet in your bathroom. It may be due to a leaking or cracked bowl or you simply want an upgrade due to aesthetic purposes. Whatever the reason may be, it may cost you a hefty sum if you going to call a plumber to do the job. While leaving the job with a professional is highly recommended but if you have some knowledge and experience in completing DIY projects then it may be possible that you can complete them on your own. However, you will need the right guidance to do the job. In this blog post, we are going to discuss a complete step-by-step process of installing a new toilet List of Tools You will Need Like any other DIY task, you will need to prepare yourself beforehand. You will need the right equipment and materials to get things done. Multi-Bit Screwdriver Adjustable Spanner Pipe Wrench Hand Caulking Guns Box Spanner Set Cordless drill/drivers 1/3
Hacksaw Tube Cutter Hammer Spirit Level Adjustable and Slip Joint Pliers Rubber Gloves Bucket Wet Vacuum In addition to all the above-listed tools, you must check the toilet box as it is received to avoid any problems on the day of installation. Your toilet box should include all these items A single or two-piece new toilet set Soft Close Toilet Seat Toilet Shims Nuts and Bolts Wax ring with flange or without flange Silicone Caulk How to Remove an Old Toilet? If you are going for a toilet replacement, then you will need to first remove the old one. So, you can prepare the surface for the new installation. Expected Time Required – 15 to 30 Minutes Step 1. Turn Off the Water Supply. You should first put on the gloves and turn off the water inlet supply and cut the drainpipe from the cistern. It is important to make sure that the cistern is empty before removal. You can simply flush it to remove any left water. Step 2. Remove the Toilet Cistern. It does not apply to the single-piece toilet that has a cistern built into the toilet bowl. You should start it by removal of the lid that can be lifted to remove easily. Now use the screwdriver and unscrew the bolts at the bottom. Once unscrewed, the next step will be to remove the cistern from its place. Sometimes you will find it difficult to remove If there Step 3. Unscrew The Mounting Nuts. Once your cistern is removed you should start unscrewing the mounting nuts on the floor which are the nuts that keep the toilet bowl in place. Start by unscrewing them one by one. You may need a wrench or a screwdriver in 2/3
case it gets a bit difficult to remove due to rust. Step 4. Remove The Toilet. To remove the toilet, you may need to cut through the caulk or silicone that is usually used to fill the gaps around the toilet pans. You may even use a putty knife or utility knife to remove the material around the base. Once you are done completely cleaning the surface, pull the toilet pan. Fitting a New Toilet Once you can remove the toilet, its time to fit the newer one. But before you do anyone, it is important to prepare the surface. Step 1. Install New Mounting Nuts and Wax Ring For fitting the new toilet, you will need to repeat the removal process in reverse order. You must first install new wax rings on the sewerage pipes. These will help avoid water leakages. However, install it carefully as these are kind of sticky materials. Step 2. Fit The Toilet Pan in Its Place Take out the toilet pan and slowly position it on its place on the floor. You should hover it over to align the nuts to fit it in the right position. These nuts protruded from the holes, you can start tightening them securely in their position. It should security connect to the floor and sewerage pipe. Step 3. Fit The New Cistern. Toilet pan is fitted in its position, you can now install the cistern. Remember that this step not required for the one-piece toilets as those will completely fit within the single unit. Once you position it on the sewerage pipe, fit its security over it and attach it to the toilets bowl. Step 4. Check For Leaks. Once you have installed the toilets, it is now time to turn on the water and check it for the pipes and leaks. It you should properly seal the gaps with a caulking gun filled with silicone. It will ensure smooth looks as well as prevent any leaks. 3/3